- Secure order
- Easy return shipment
- Service-Hotline +49 4231 668980
Instructions No. 3599
Difficulty: Beginner
Working time: 1 hour

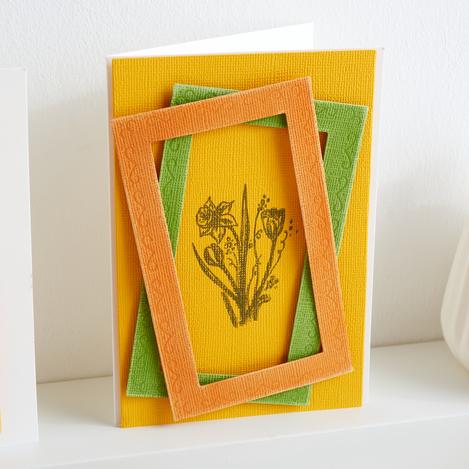
Step 1: Punch the papers
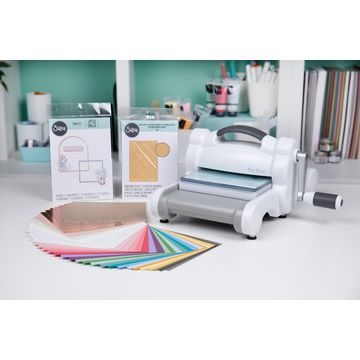
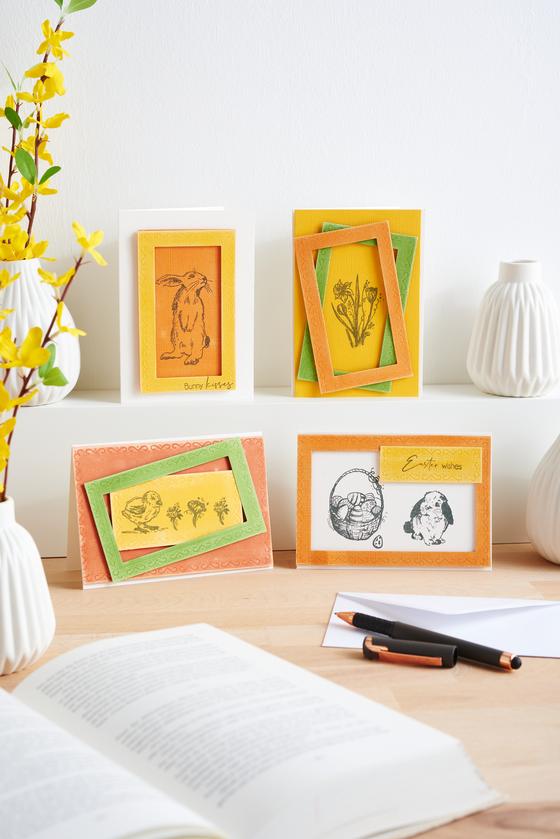
Start by creating the different elements for your Easter card. Use the Sizzix Framelits "Rectangles by Stacey Park" punching templates to punch out rectangles from papers in different colors and sizes.
Step 2: Finish the paper edges
To achieve an antique and classy look, sand the edges of the punched papers with the Sizzix Sanding Block. The sanding block helps to give the papers a charming, weathered look that fits perfectly with a vintage theme. Don't worry if you haven't used the block yet: simply lightly rub the edges of the paper until the desired effect is achieved.
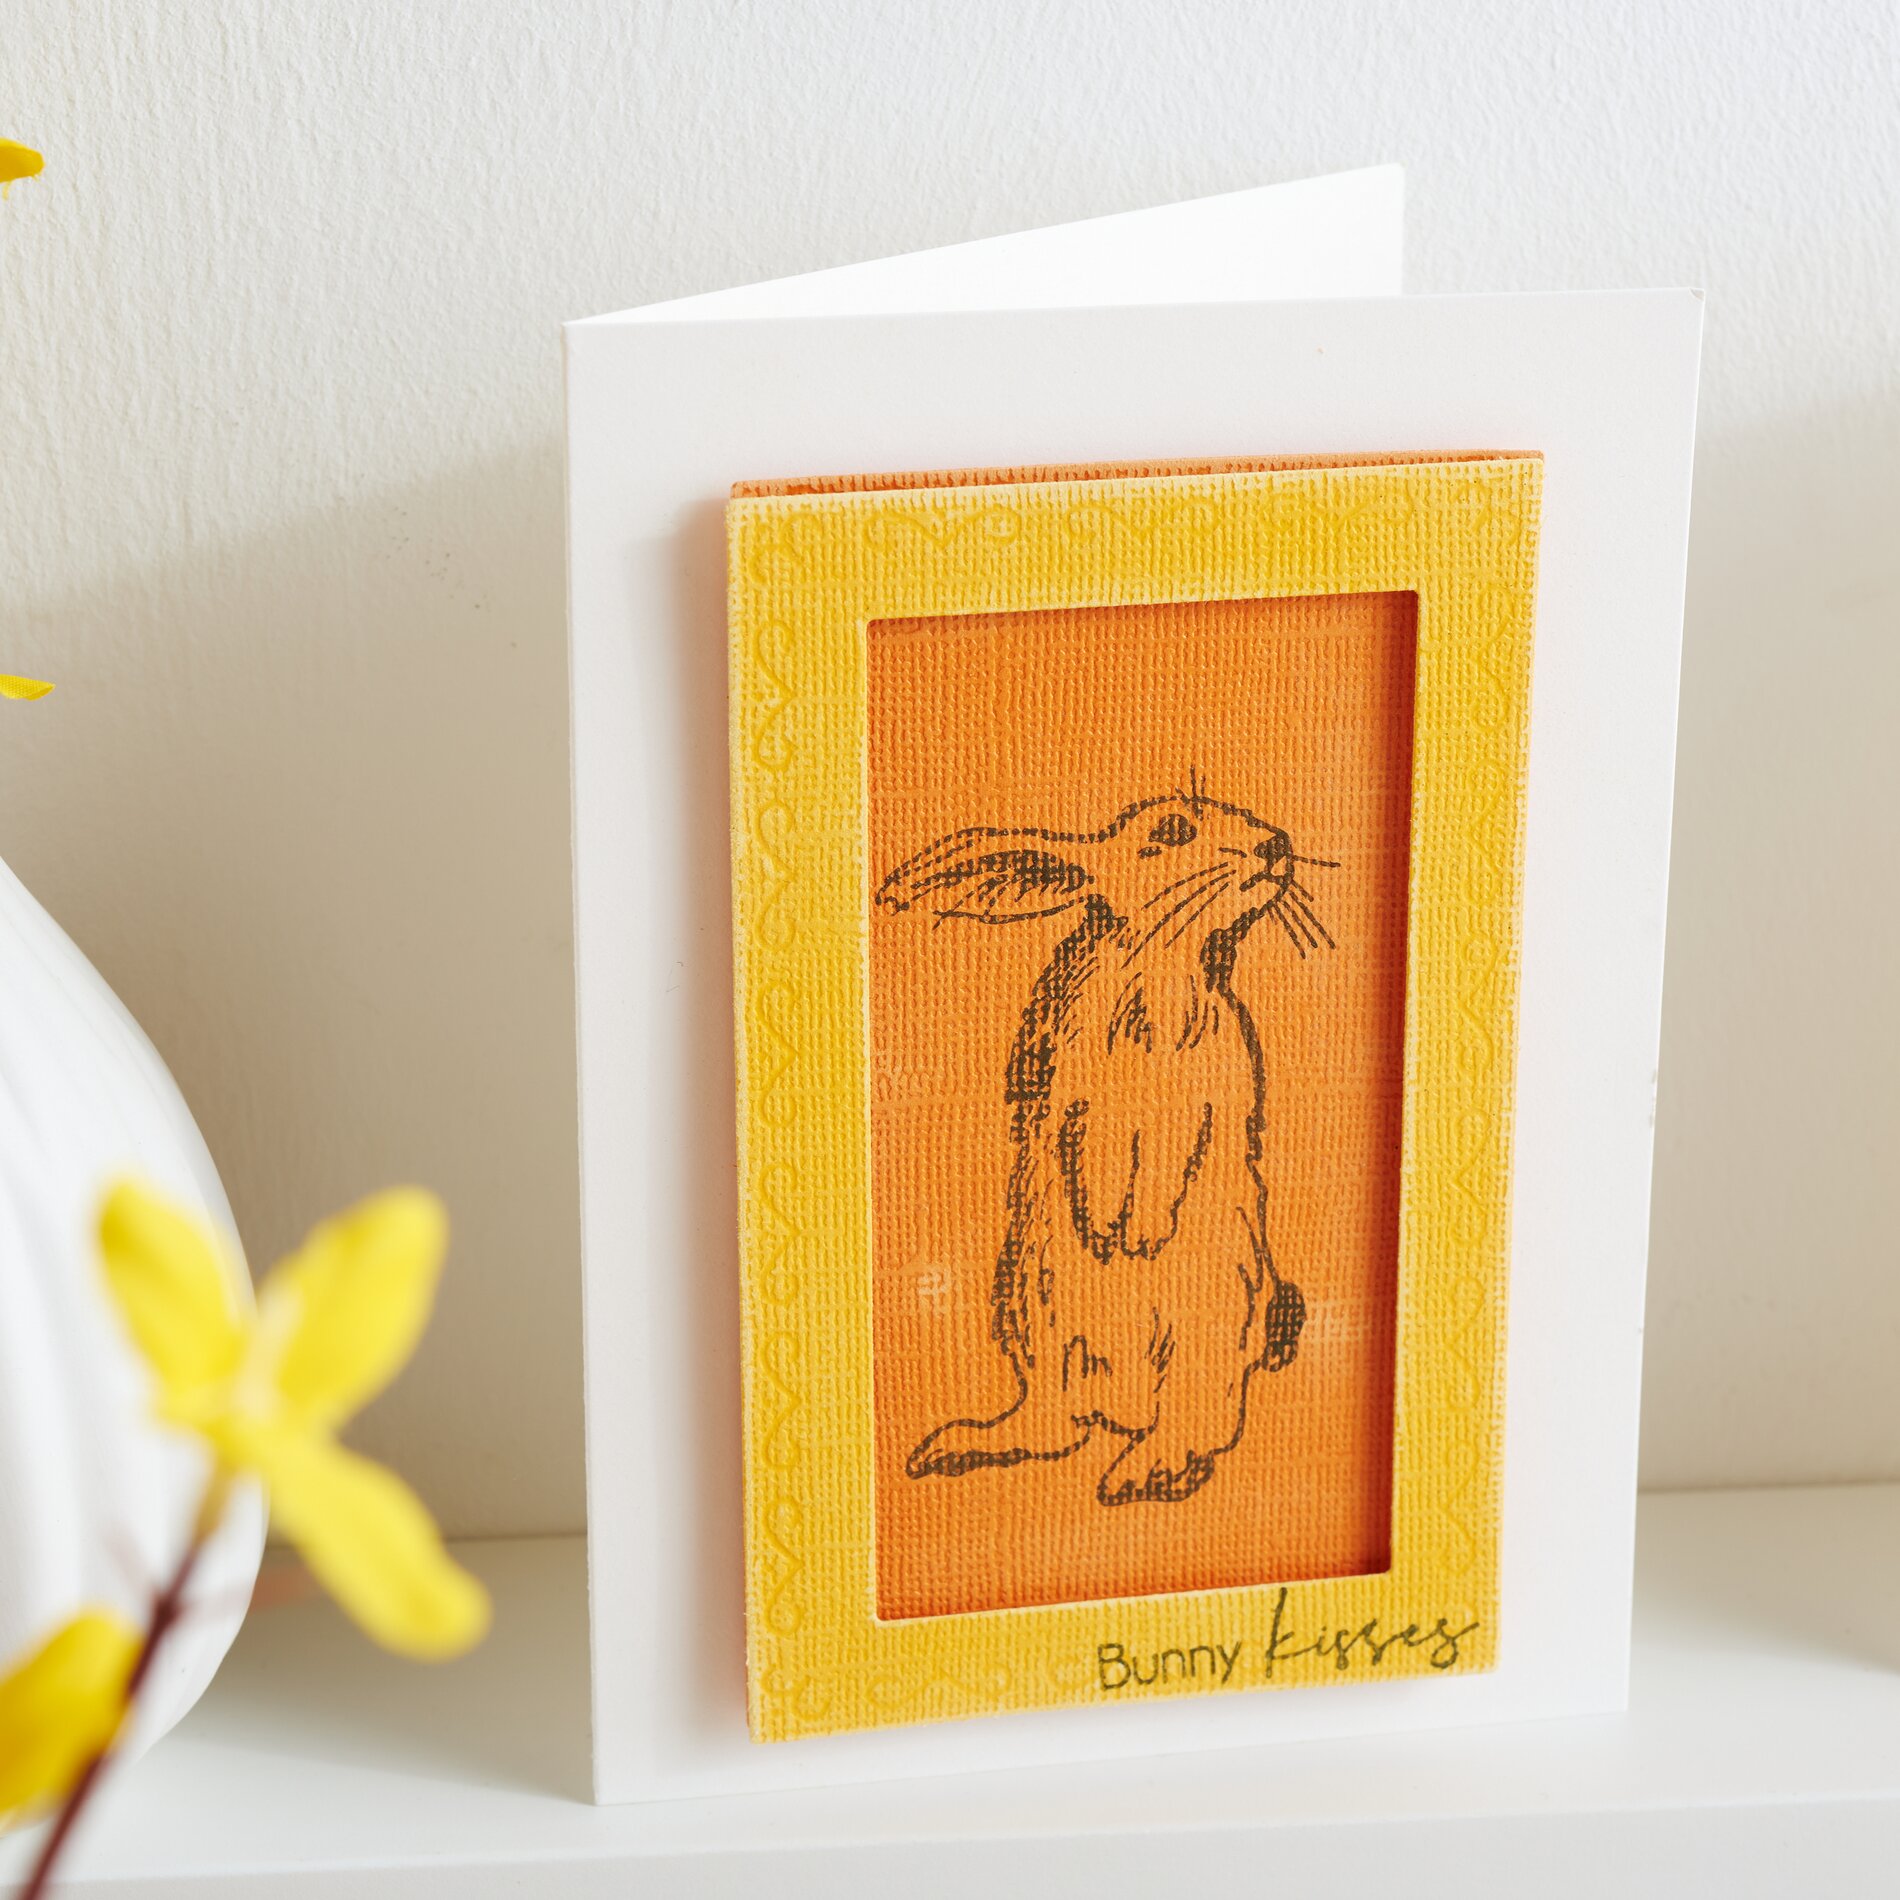
Step 3: Apply the stamp
Now comes the creative part: decorate the frames, the die-cut papers or the cards directly with your favorite stamp motifs. think about how you want to arrange the stamps to create a harmonious overall look. You can use both large, decorative motifs and smaller details to give your card depth and personality.
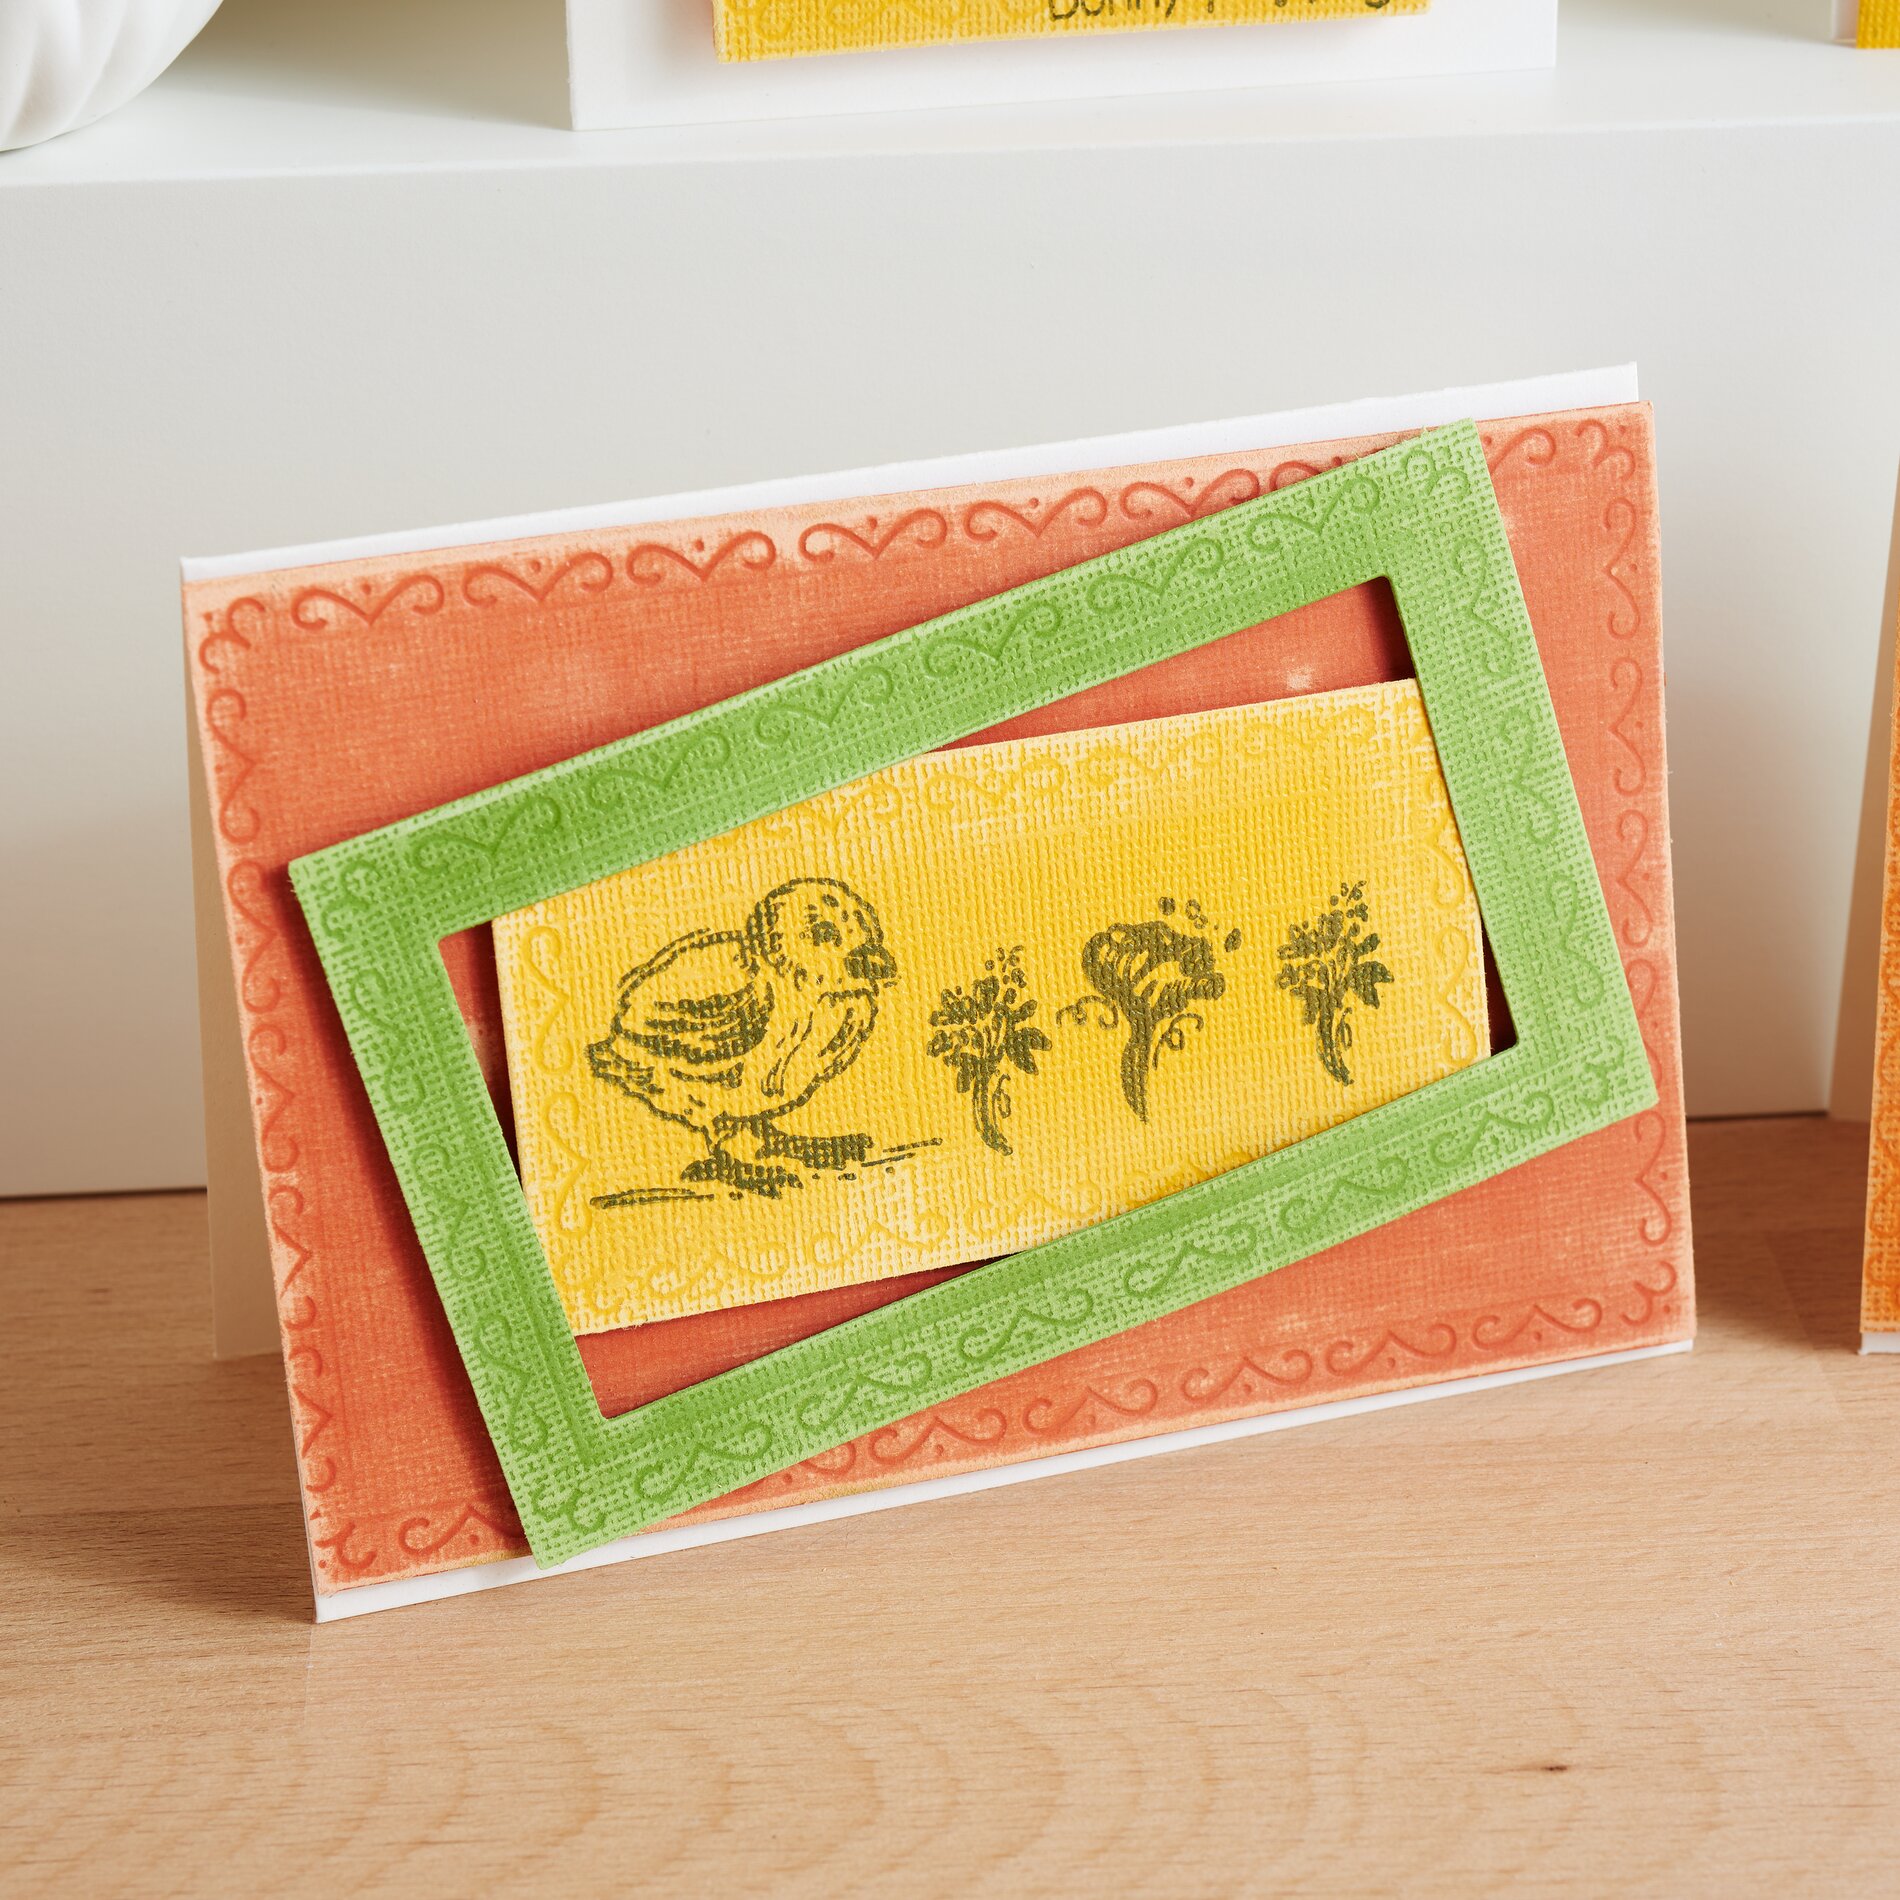
Step 4: Assemble the cards
Now assemble your card. Use 3D-glue pads, to attach the individual papers to the card. The three-dimensional effect creates a great, three-dimensional effect that catches the eye. Make sure to arrange the papers so that the color and shape harmonize with each other.
Step 5: Clean the stamps
Once you have finished designing your cards, it is important to clean your stamps thoroughly. Use a special stamp cleaner to remove residual ink and ensure the longevity of your stamps. So you're ready for your next stamping project!
Now you've created a beautiful, homemade Easter card that will put a smile on the face of every recipient. The joy of giving something personal is worth all the effort. Get all the materials you need, from punching templates and stamps to Paper, in our online store. You'll be well equipped for your next creative project. Have fun crafting and happy Easter!