- Secure order
- Easy return shipment
- Service-Hotline +49 4231 668980
Instructions No. 3653
Difficulty: Beginner
Working time: 10 Hours
Step 1: A blaze of color for your stretched canvas
Start by mixing different craft paints. Depending on the desired intensity, add a little water so that the colors flow smoothly. Prepare this mixture in a small cup so that you have maximum control over the color concentration. Pour the colors onto the stretched canvas and let your creativity run wild by spreading and mixing them as you wish with a brush. Create wild patterns or gentle color gradients - it's up to you!

Step 2: Preparations: for embroidering
As soon as the colors are completely dry, place the stencil with your desired text on the stretched canvas. Trace the letters with a sublimate pen. This pen is particularly practical because the violet color liquid disappears by itself and leaves no traces.
Step 3: Make holes for the embroidery
Now take the prickle needle and carefully make small holes along the contours of the letters. These will serve as guide points for the later embroidery. Be patient and precise, as these steps will determine the final look of your artwork.
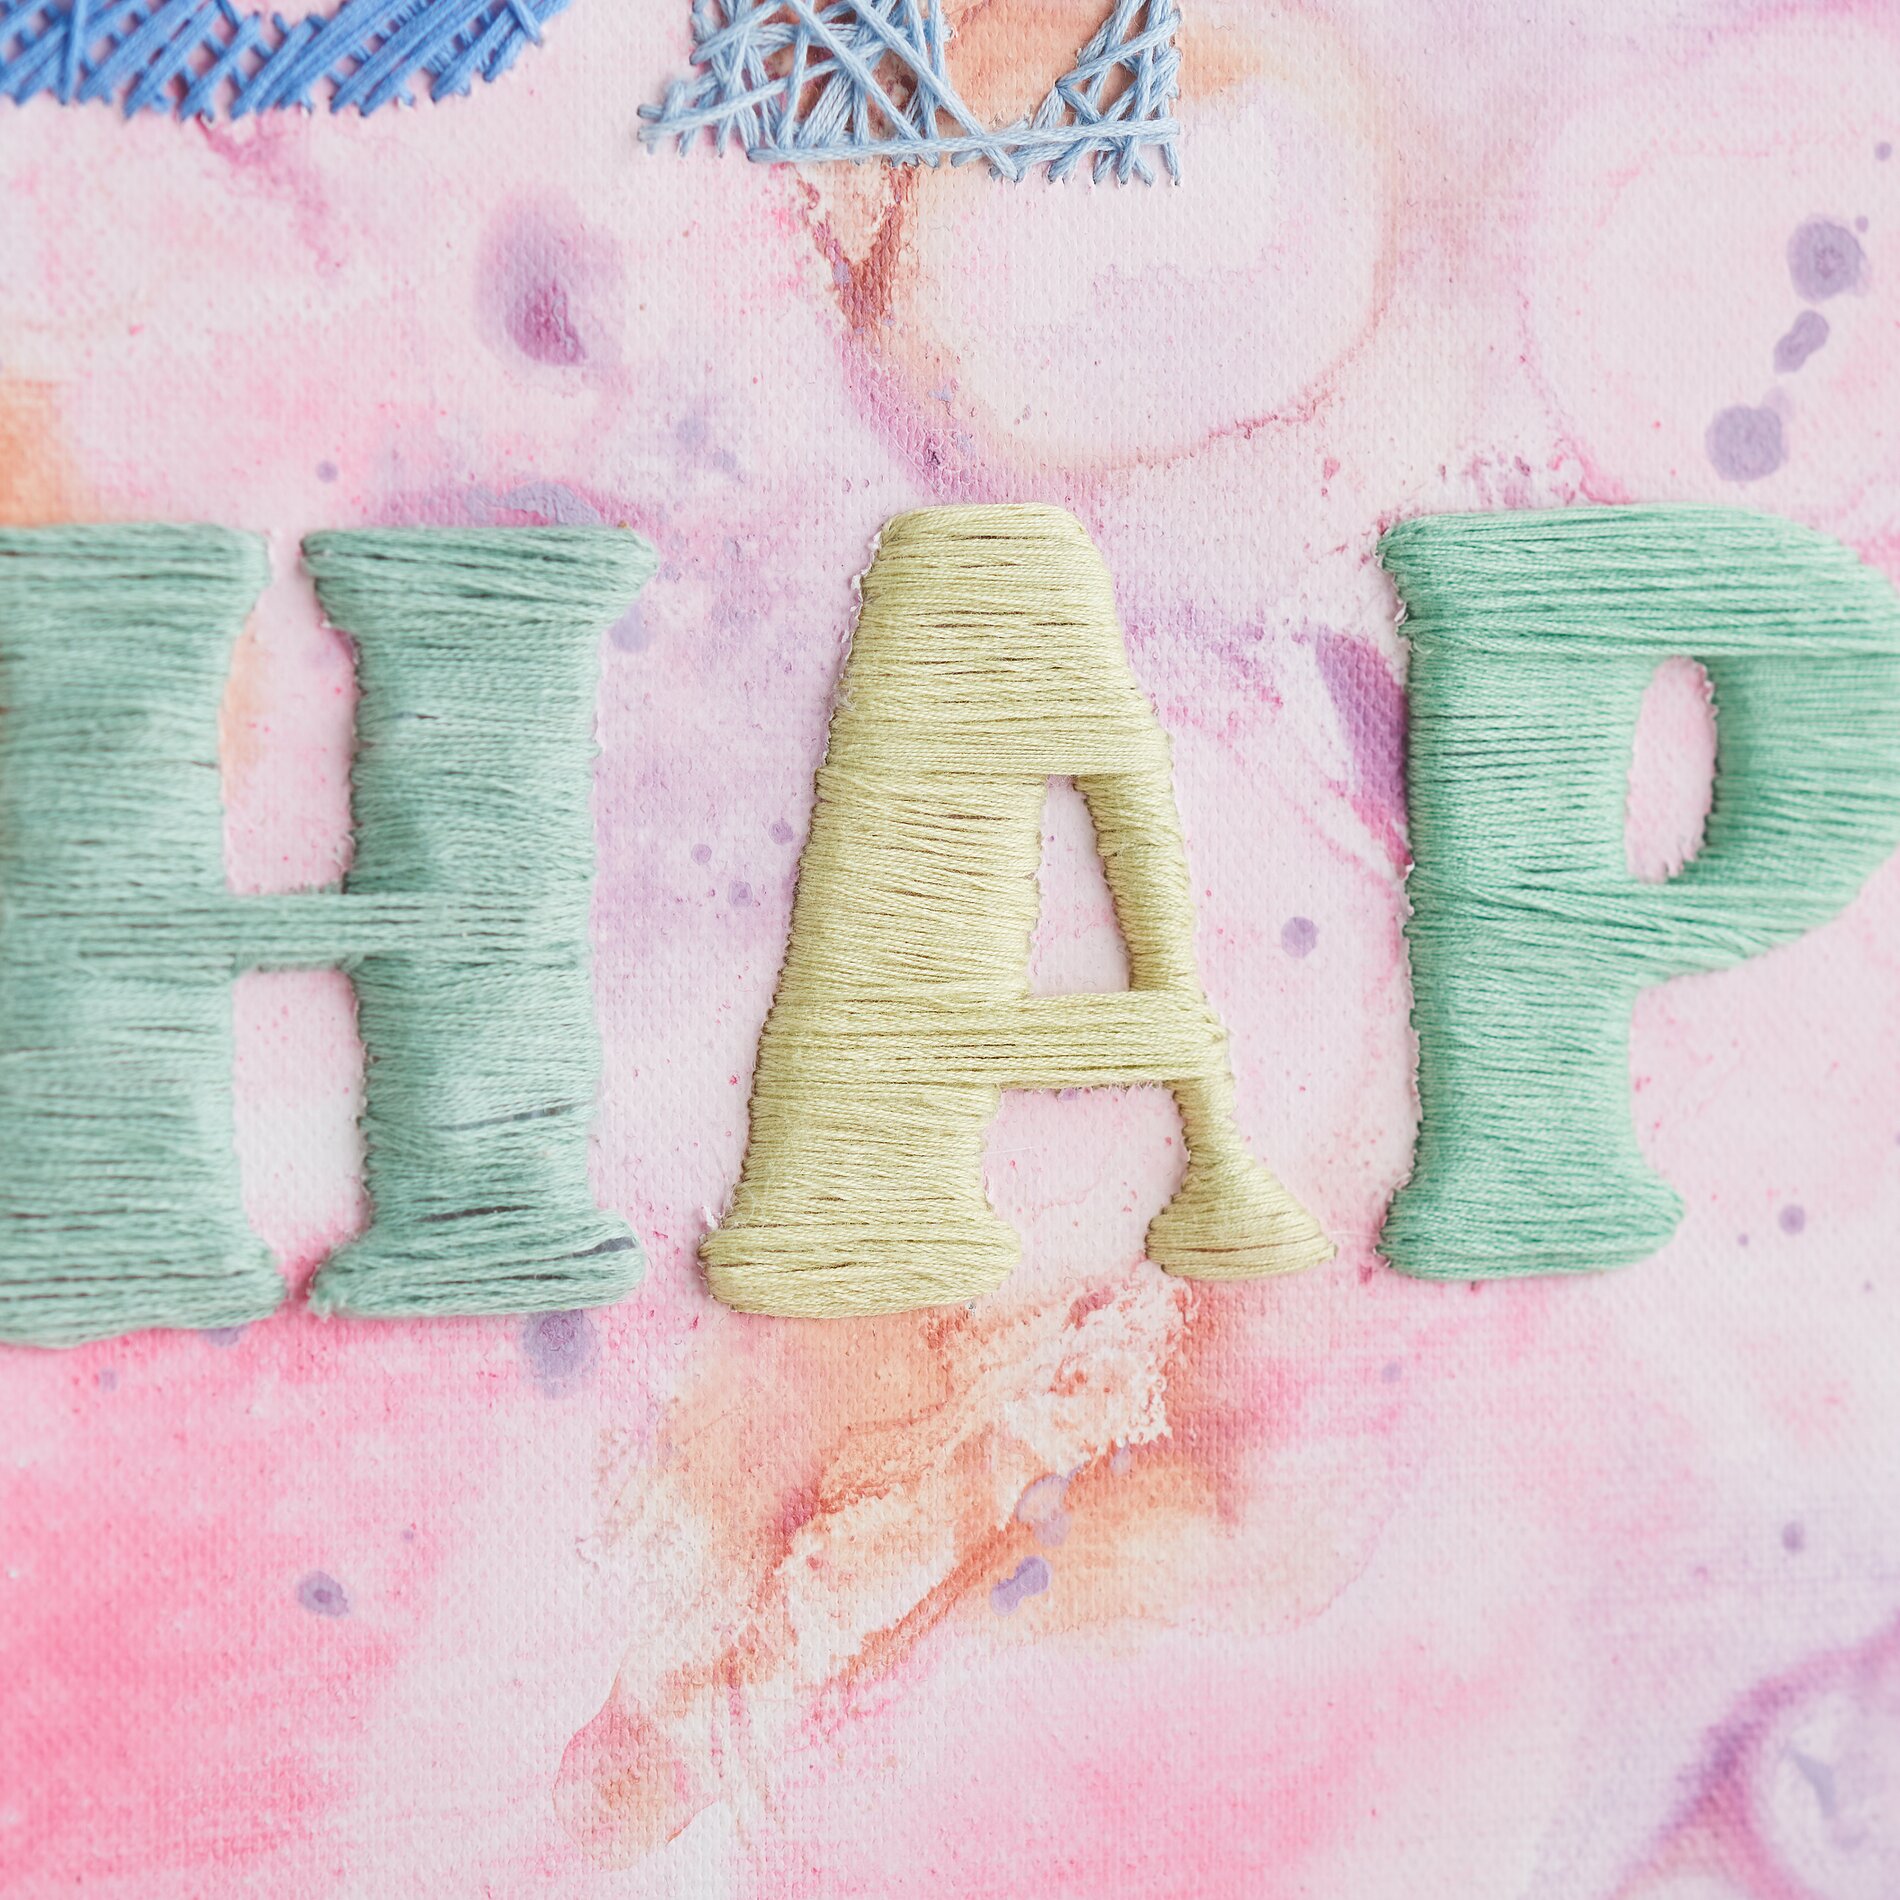
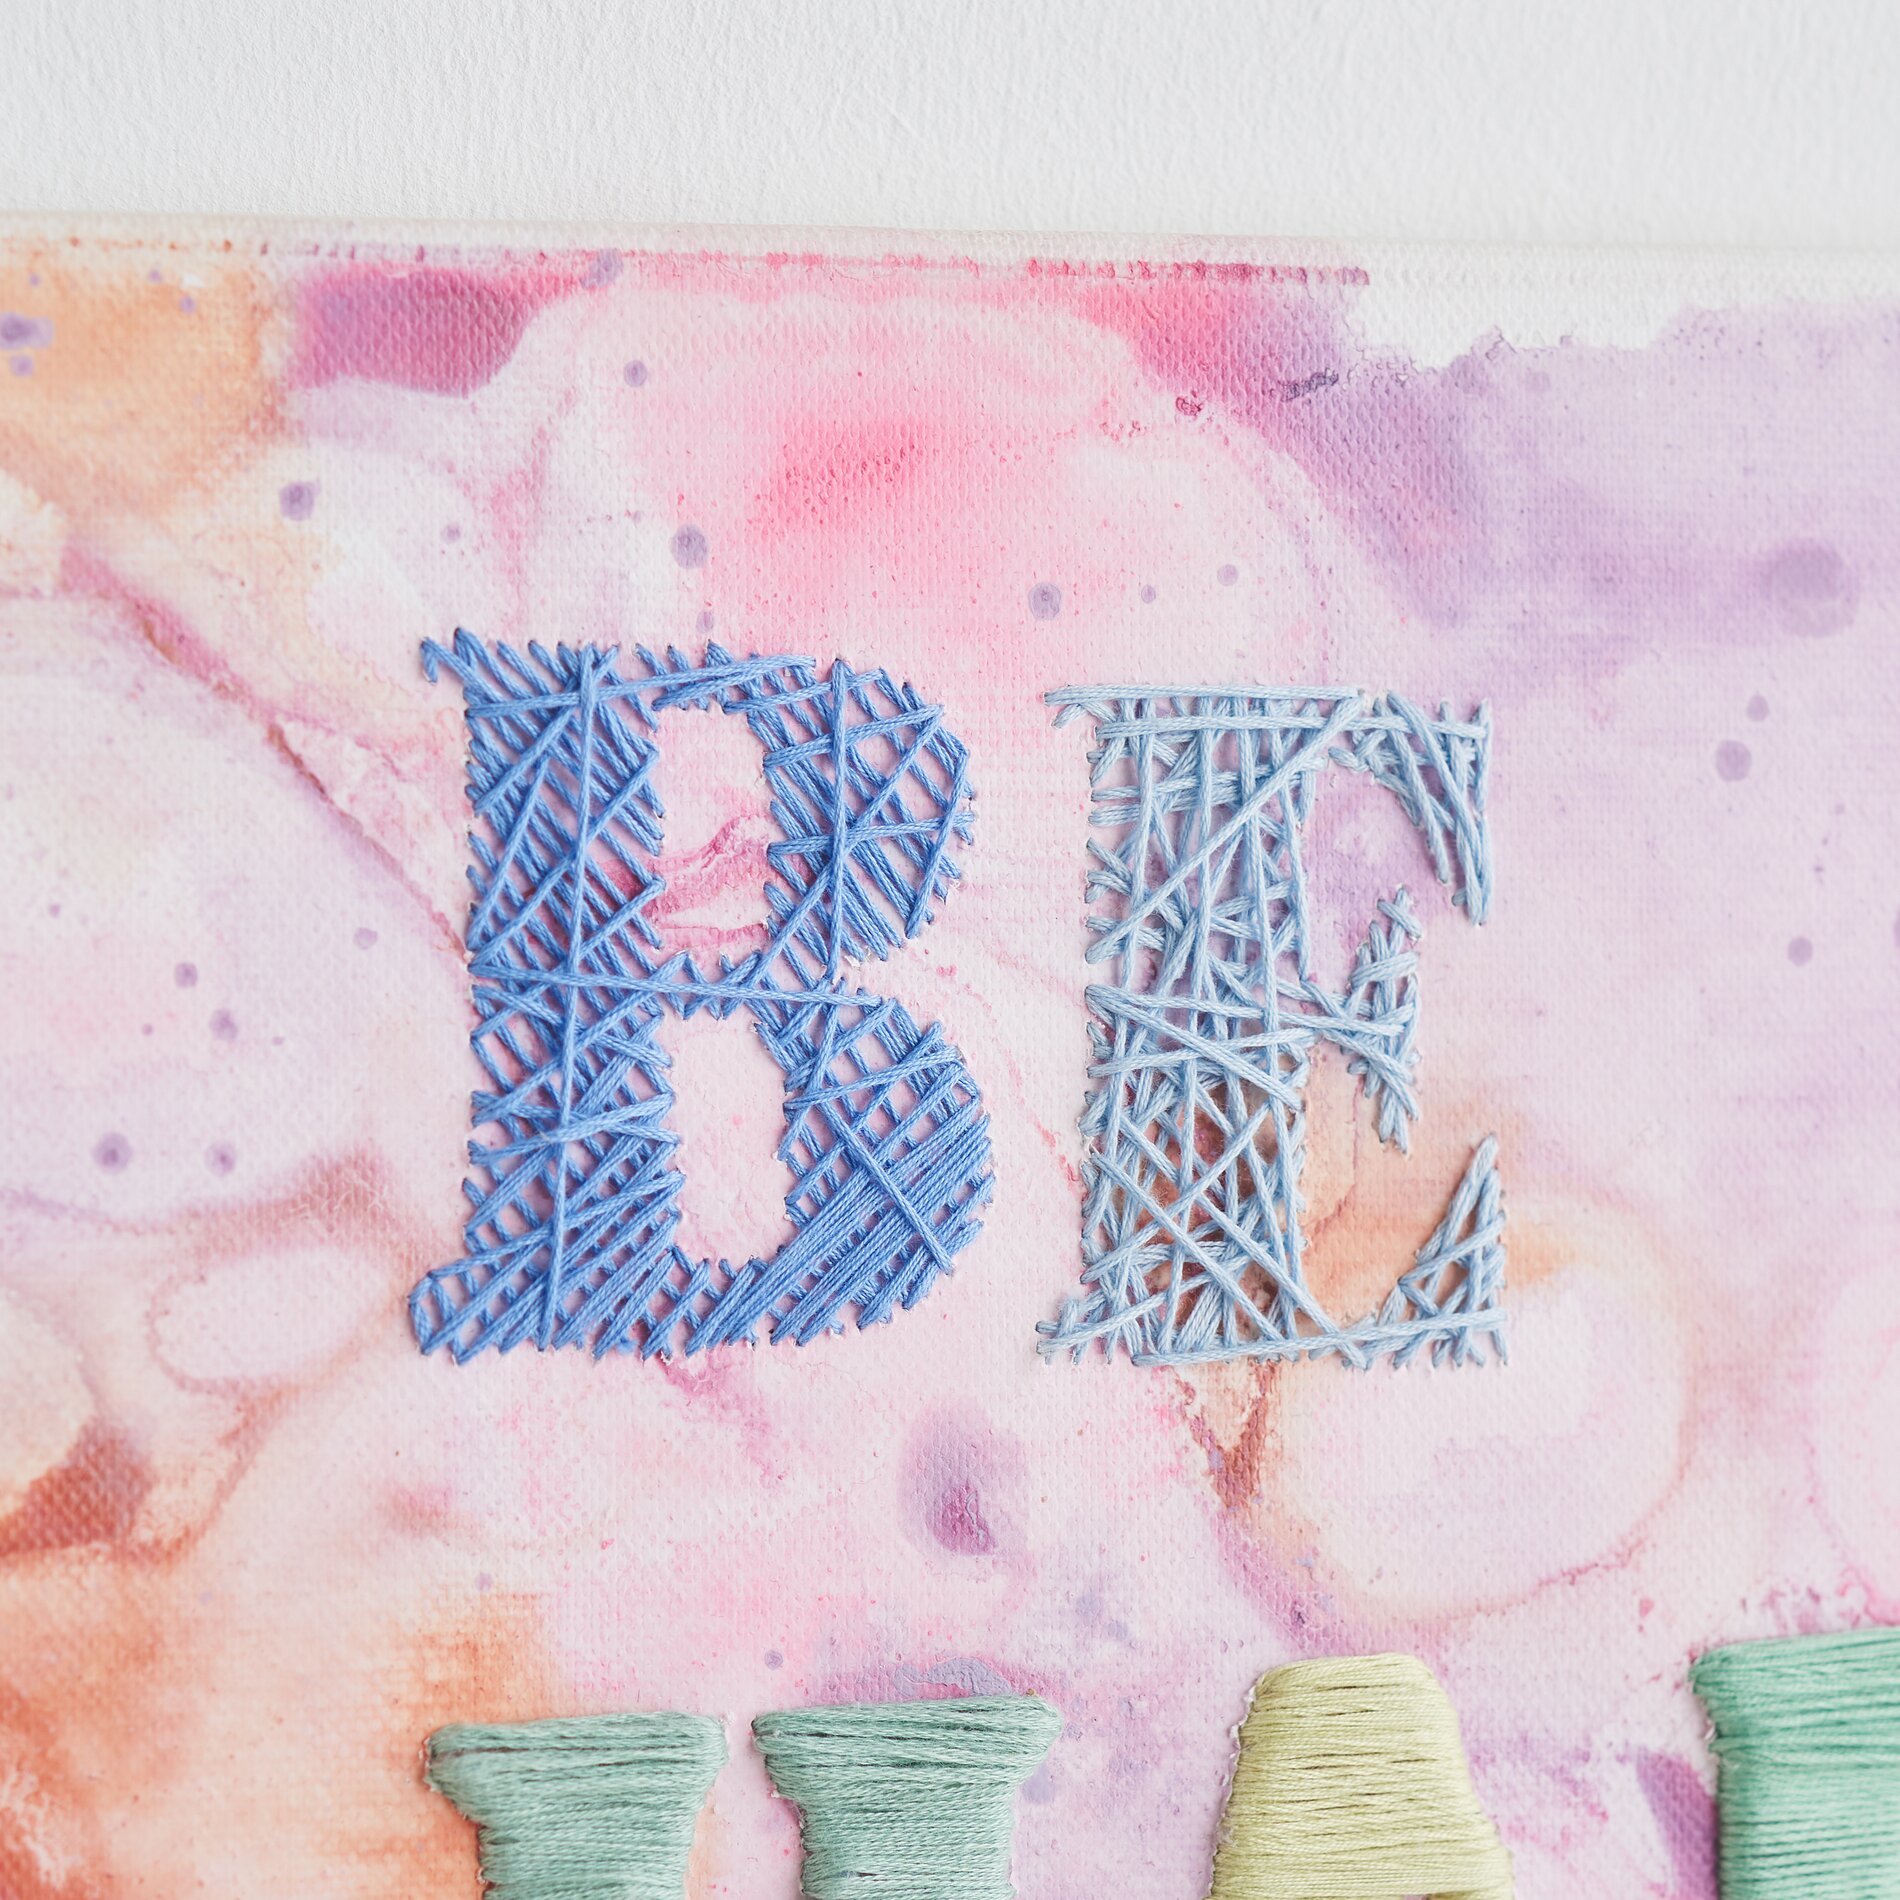
Step 4: Creative embroidery
Then thread matching colored embroidery twist through a needle. Now you can start embroidering the letters. Whether you embroider in even strips or criss-cross is up to you. Make sure you develop your own style and design the lettering the way you like it best.
Extra tip for a three-dimensional result
Would you like to give the letters more depth? Gently fill the contours with hot glue before embroidering. Allow this layer to dry and give your artwork more three-dimensionality before continuing with the embroidery.