- Secure order
- Easy return shipment
- Service-Hotline +49 4231 668980
Instructions No. 3588
Difficulty: Beginner
Working time: 3 Hours
Spring is the perfect time to breathe new life into your home with bright colors and creative designs. With these instructions, we'll show you how you can easily create a springtime decorative wooden panel yourself. This handmade decoration will not only bring warmth and freshness to your home, but is also an impressive example of your creative skills. Let's get started together and bring the lightness of spring into your home with just a few simple steps!

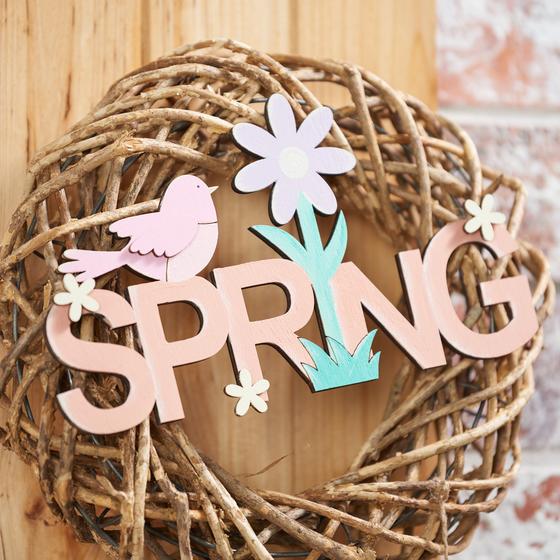
Step 1: Painting the wooden tags and the lettering
Take the wooden tags and lettering you have prepared. Use your craft paints to give these pieces an individual touch. Make sure you have clean edges and apply the paint evenly. Let your imagination run wild - whether in bright colors or subtle shades, you decide!
Step 2: Attach the flowers and wings
As soon as the colors are dry, it's time to decorate. Apply some handicraft glue to the back of the flowers and wings and place them in the desired positions on your wooden board.
Step 3: Sealing the wood
To give the painted pieces of wood and the wooden board a nice finish, apply the VBS Acrylic varnish. This varnish not only serves as a protective layer against dust and wear, but also gives the colors a wonderful shine. Allow the varnish to dry completely before moving on to the next step!
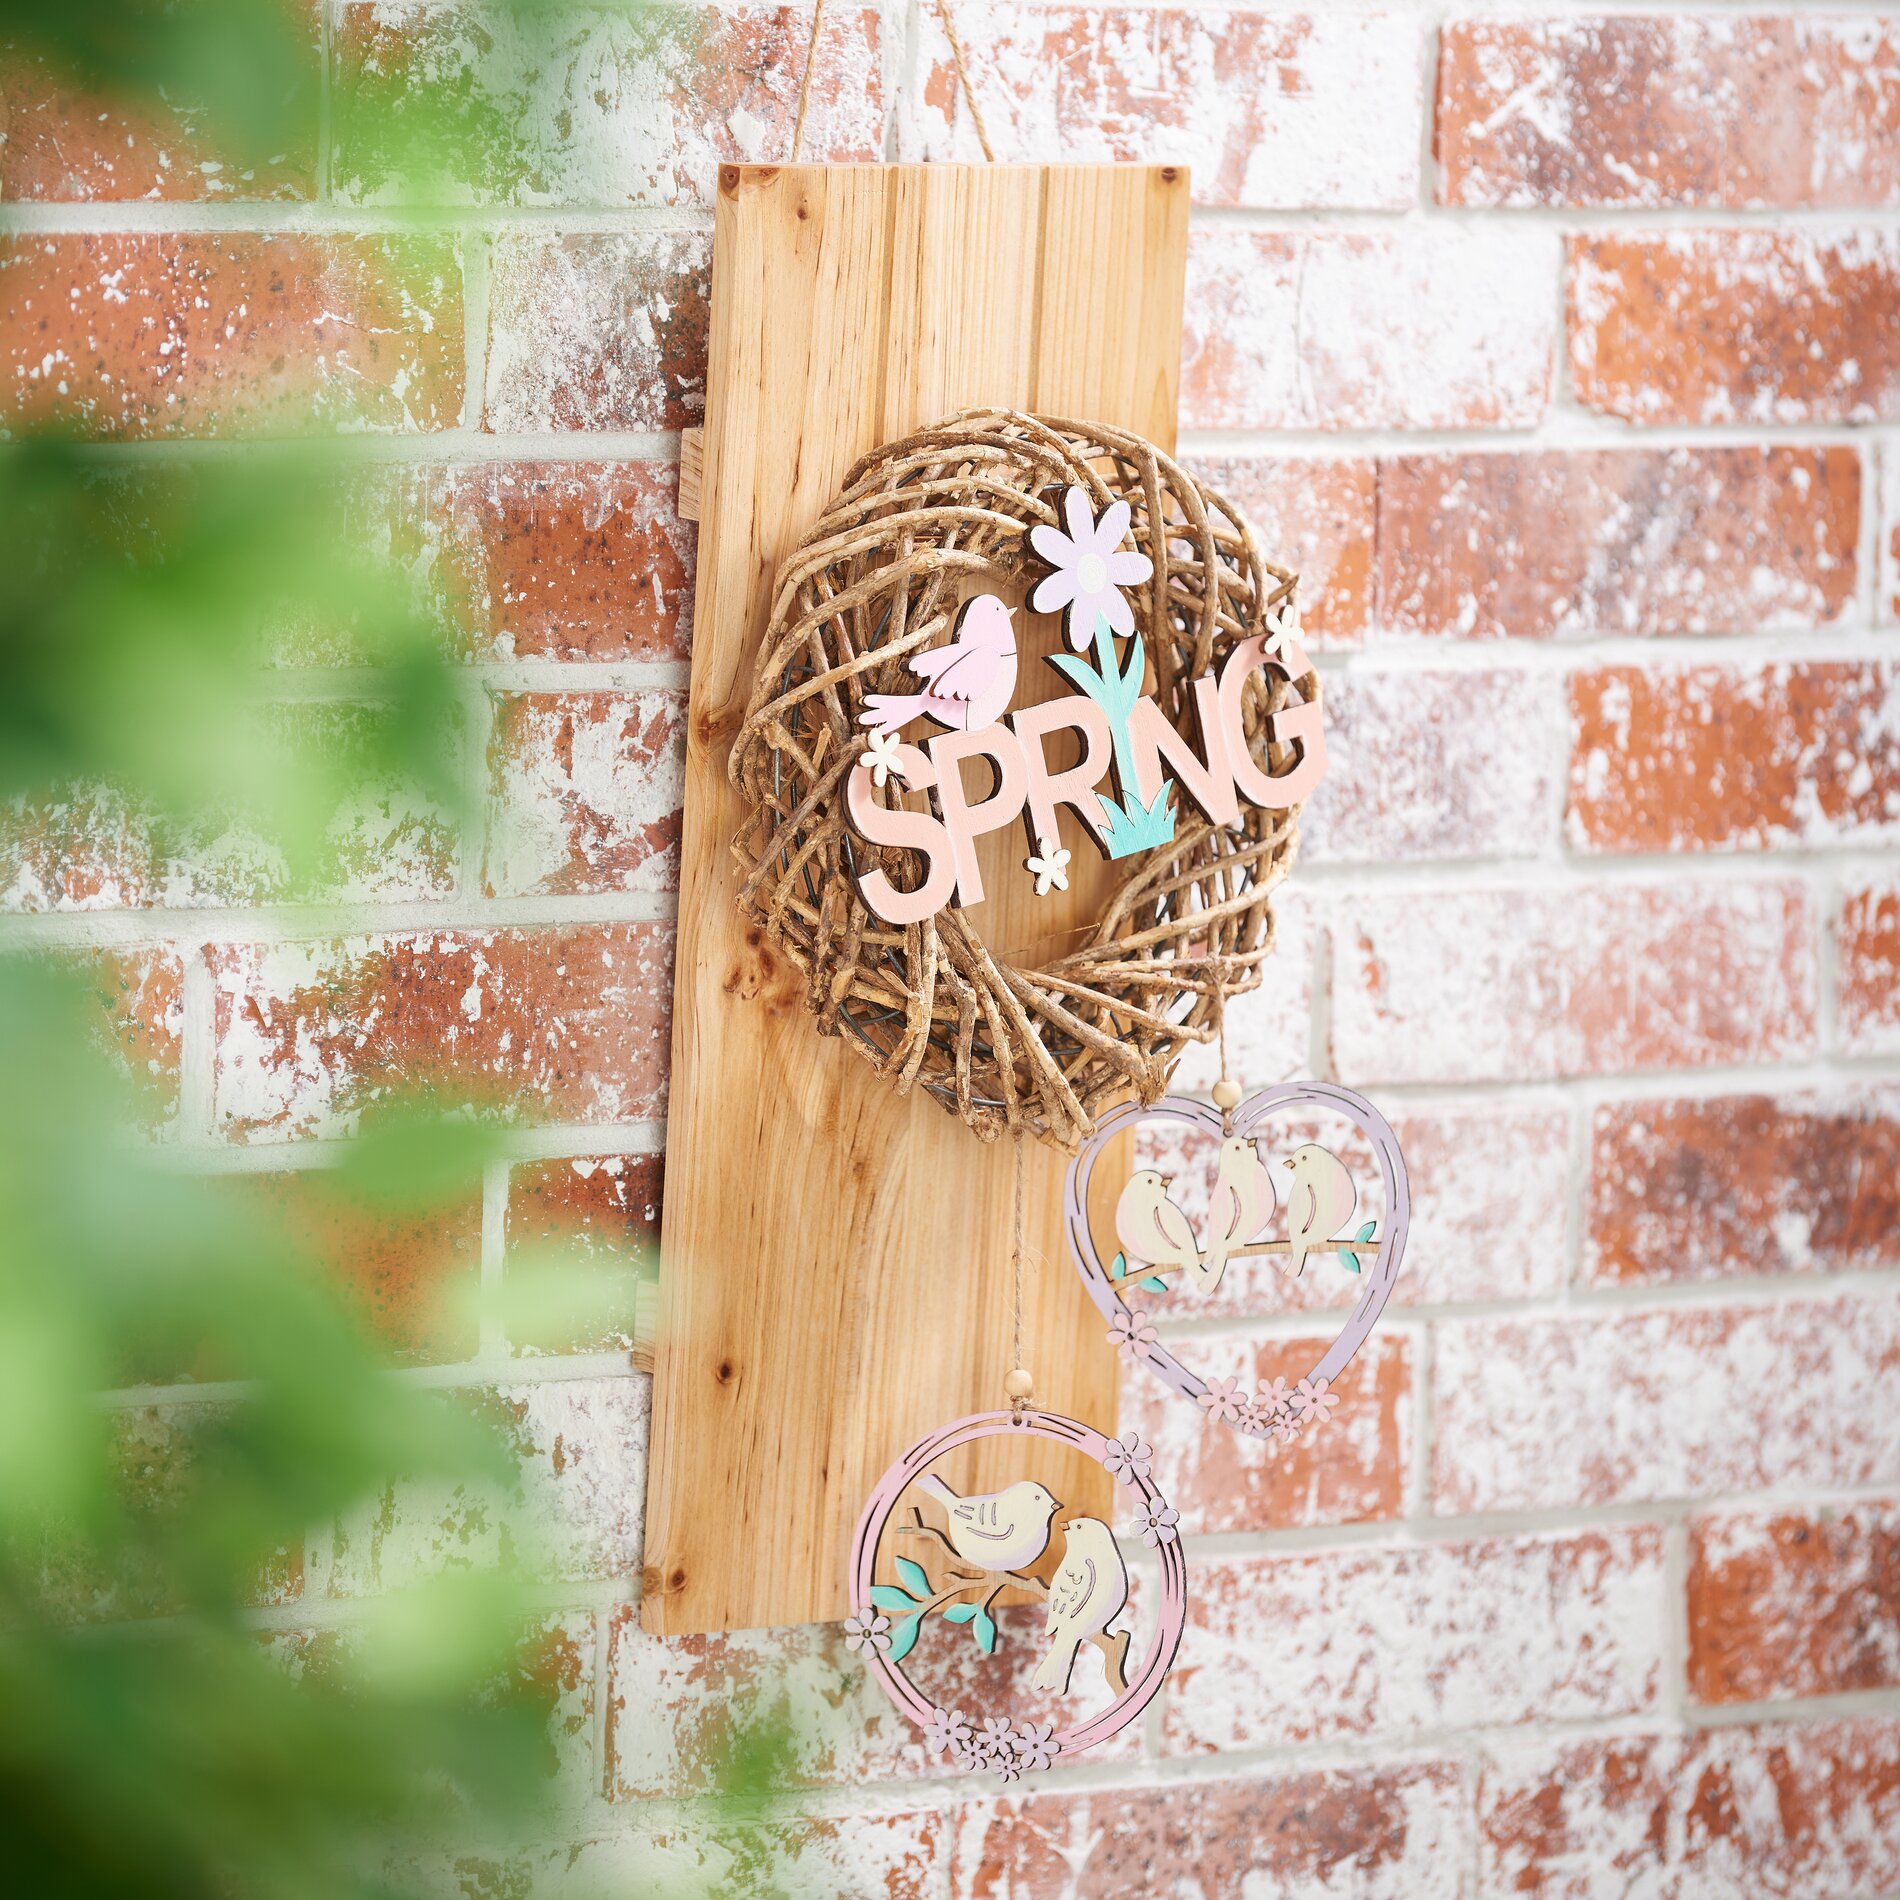
Step 4: Attach screw hooks and hang the wreath
The next step is to twist a screw hooks into the top of your wooden panel. This will hold the rattan wreath securely in place. Screw the hook in until it is secure! Once the hook is installed, hang the rattan wreath from it.
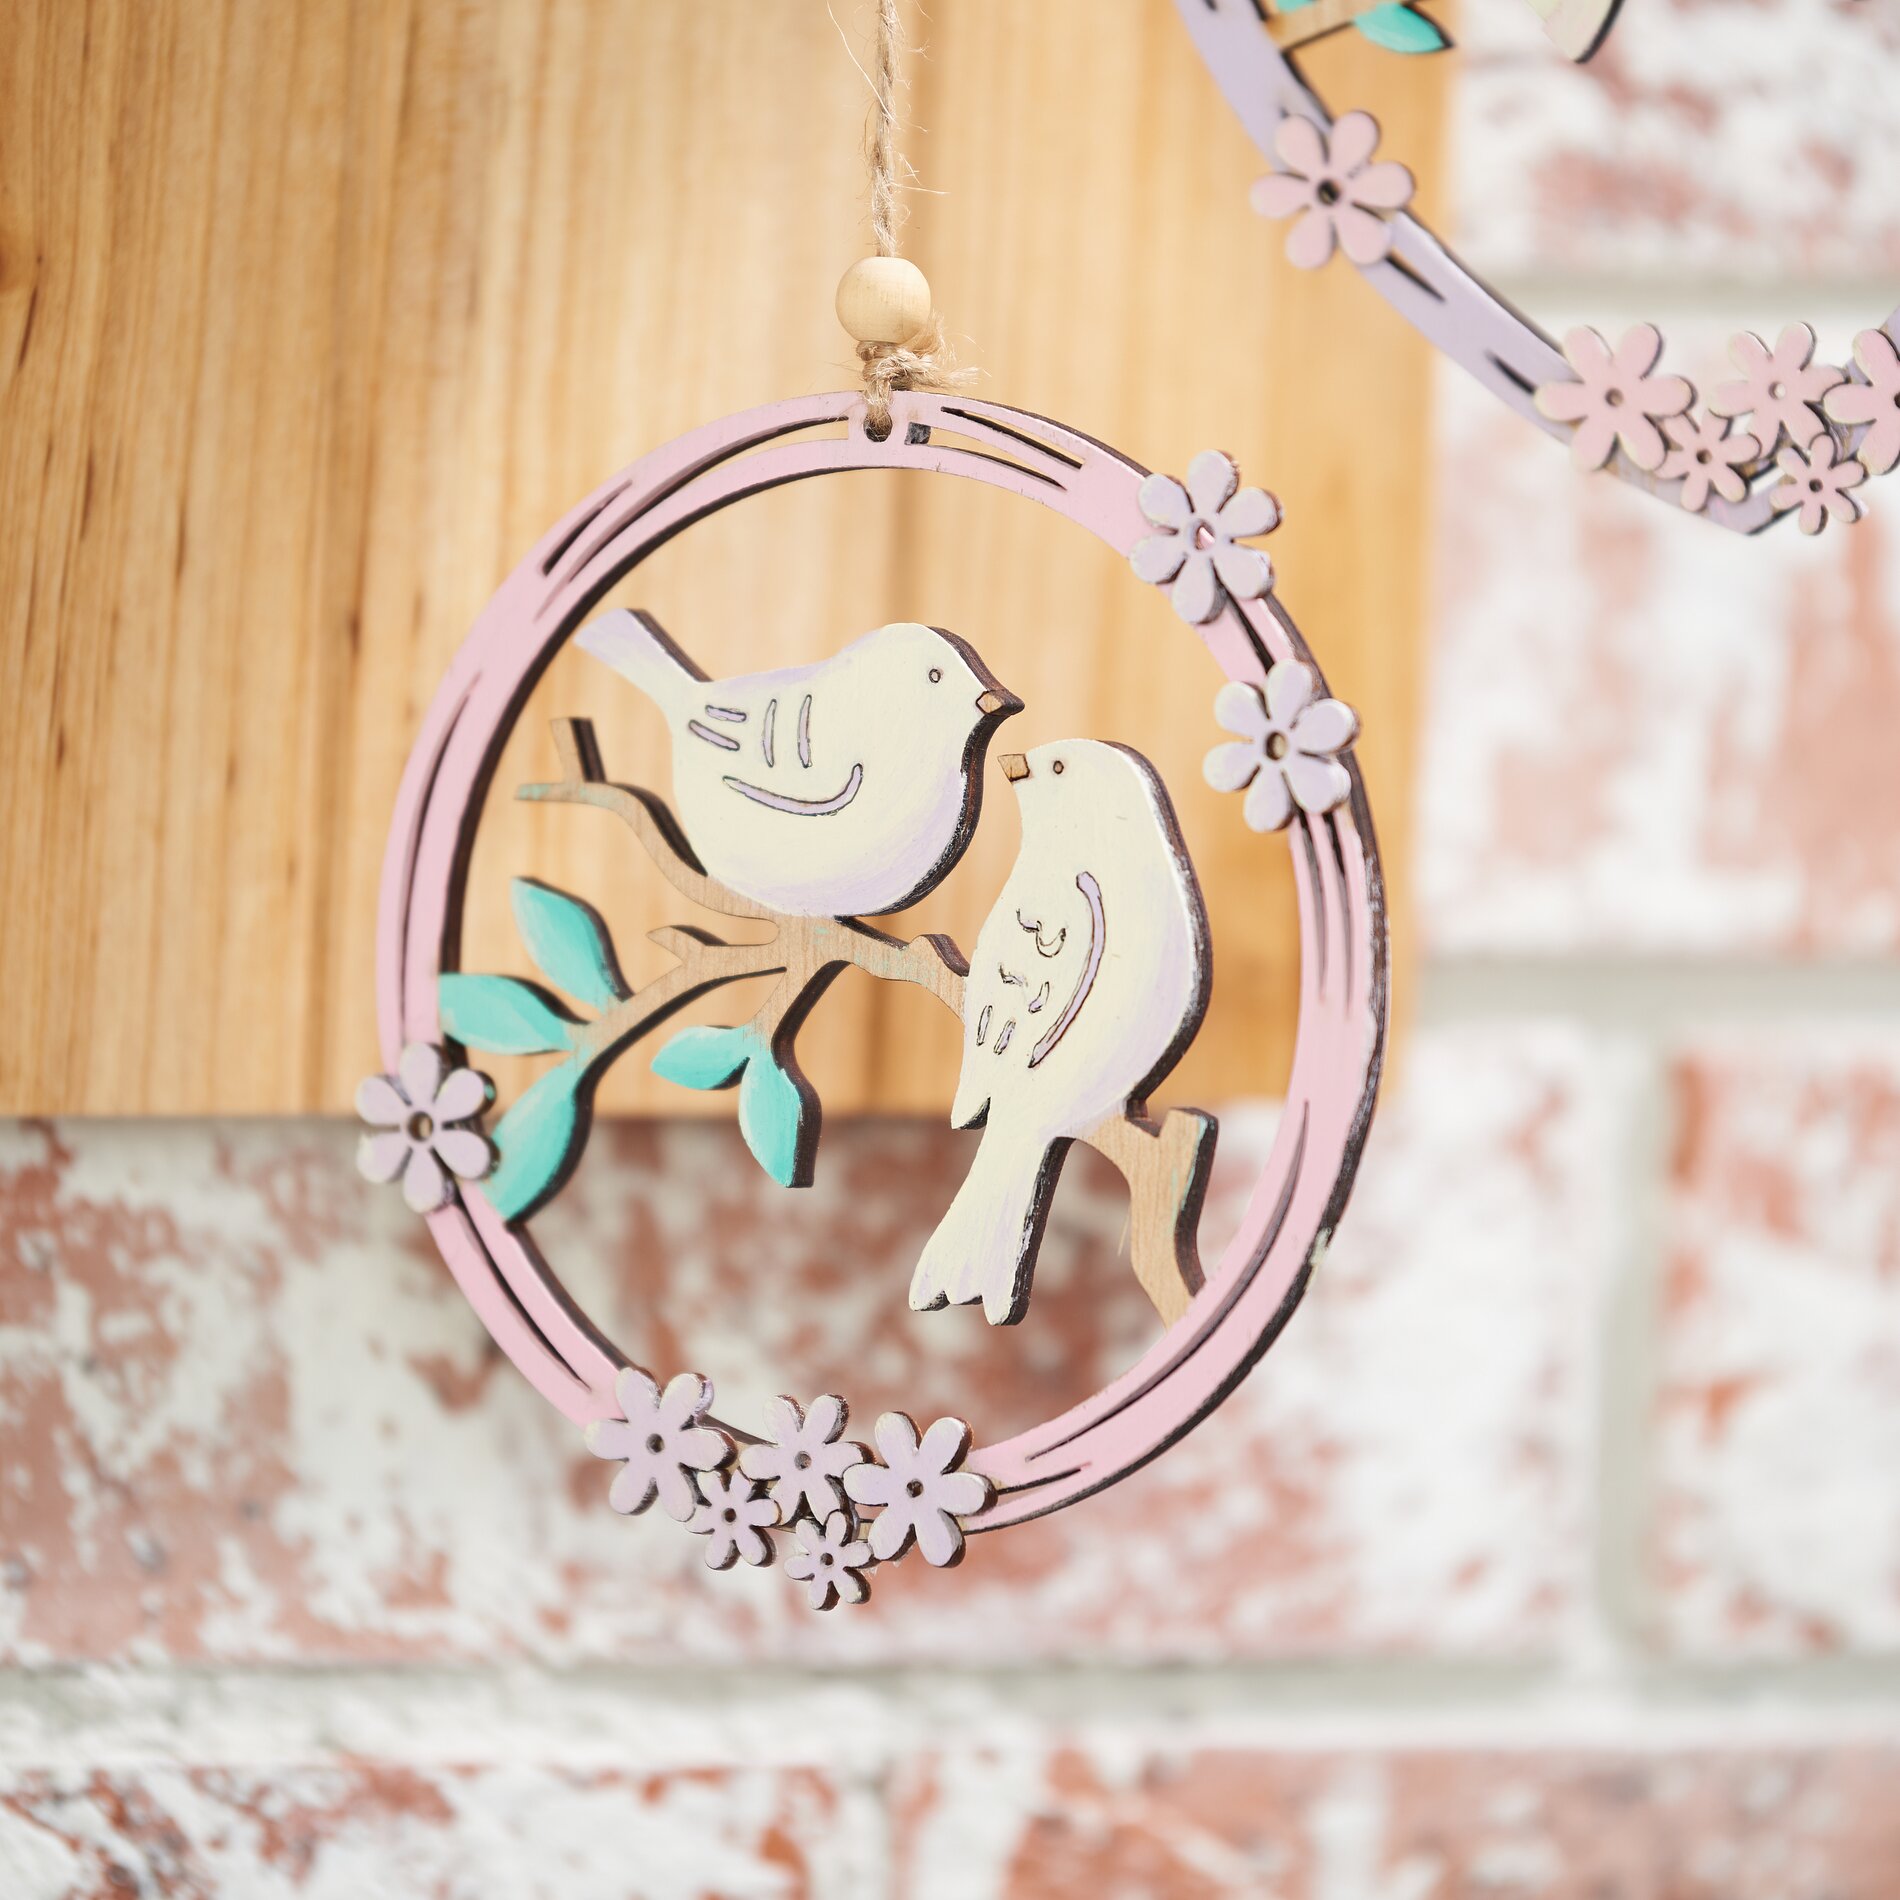
Step 5: Decorating the wreath with wooden lettering and pendants
Now that the wreath is hanging, you can knot the wooden lettering and the painted wooden pendants to the wreath.
When you have completed all these steps, you now have a unique and beautiful wreath on a wooden board!