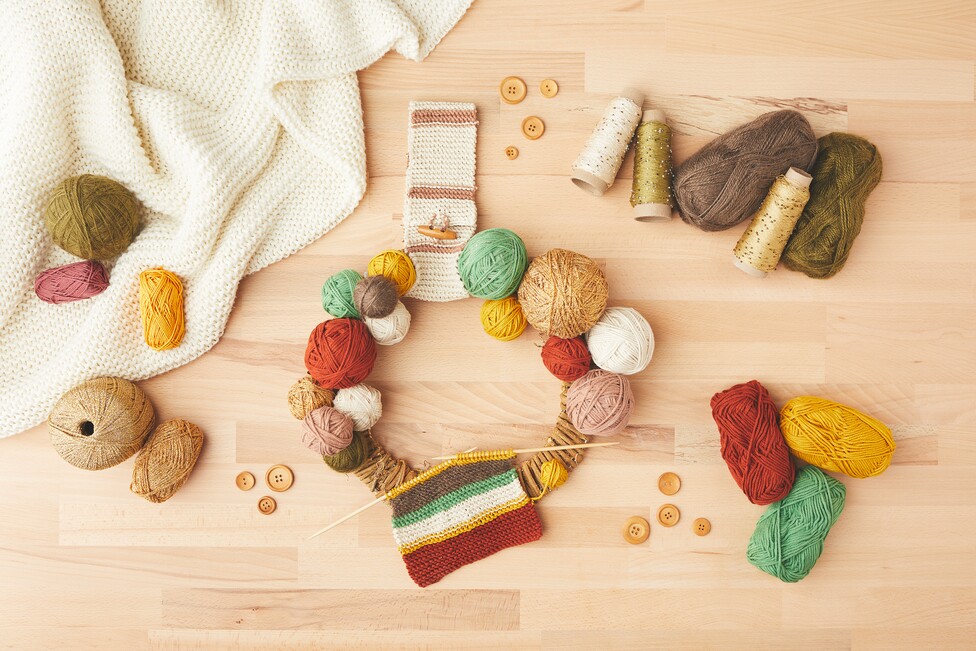
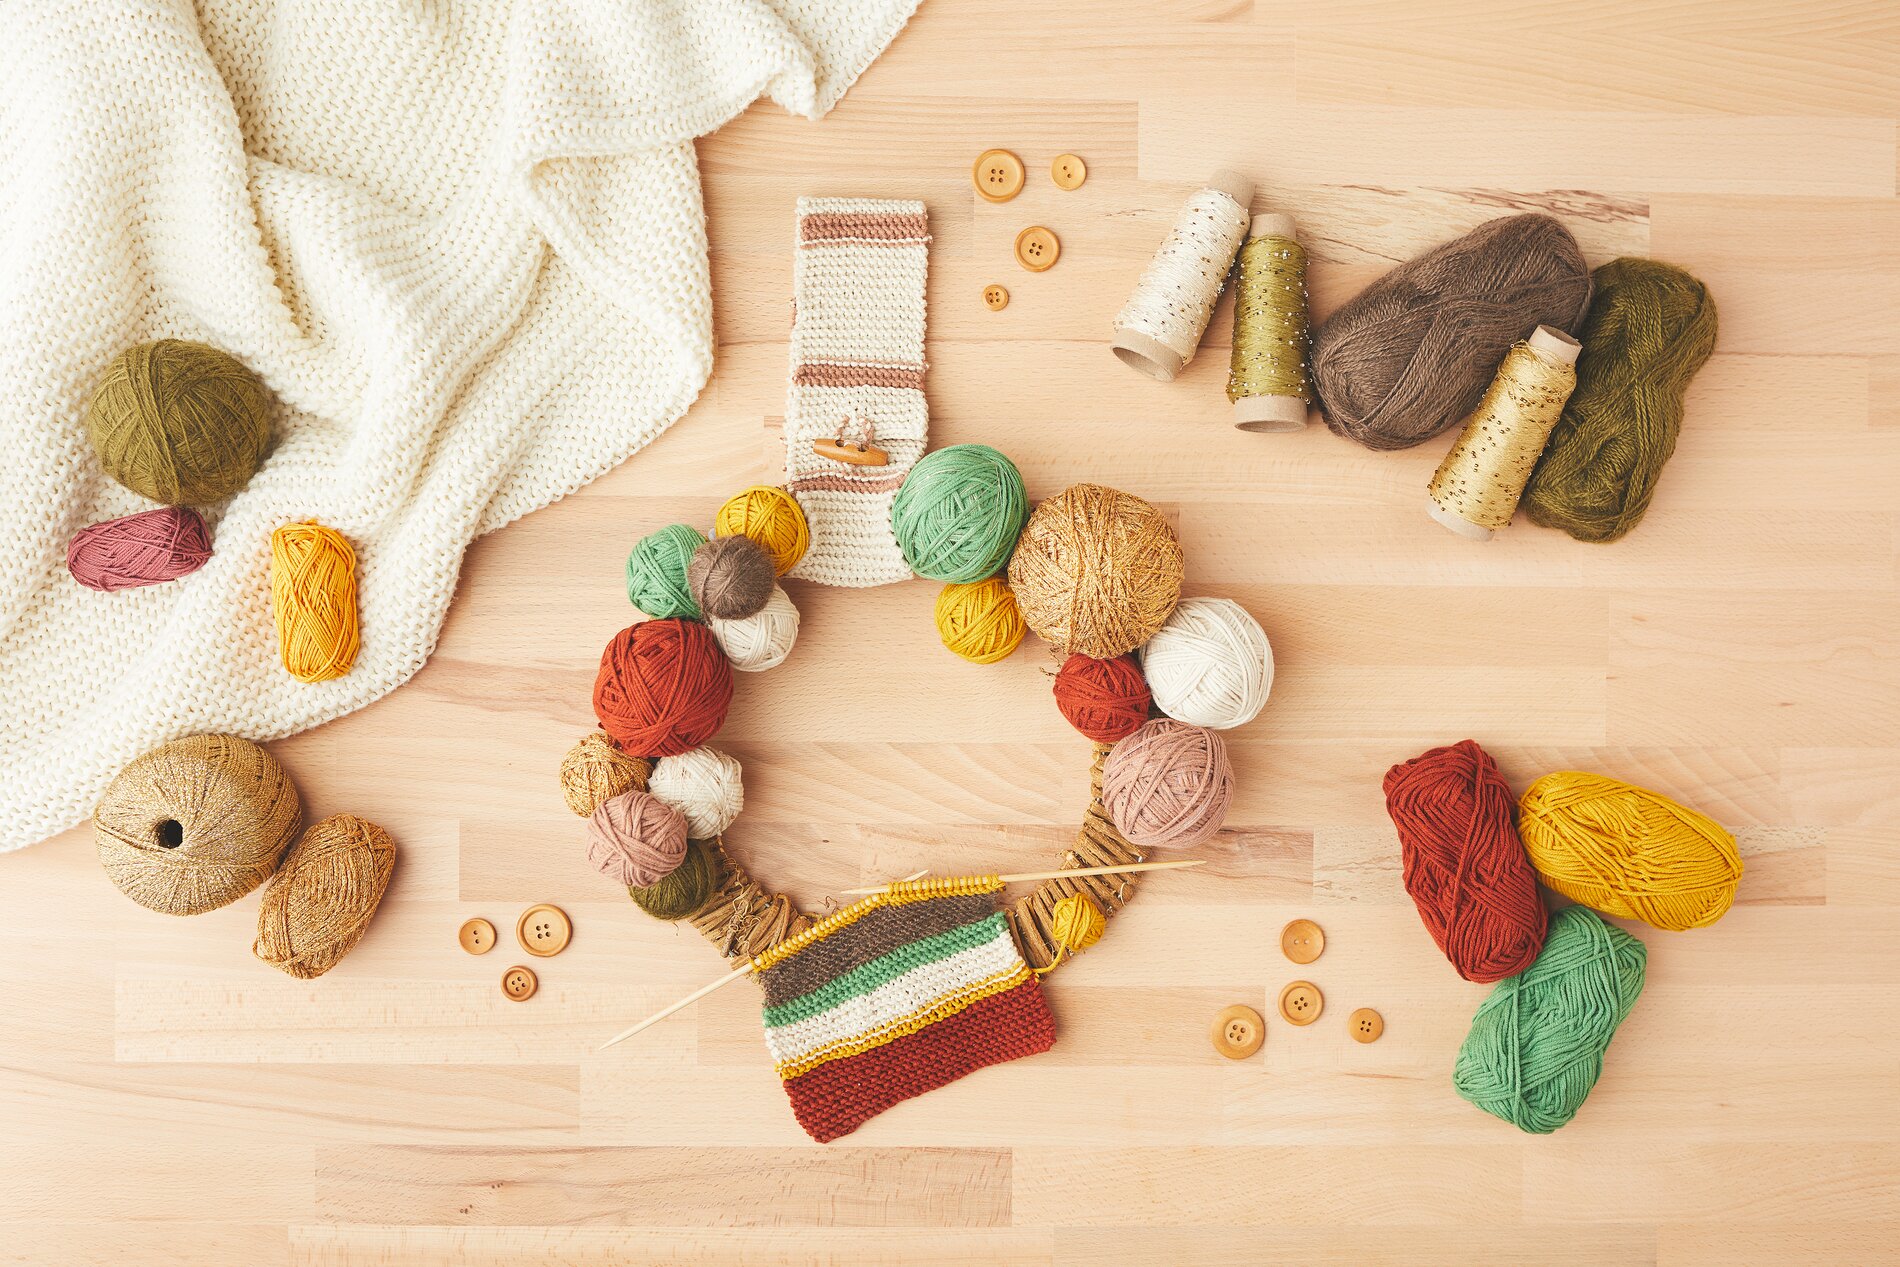
How to Make a Winter Wreath with Wool Balls and Knitted Details
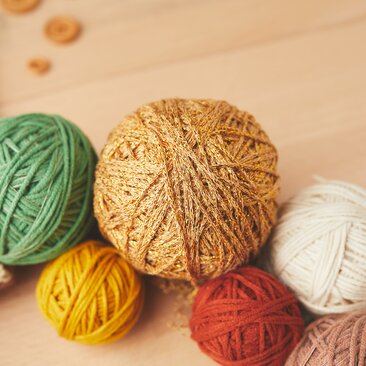
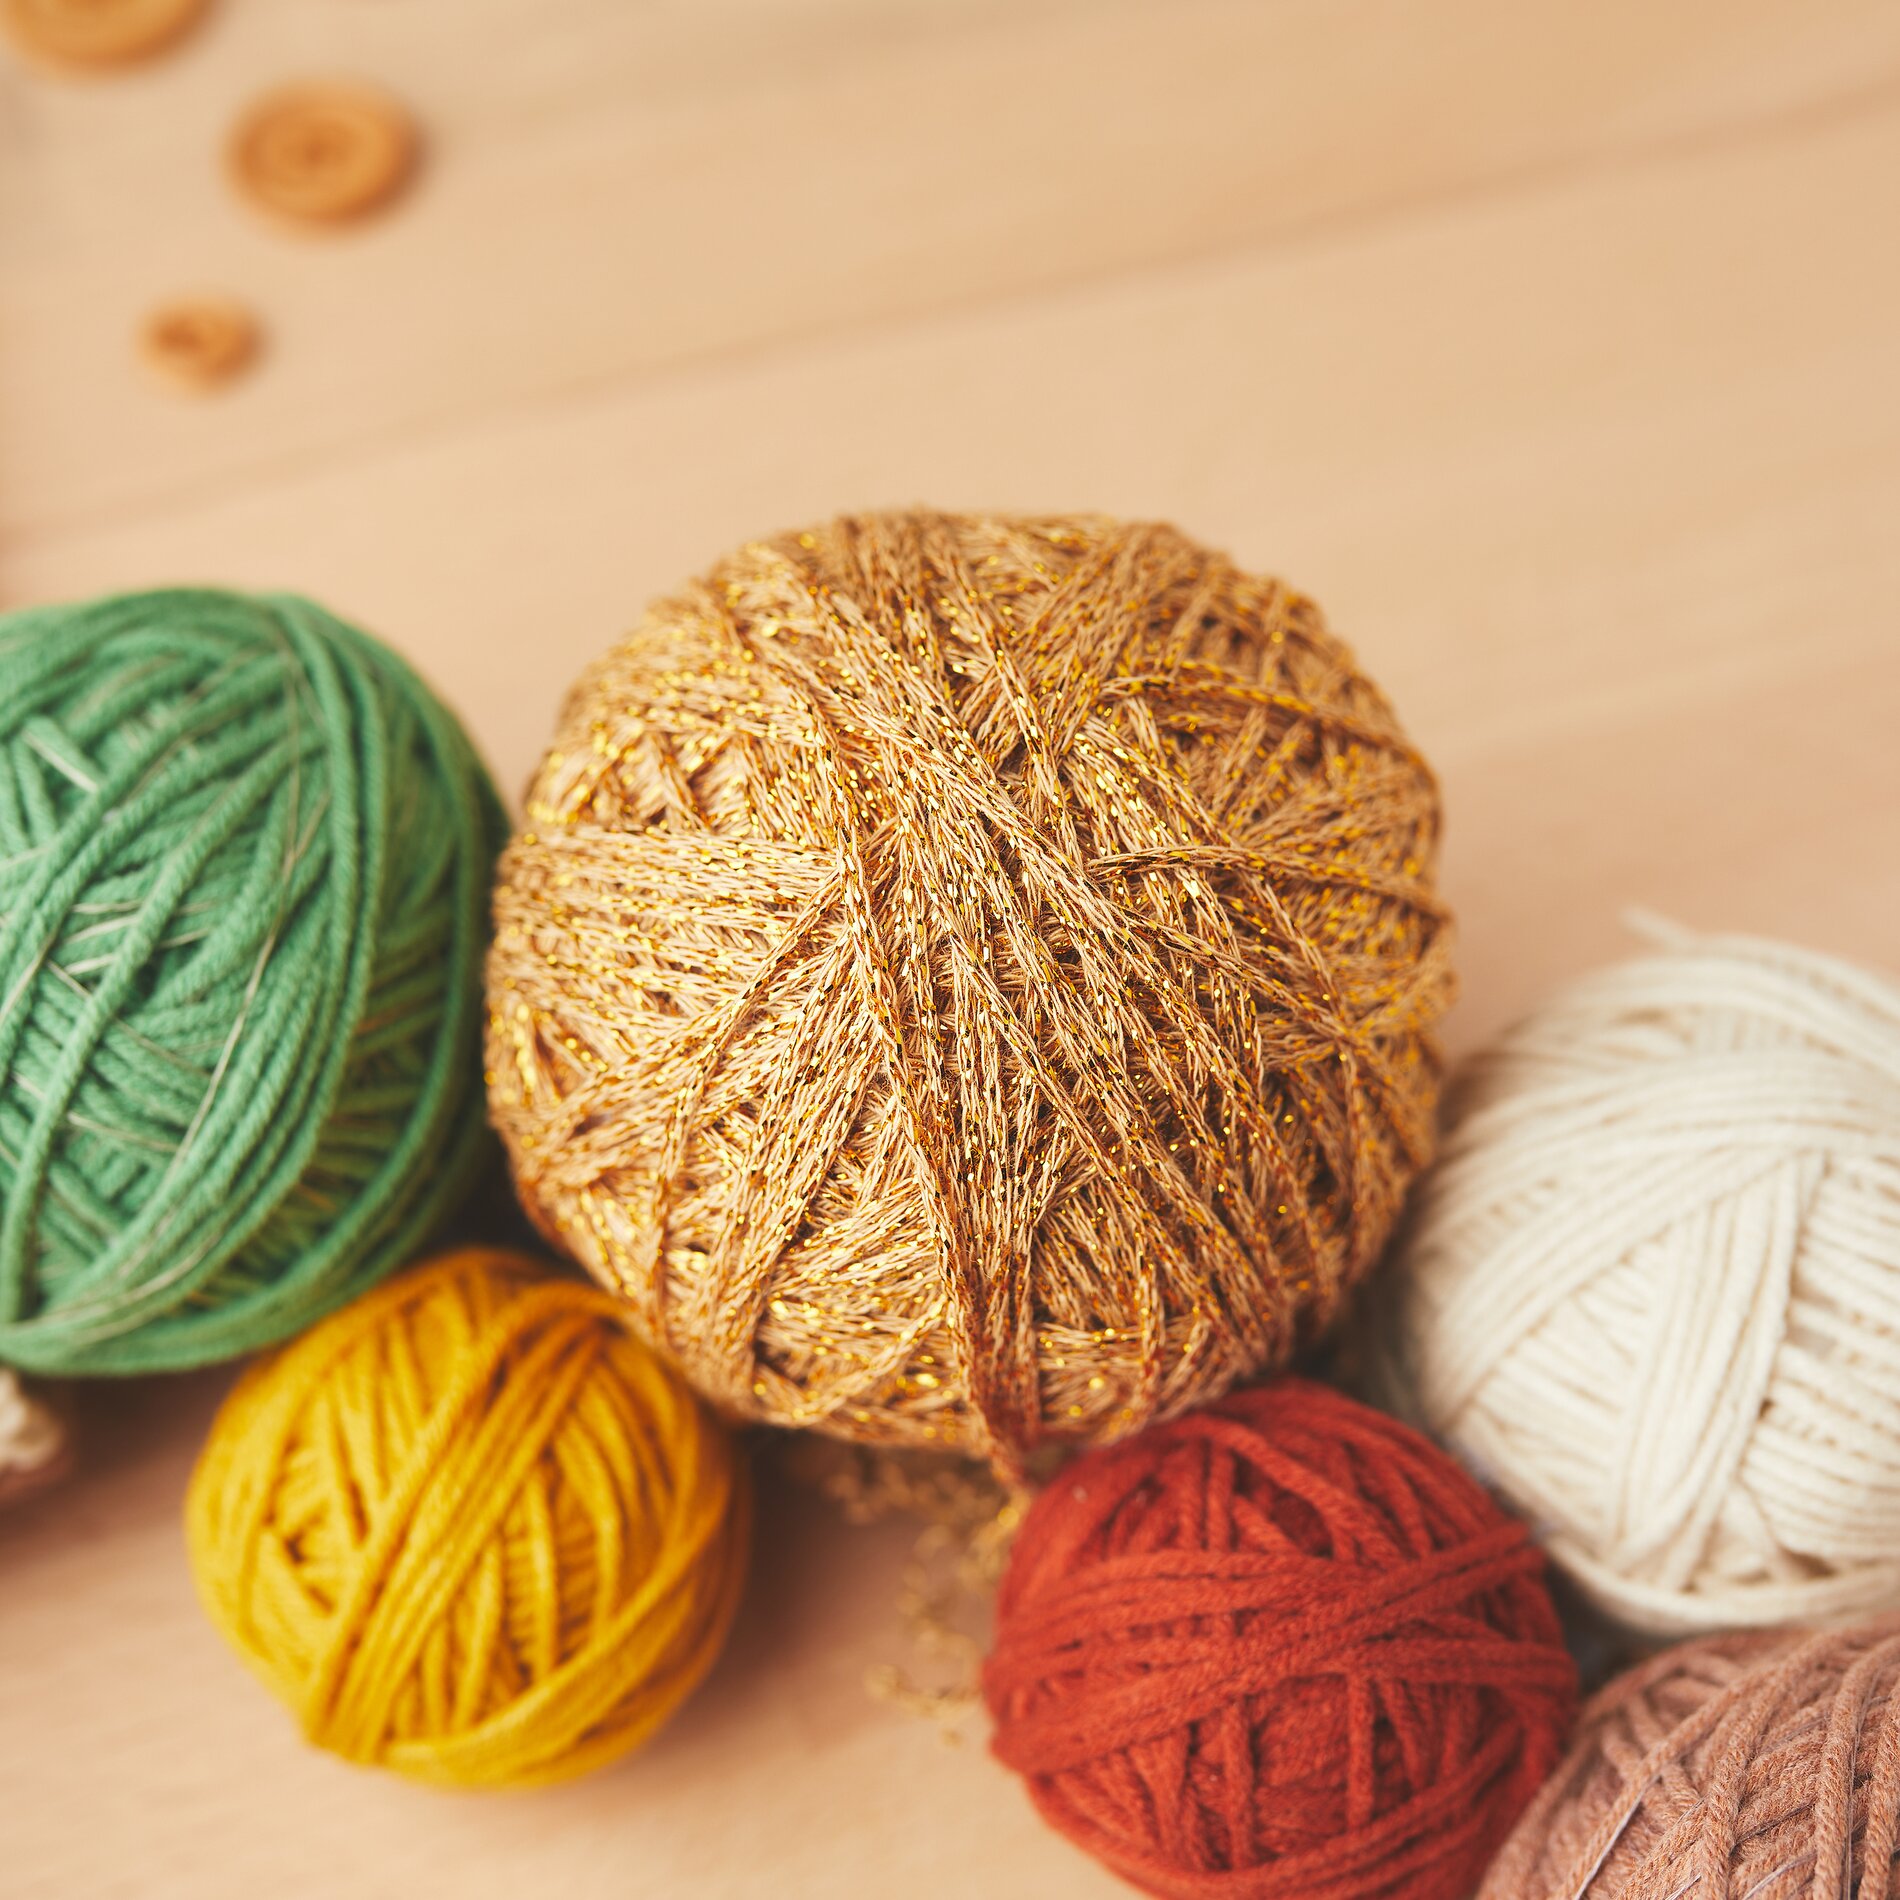
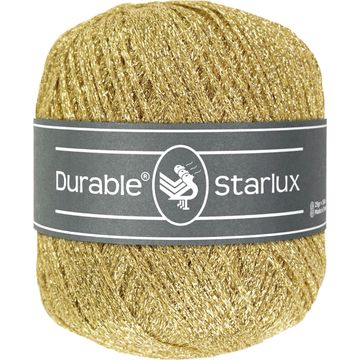
Get your vine wreath ready and briefly plan out where to place the balls. This will make the DIY door wreath will look balanced, and you’ll avoid having colors or sizes “pile up” in one spot. If you’re working with several types of yarn, combine smooth yarns with fluffy mohair and a sparkly novelty yarn—this adds depth and a wintry look without making the wreath look cluttered.
polystyrene balls Wrap with yarn
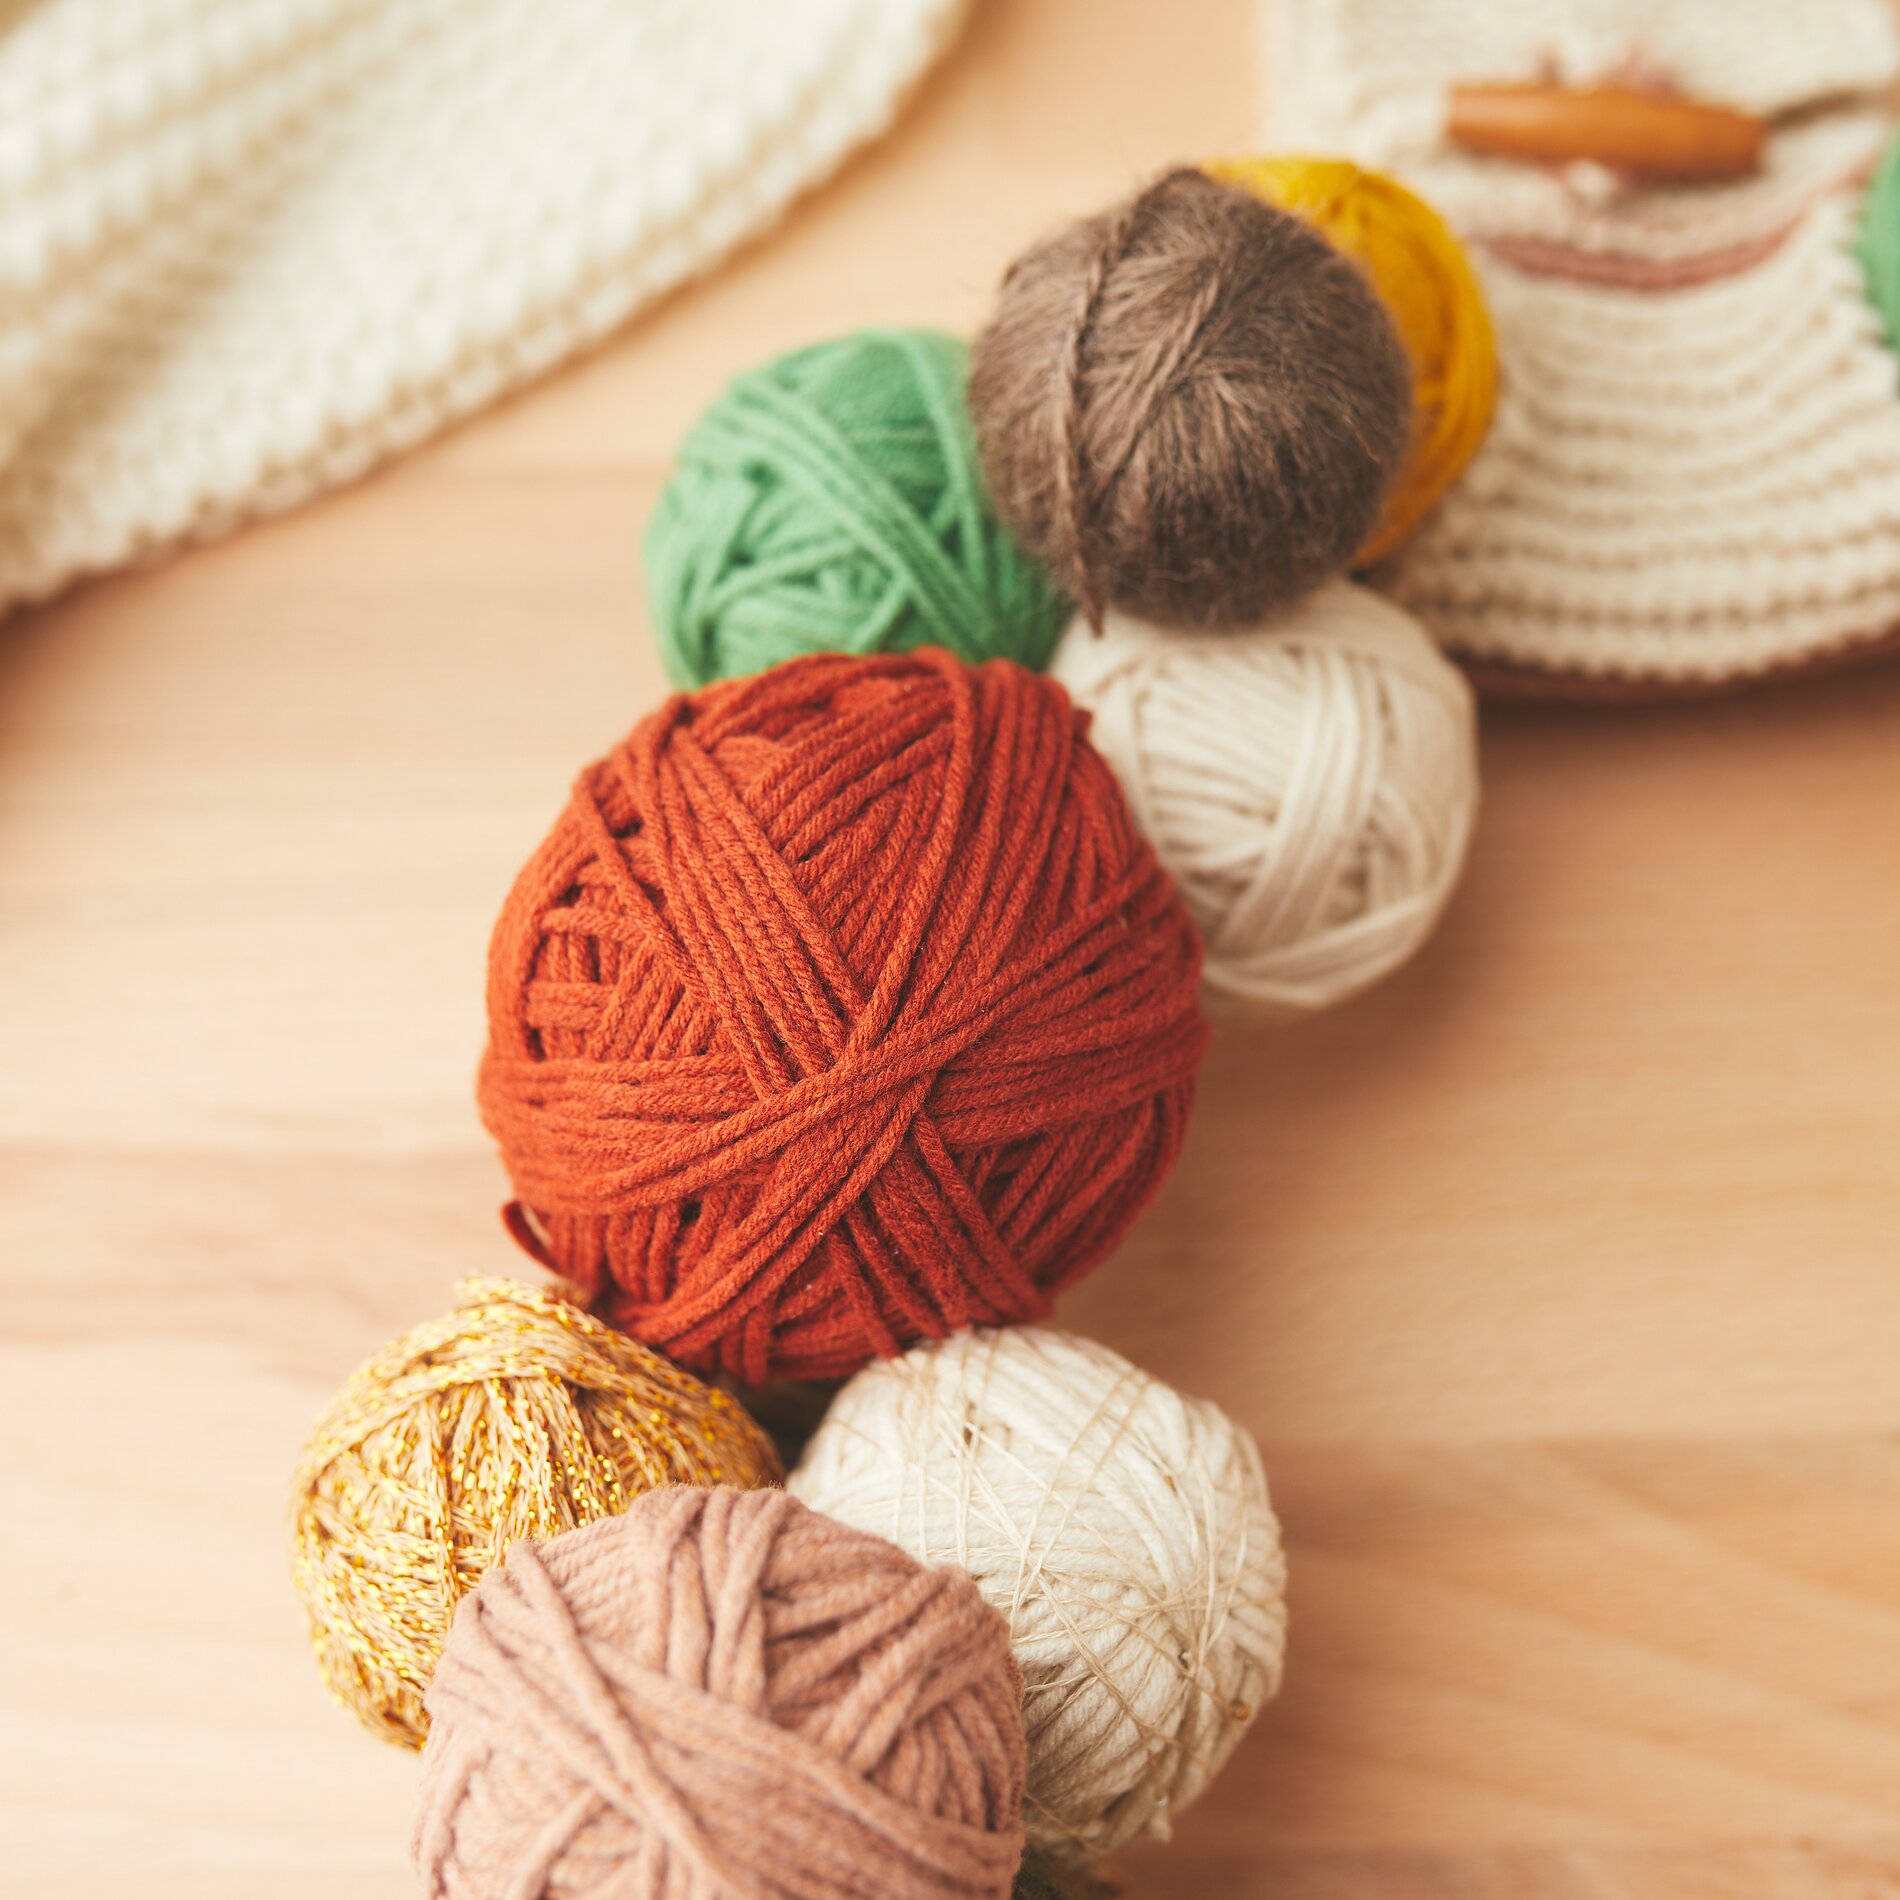
Start with a polystyrene ball and secure the end of the yarn with a pin . Wrap the ball evenly with yarn, changing direction each time. This change in direction is important to prevent gaps and ensure the ball is neatly covered all around. Pull the yarn taut, but not so tight that it dents the surface. Once the ball is completely wrapped, secure the end again with a pin. Repeat this for additional balls in various sizes and colors. These different shapes and colors will make your winter wreath look lively.
Create a knitted piece for texture and a warm look
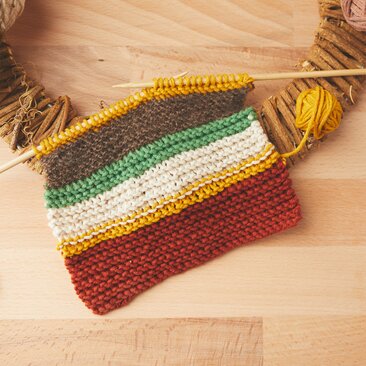
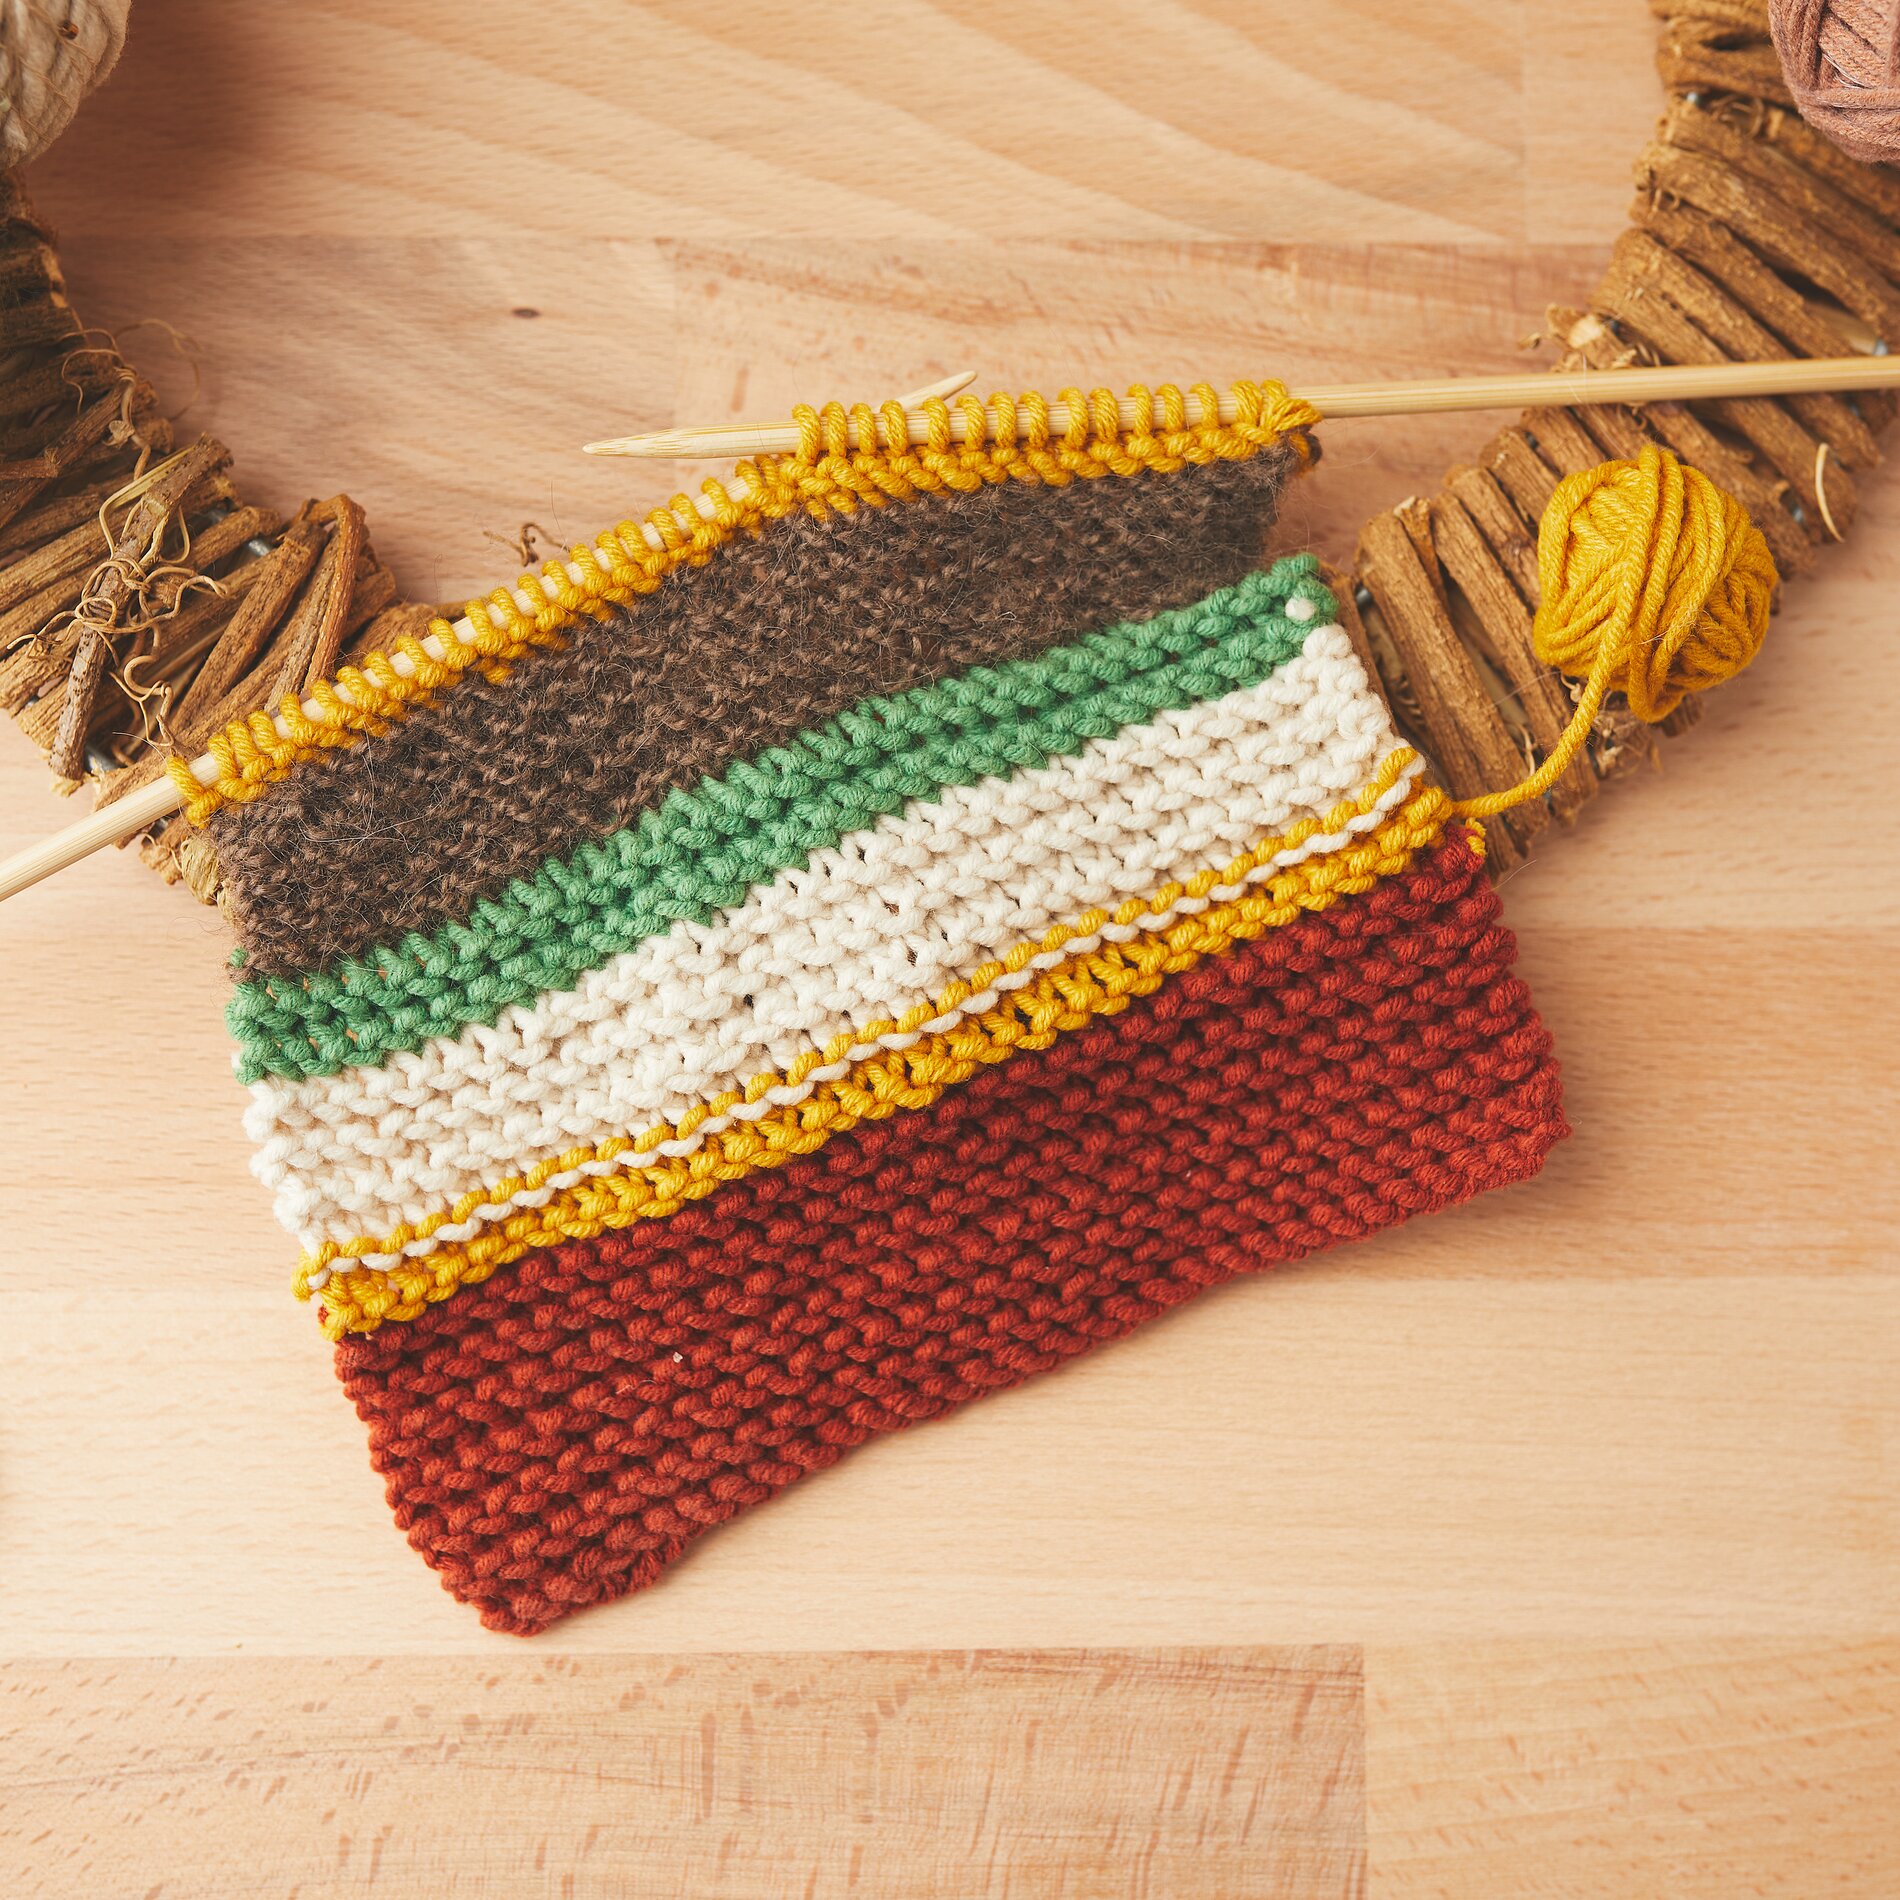
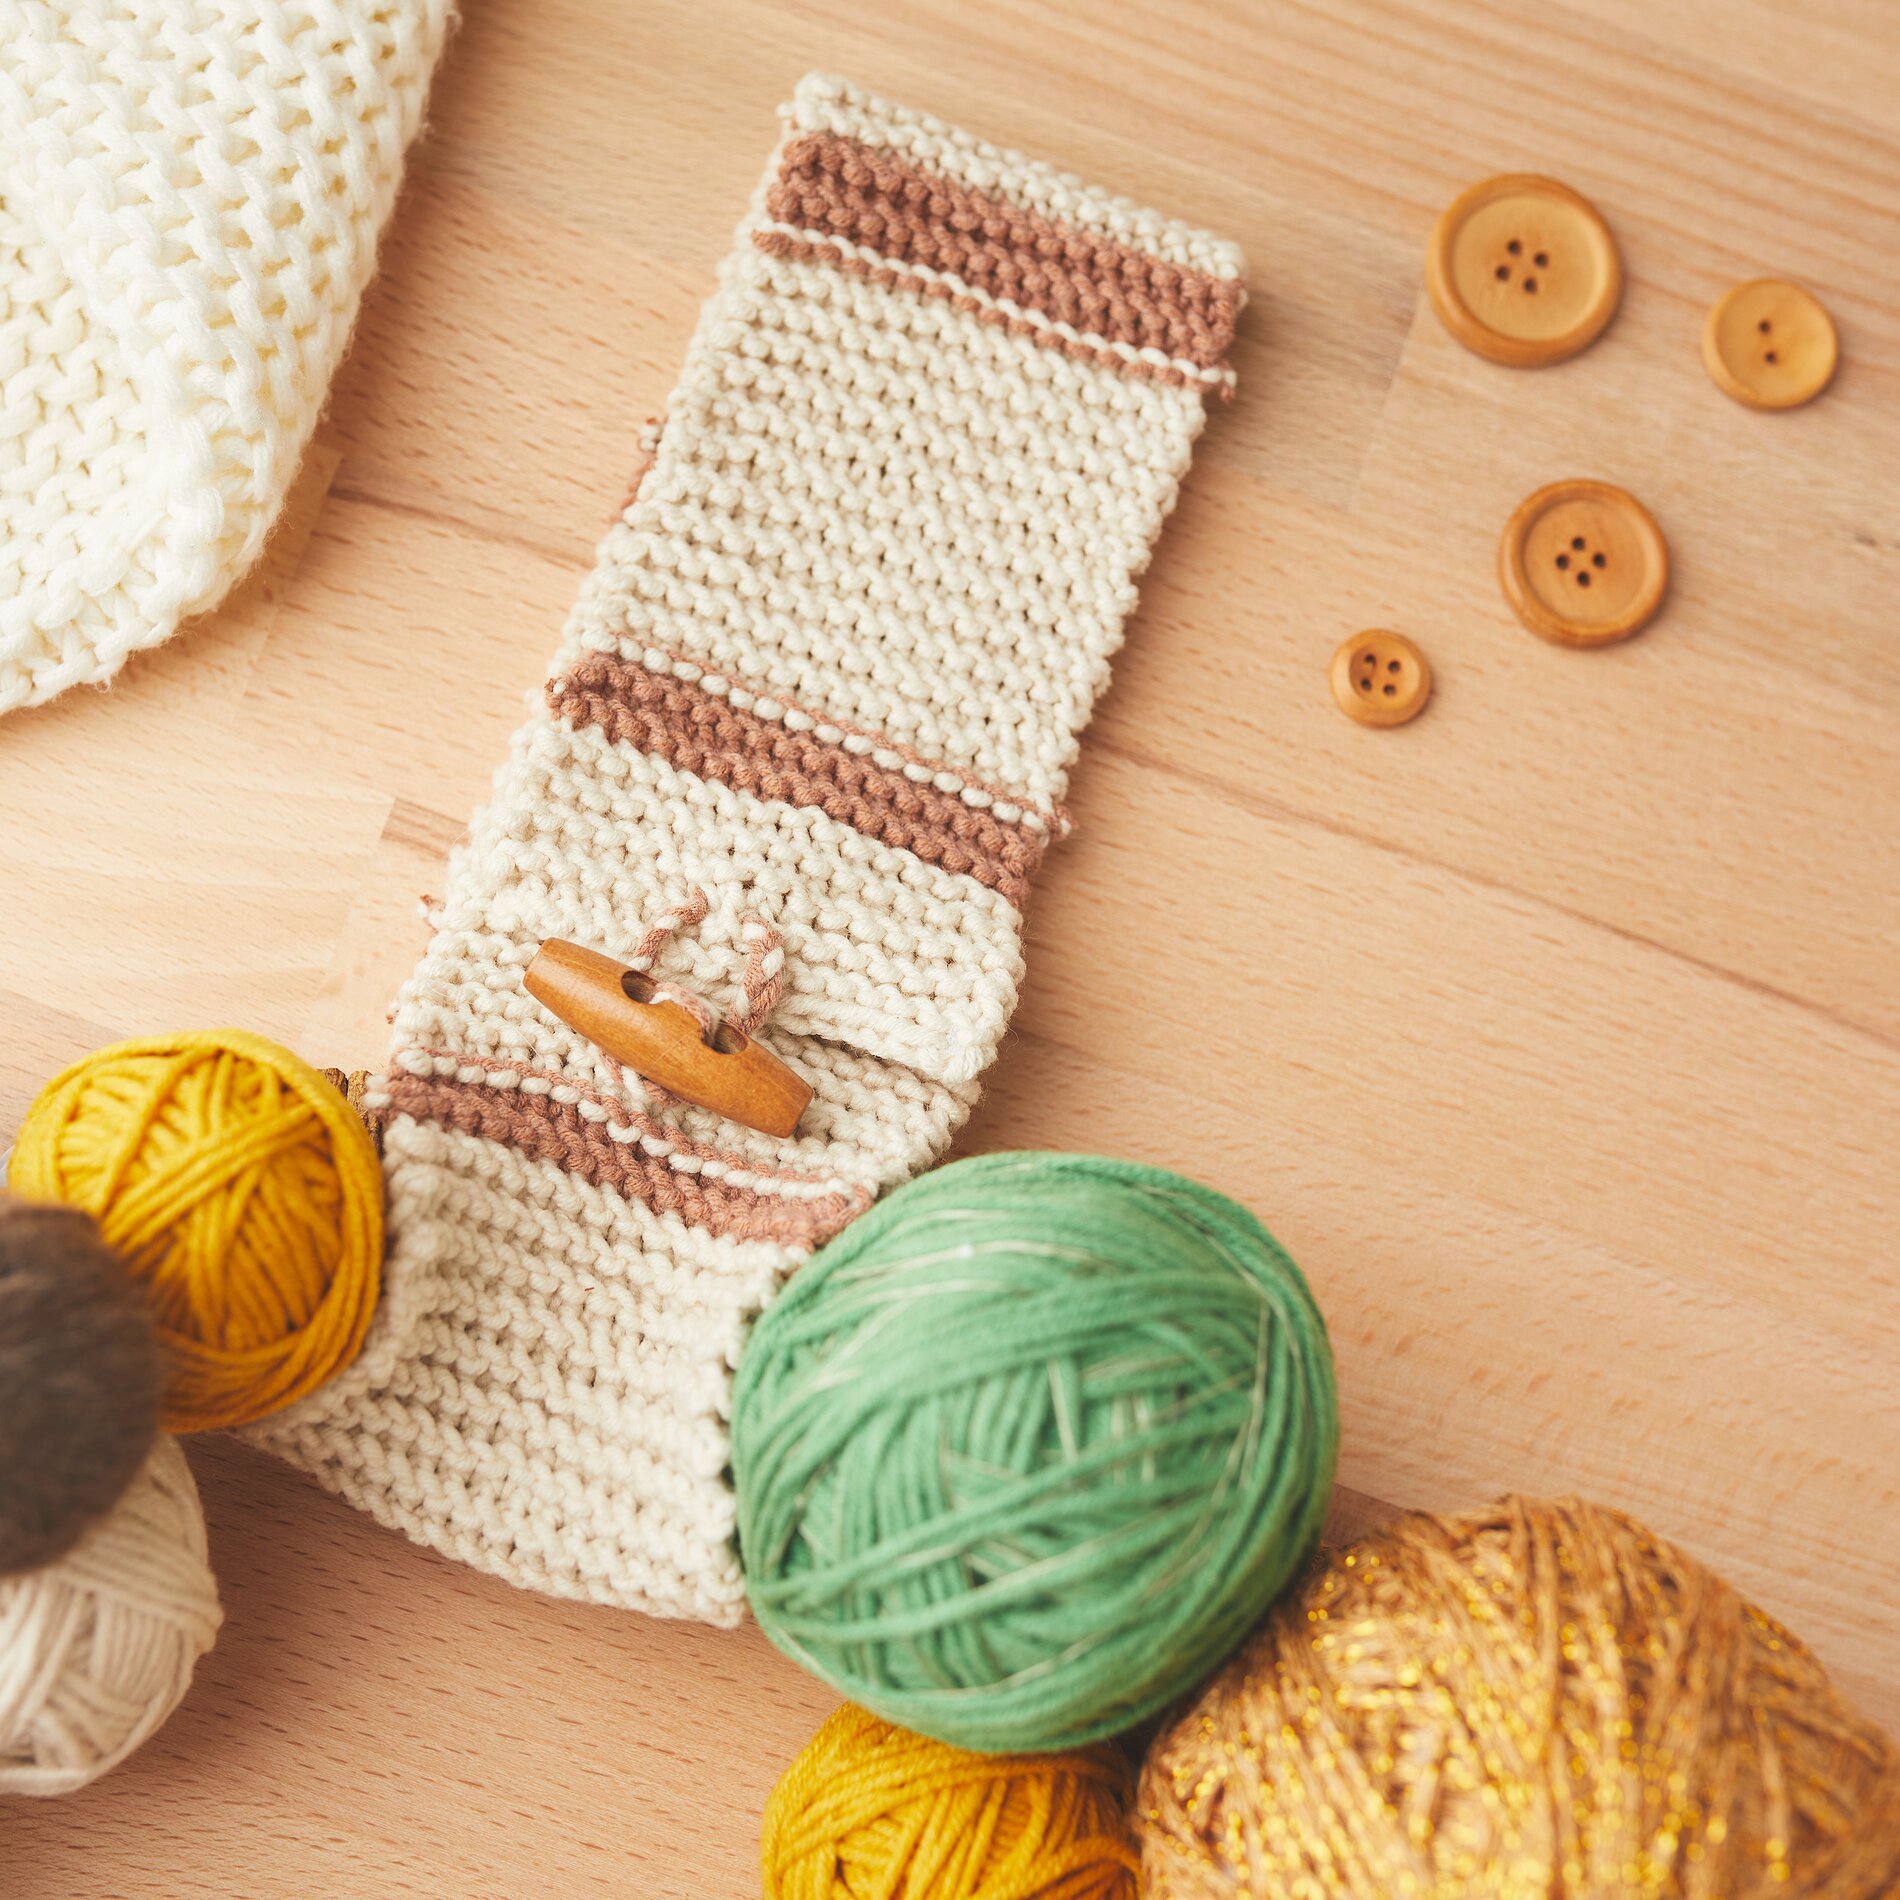
Knit a small rectangle that will later serve as a textile accent on the wreath. You can use stockinette stitch or garter stitch for this.
Garter stitch means you knit every row—this creates a denser, ribbed texture and looks especially cozy.
Feel free to switch colors occasionally while knitting to create a subtle striped look. Leave a tail at the end for weaving in or securing so nothing comes undone.
Knit a narrow “ ribbon ” for hanging
Now knit a narrow, longer ribbon. It serves as a sturdy hanger and, at the same time, visibly highlights the handmade character of the piece. Make sure the ribbon is knitted tightly enough to support the wreath securely.
Knit a small cord and attach it as a loop to the knitted hanging ribbon. If you add a toggle button as a fastener or decorative detail, you’ll achieve a high-quality, Scandinavian-style finish.
Arranging Wool Balls and Knitted Pieces on the Vine Wreath
First, place the wrapped polystyrene balls loosely on the vine wreath and arrange them until the combination of the individual balls looks harmonious. Place larger balls as focal points and intersperse smaller ones to create smoother transitions. You can use the knitted piece as a “base” in an area where the wreath can accommodate more space—this creates a clear focal point.
Secure everything with hot glue
Once the arrangement is right, glue the balls in place one by one using hot glue. Apply the glue in small dots at the contact points on the wreath and press the balls down briefly to ensure they’re securely attached.
Next, attach the knitted rectangle using hot glue as well. Be sure to apply the glue toward the inside of the wreath. This ensures that no glue marks will be visible later.
Finally, securely attach the knitted “ ribbon ” as a hanger to the wreath and add “ cord ” and the toggle button so that everything hangs neatly and centered.
Finishing Touches for Your Knitted “ DIY ” Door Wreath
Check that all the balls are secure, and remove any visible pins, as soon as the glue has cooled completely. Now your winter wreath is ready for your door or wall—with soft wool balls, knitted details, and an elegant shimmering accent. If you’re looking for more knitting and crochet ideas for the winter season, you’ll find the perfect yarns, cords , and accessories in our online shop.