1) Preparation
Have a smooth taper candle ready and decide where you want your design to go. A clean, grease-free surface is important so that the water-slide decal adheres well and doesn’t peel off as it dries. If necessary, quickly wipe the candle with a soft, dry cloth.
2) Applying the Stamp
Place a silicone stamp with a Christmas design onto a clear stamp holder. Press it firmly onto the stamp holder once so that it doesn’t slip.
3) Stamp the design onto the water slide decal
Use waterproof stamp ink and dab it onto the silicone stamp. Then stamp onto the glossy side of the water slide decal. Apply even pressure to ensure fine details are transferred cleanly. Let the impression dry briefly so nothing smudges as you continue working.
4) Clean the stamp
For clear impressions, clean the silicone stamp with a stamp cleaner immediately after stamping. This way, it’ll be ready to use right away next time.
5) Color the design and let it dry
If you want to add color to the design, you can color in the stamp impression with Posca markers. Let everything dry completely.
6) Cut out the design
Cut out your design as precisely as possible. A clean edge looks especially professional on the candle, and you’ll see less of the backing film later.
7) Peel the design off the water-slide transfer sheet
Place the cut-out design in lukewarm water for about 30–60 seconds. You’ll know it’s ready when the backing paper peels off easily. The design remains on a thin film that can then be transferred to the candle.
8) Transfer the design to the candle
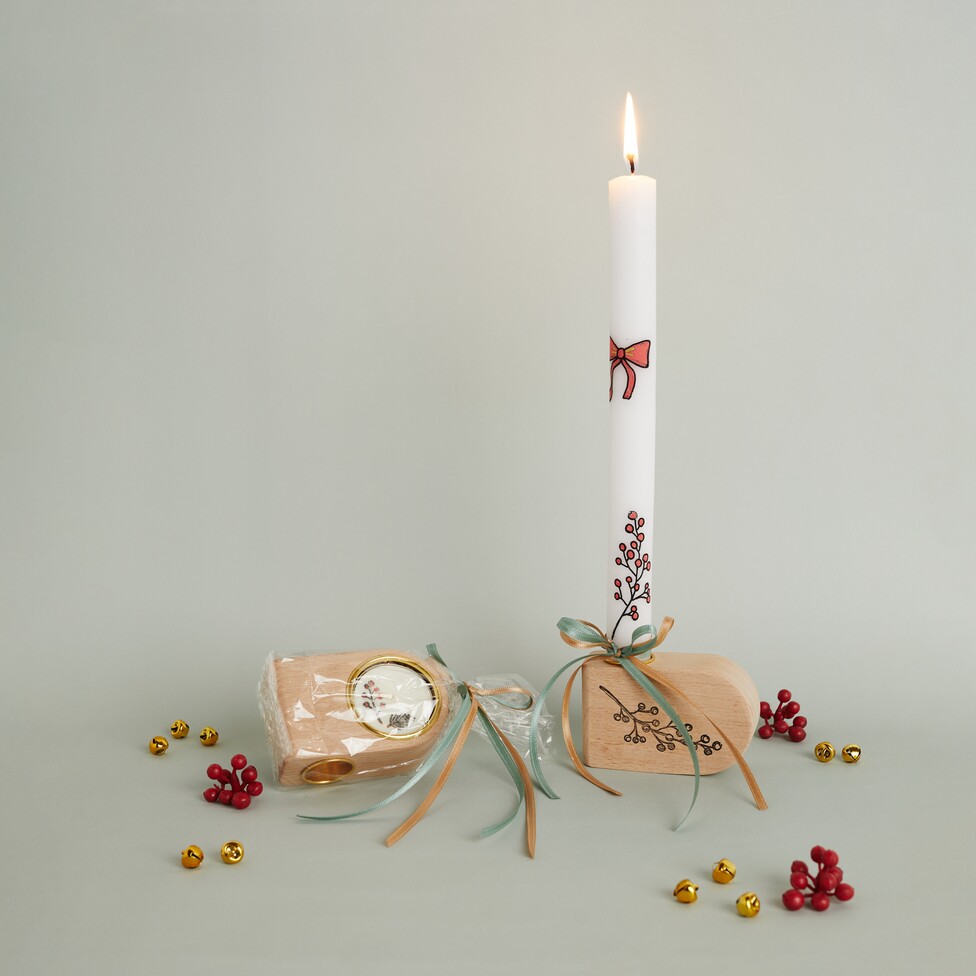
Position the design where you want it and carefully slide it from the backing paper onto the candle. Smooth out any wrinkles with a soft cloth and blot away any water droplets. During the first few minutes, you can still move the design slightly and make adjustments.
9) Let it dry
For permanent adhesion, let the candle dry afterward. After about six hours, the water-slide transfer will be completely dry.