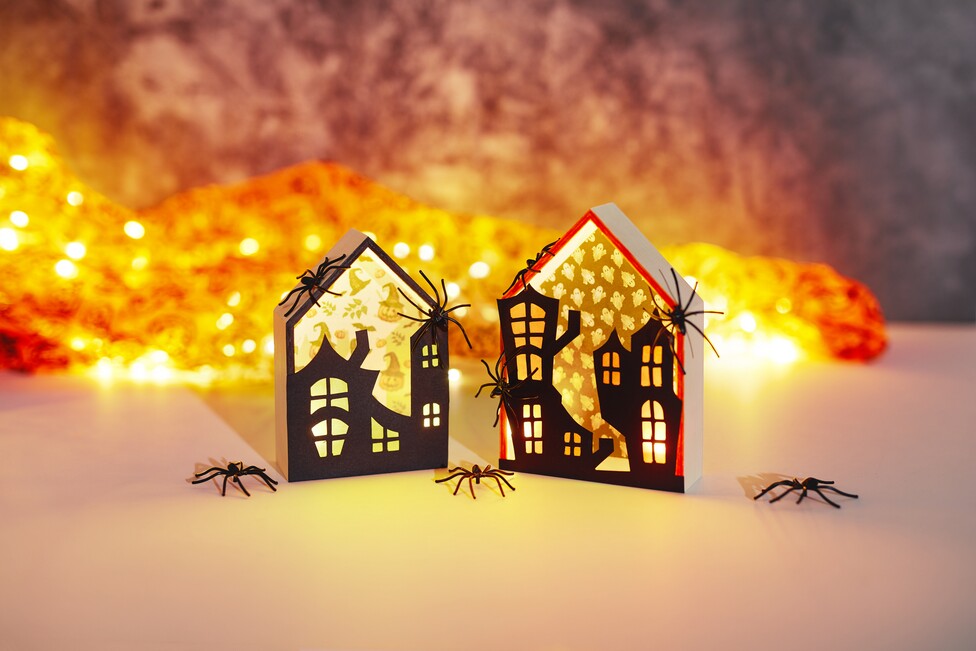
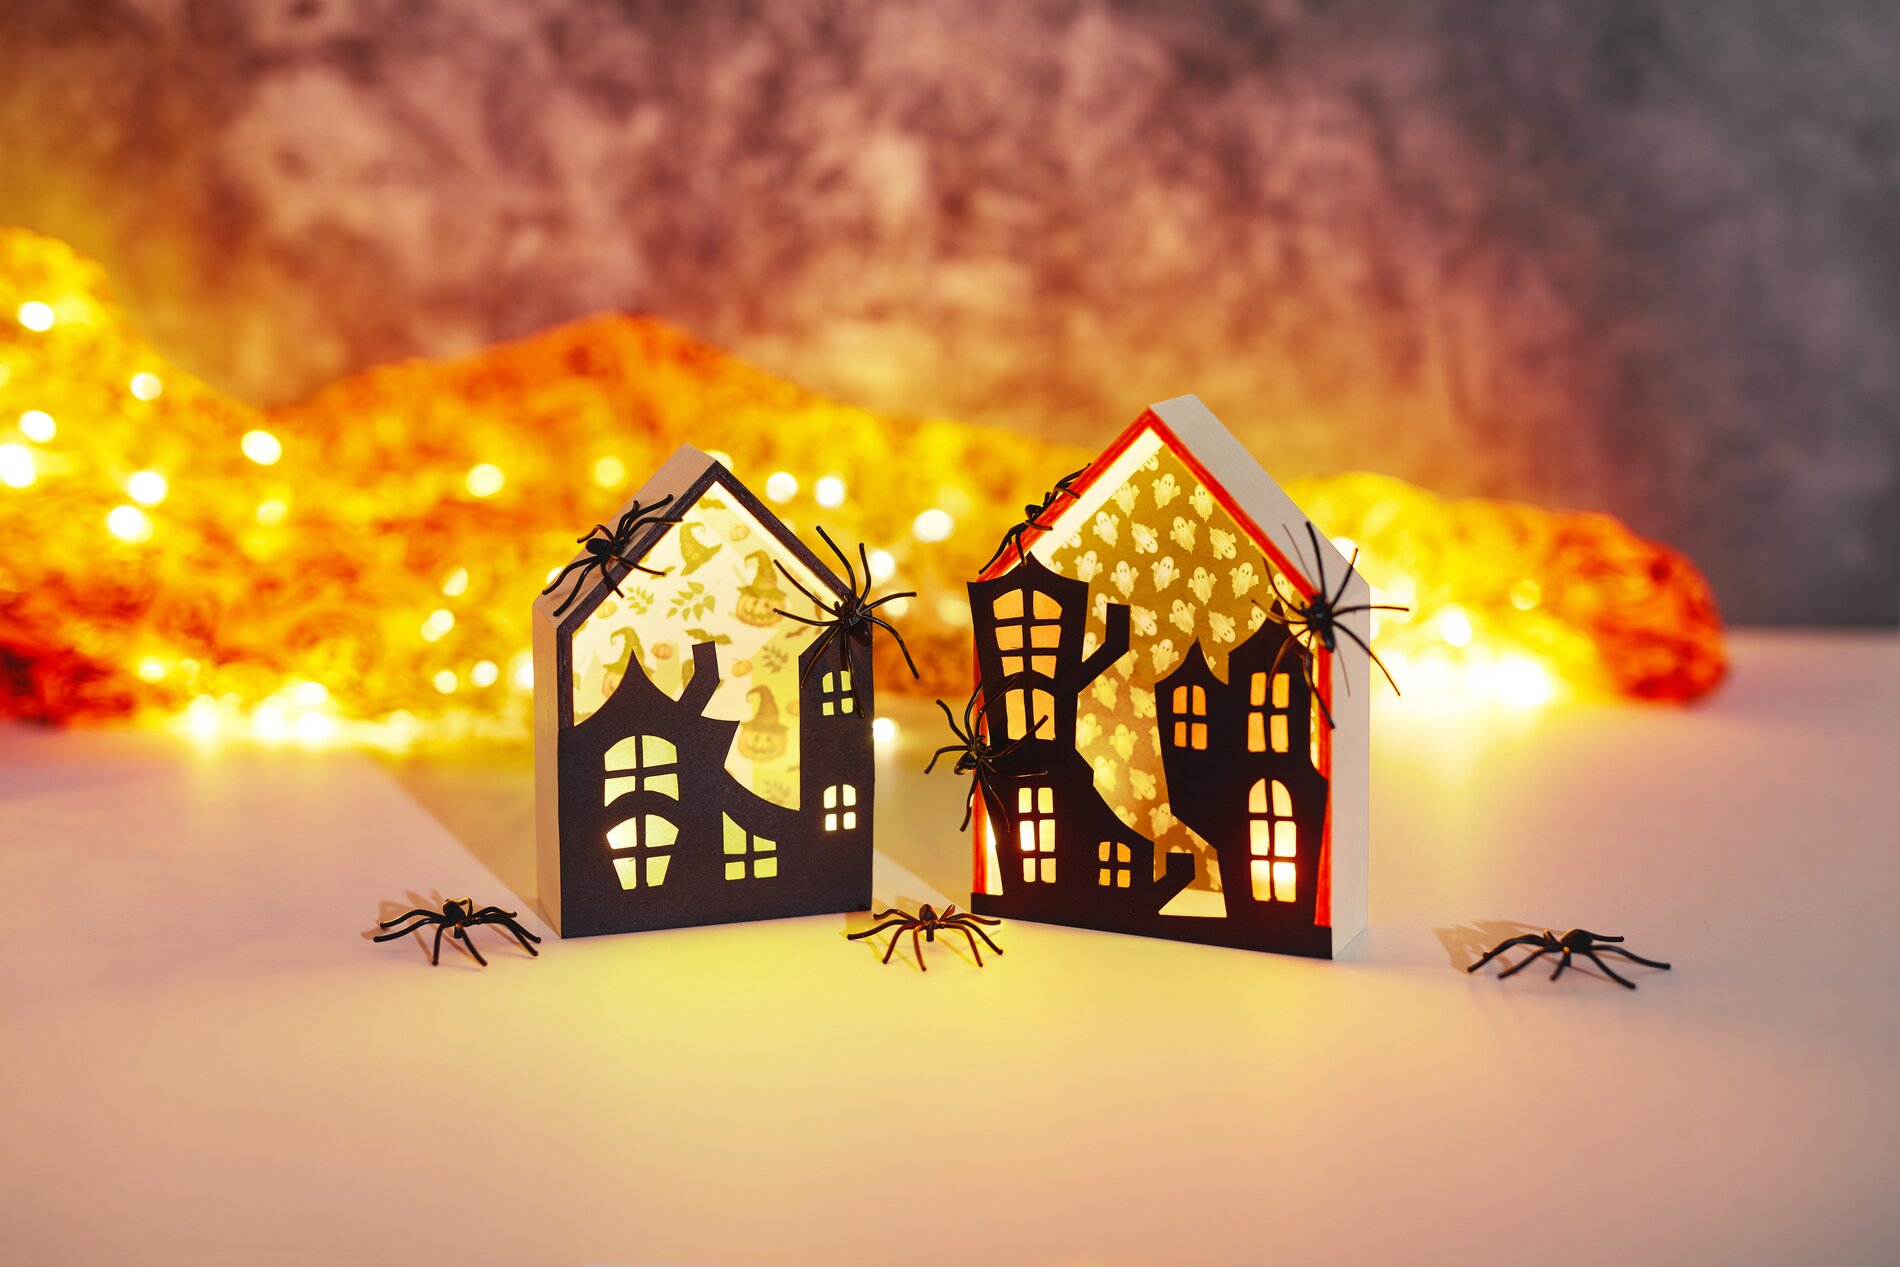
With a wooden house shelf, you can create an atmospheric Halloween decoration for your windowsill, shelf, or entryway. By cutting out and gluing the pieces, you’ll create spooky silhouettes that glow especially beautifully with vellum paper and small lights. Use pens to add subtle accents and give the edges more depth. Ideal for beginners who want to quickly create an impressive fall scene using paper crafting .
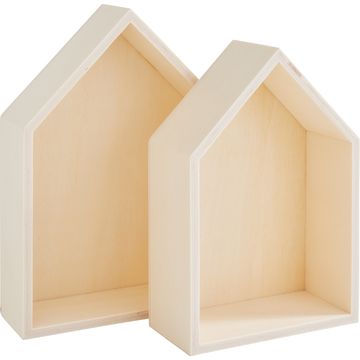
How to Make a Glowing Halloween Wooden House First, measure the interior dimensions of your wooden house. This step is important to ensure that the interior lining fits snugly and that the light shines through evenly later on. Write down the height and width of the interior surfaces you want to cover.
Now cut out Halloween-themed house-shaped designs from folding paper to match your measurements. Make sure the edges are straight so there are no gaps. Then glue the cutouts to the inside of the wooden house using handicraft glue . This creates a cohesive background that softens the effect of the lighting later on.
Highlight the frame and edges with color Next, paint the front edge of the wooden house with a black marker (permanent marker). The colored edge creates a clean finish and makes the Halloween decoration look more high-quality. Work with light, steady strokes, and if necessary, go over the edge twice with a thin line to ensure an even result.
Cut out silhouette houses from craft cardboard sheet Print out the design template and use it as a guide for the houses: Cut out the designs and trace the outlines onto craft cardboard sheet. To ensure the contours are nice and precise, it’s best to cut out the houses with a scalpel. A scalpel is a particularly fine craft knife that allows you to neatly cut out even small windows and narrow lines. Cut slowly and with light pressure to prevent the “ craft cardboard sheet ” from fraying.
Add vellum paper to the windows To achieve the classic “ lanterns-” effect, glue colored vellum paper to the back of the cut-out windows. This keeps the openings visible, but the light is filtered, creating a warm and atmospheric glow. Press the vellum paper firmly so that nothing sticks out later.
Design the Front and Attach the Halloween Decorations
Glue the finished craft cardboard sheet-houses to the front of the wooden house. Position them so that the windows and shapes stand out well and the background peeks through slightly on the sides. Then decorate with small spiders and secure everything with hot glue. Hot glue sets quickly and provides a strong bond, which is ideal for three-dimensional decorative elements. Use it sparingly so that no glue marks are visible.
Light It Up and Test the Effect Finally, place balloon lights inside the wooden house so it glows from within. Check in a darkened room to see if all the windows glow evenly, and reposition the lights if necessary. The result is a glowing Halloween decoration that really sets the mood on a windowsill, shelf, or sideboard.
If you’re looking for more DIY-ideas for fall and Halloween, browse our online shop for matching papers— craft cardboard sheet, vellum paper —and decorative accents, and get started on your next lighting project right away.