Designing a Gnome Kitchen
Find a spot where you’d like to set up your miniature world—for example, a clear wall at floor level or on a shelf. That way, the scene around the miniature door can stay in place permanently, and you can add details little by little. Set up the area with a “floor”—made of wood-look material or sturdy cardboard—so that the gnome kitchen looks neat later on and small pieces stay in place.
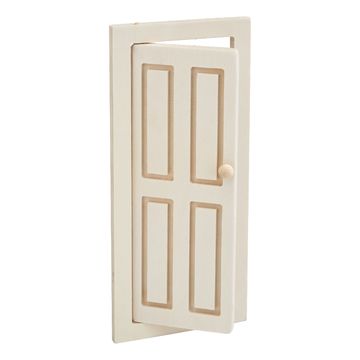
Before you start decorating, position the miniature door so that it looks like a real entrance to the gnome world. Hold it in the desired spot and lightly mark the edges so it sits straight later. Then secure the door with adhesive glue and press it down briefly. This step is important because the entire miniature scene will be oriented around the door, and a crooked fit will quickly look “unrealistic.”
Creating the Frame: Baseboard, Corner, and Pathway
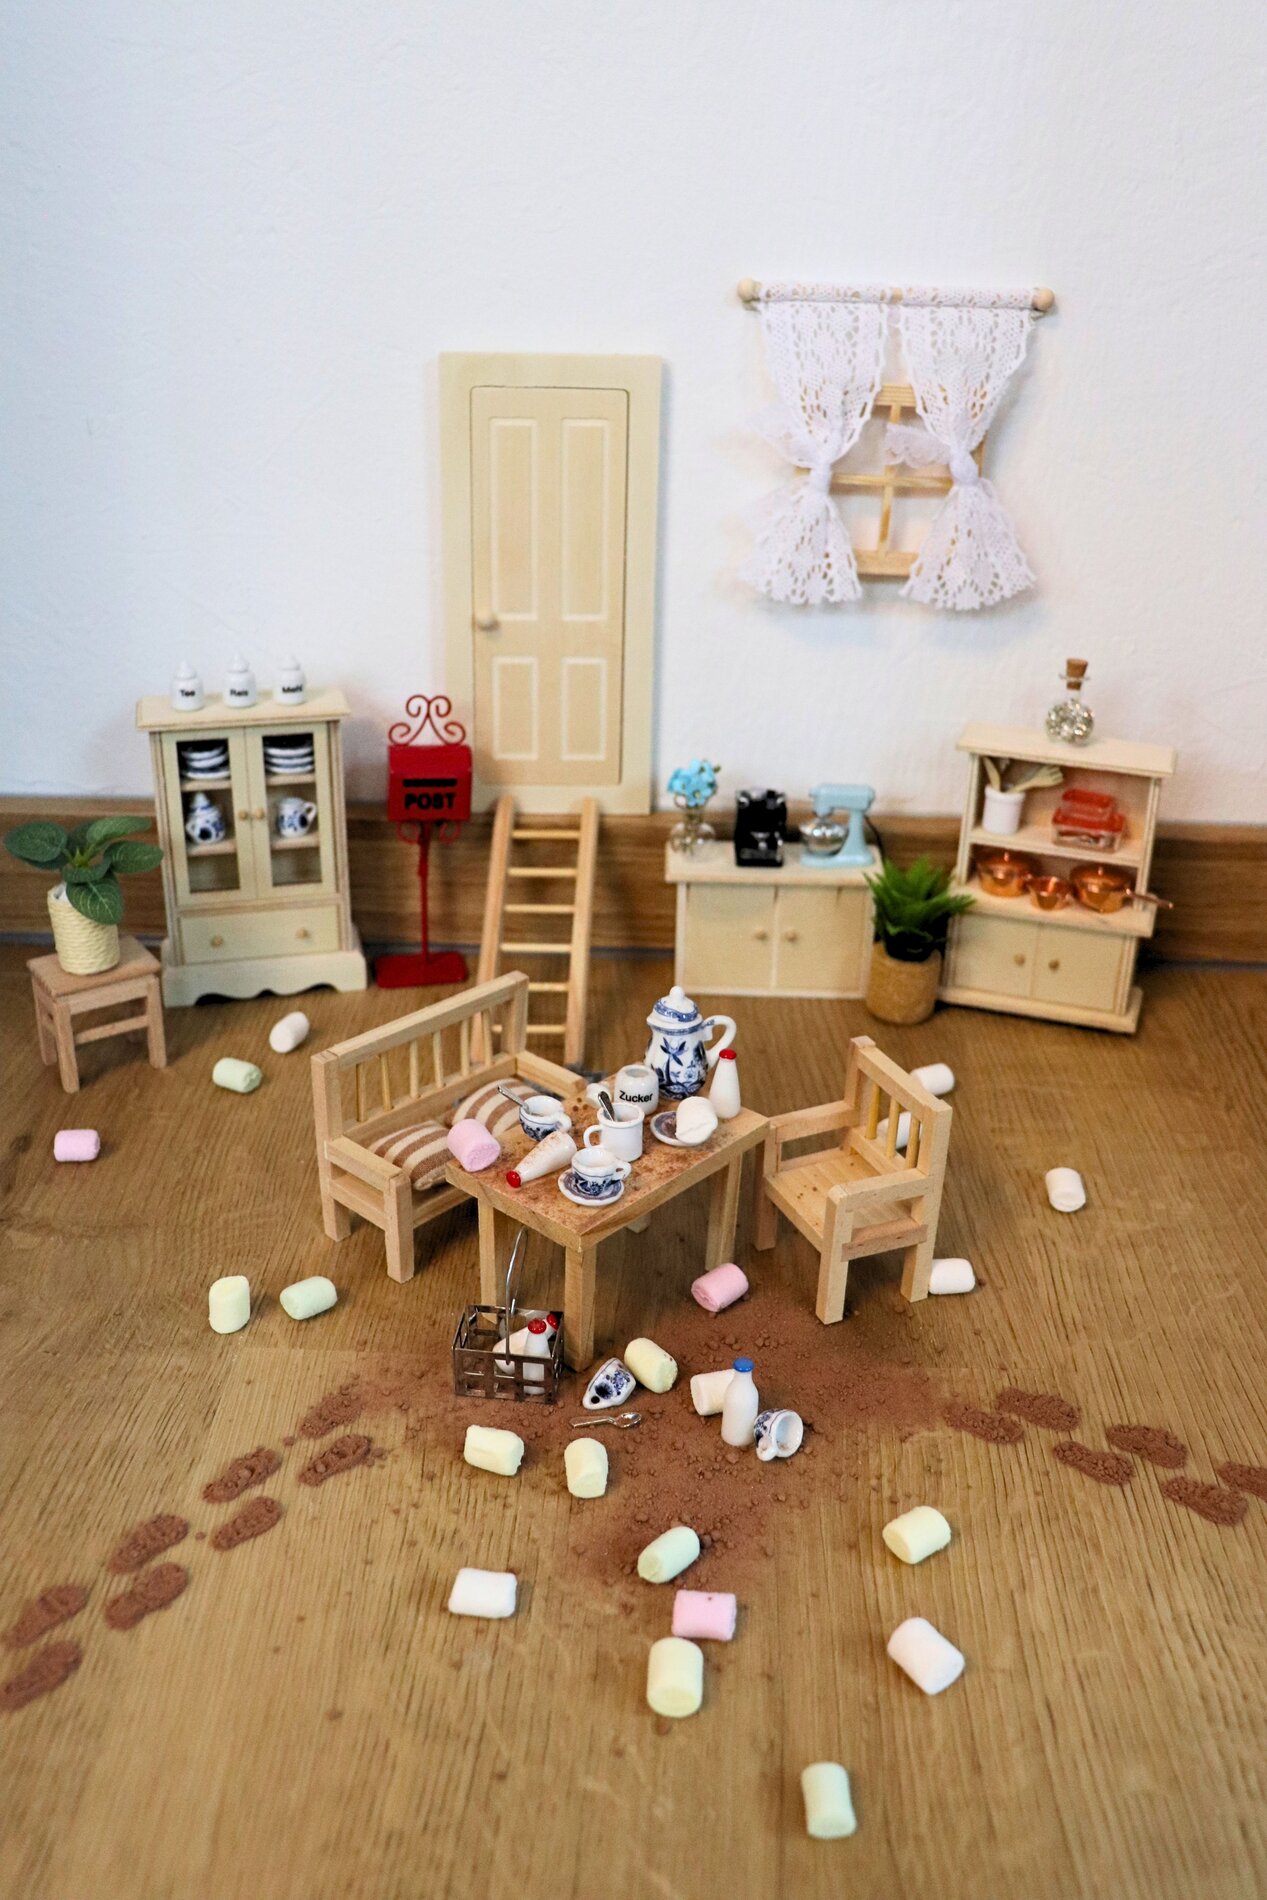
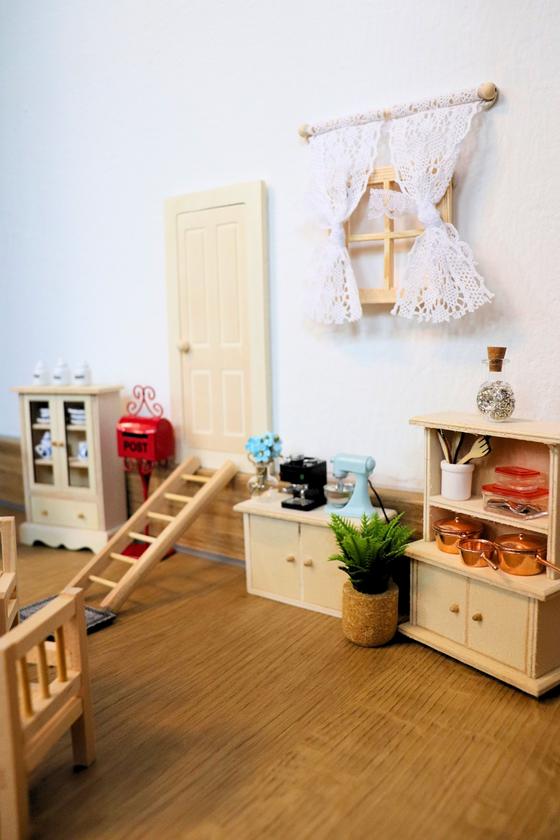
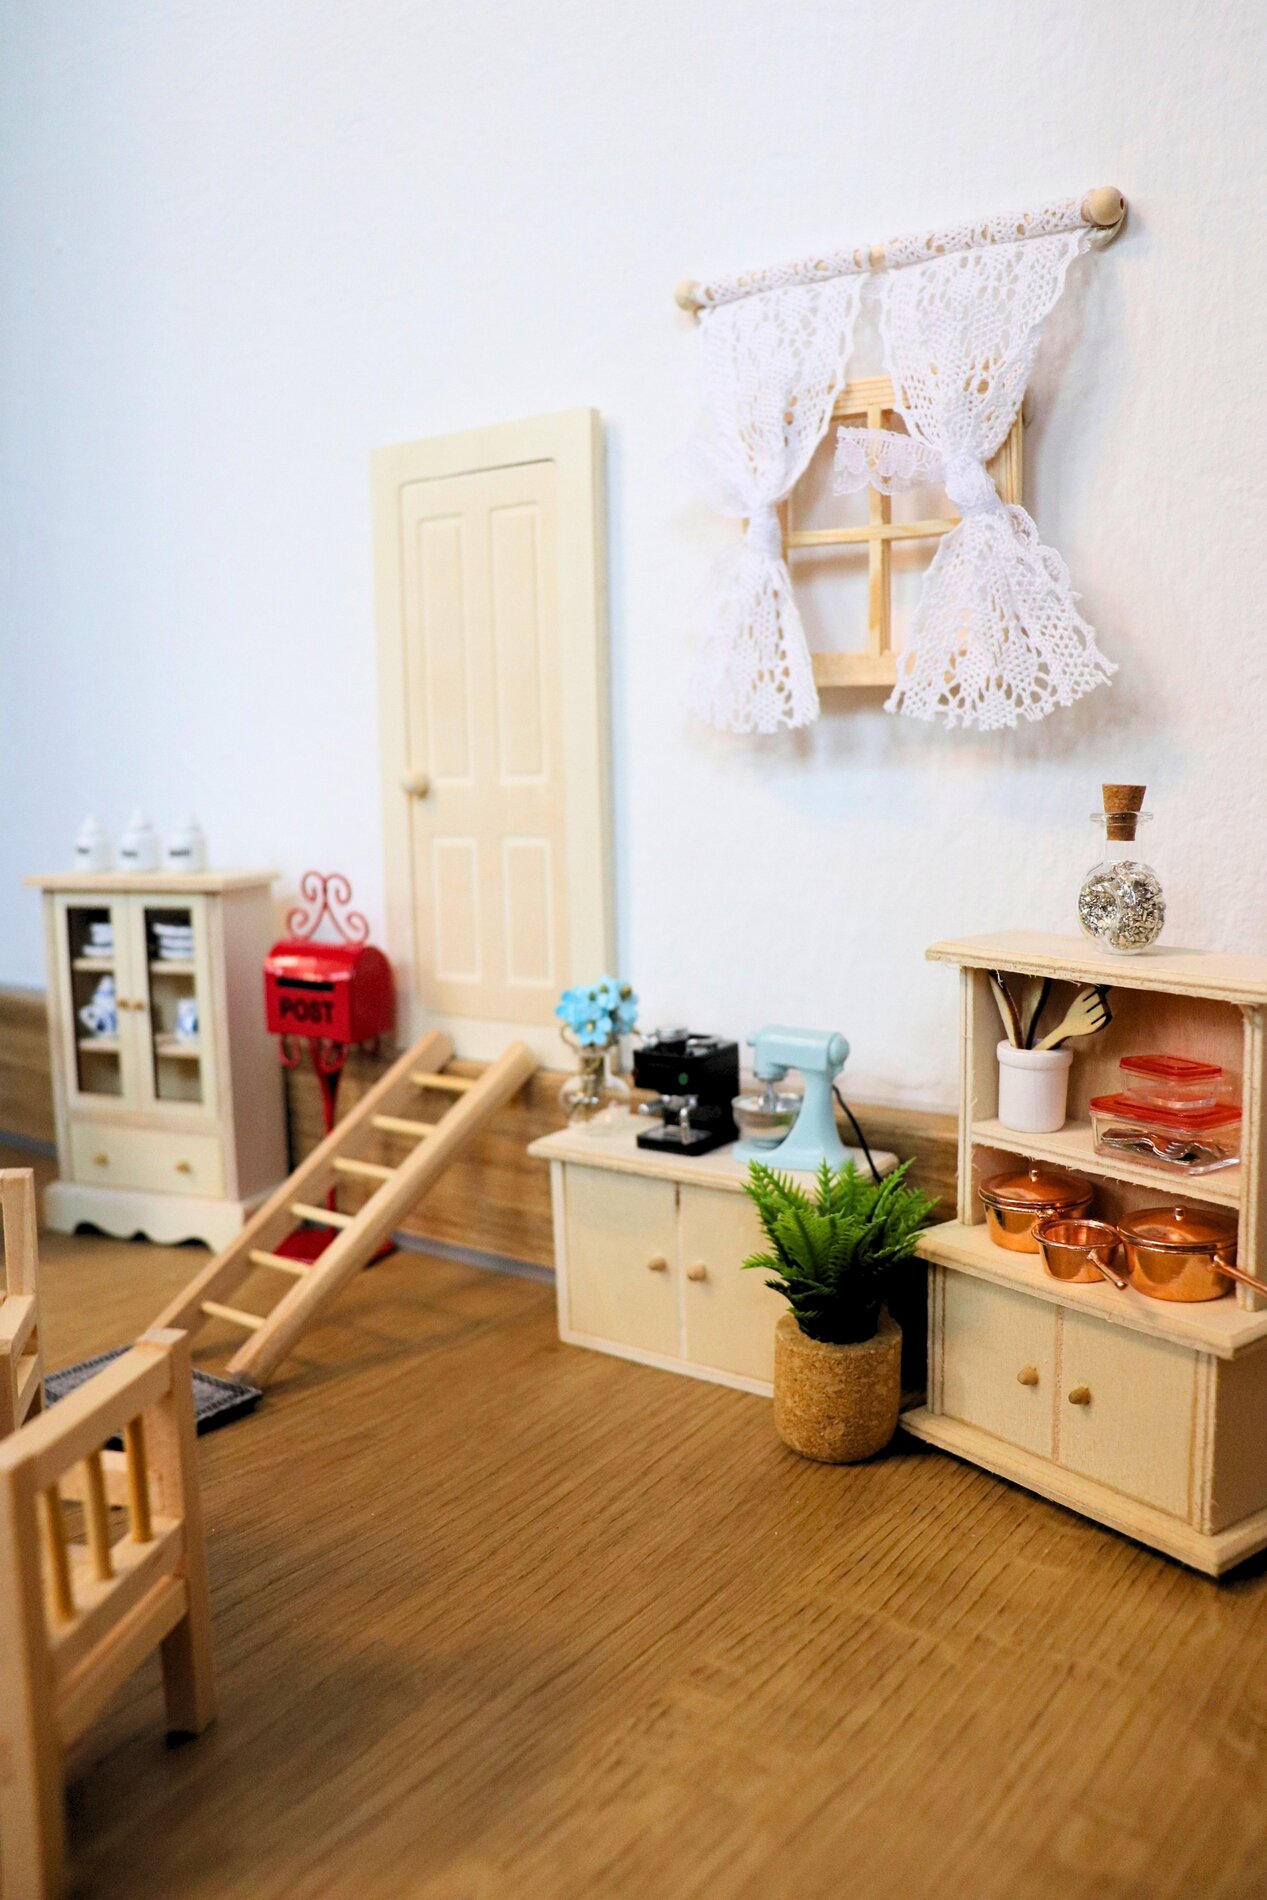
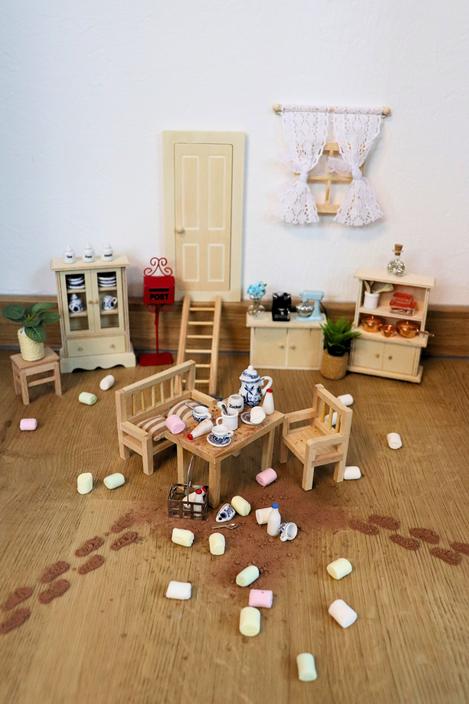
To make the elf door truly part of the room, create a small transition to the surrounding area. Place a window on the wall, a ladder in front of the door, and an elf mailbox for Christmas mail right next to the door. Also plan a small “path” from the door into the kitchen. It doesn’t have to be an actual path—even a clear area on the floor is enough to structure the scene logically and guide the eye.
Placing Miniature Furniture
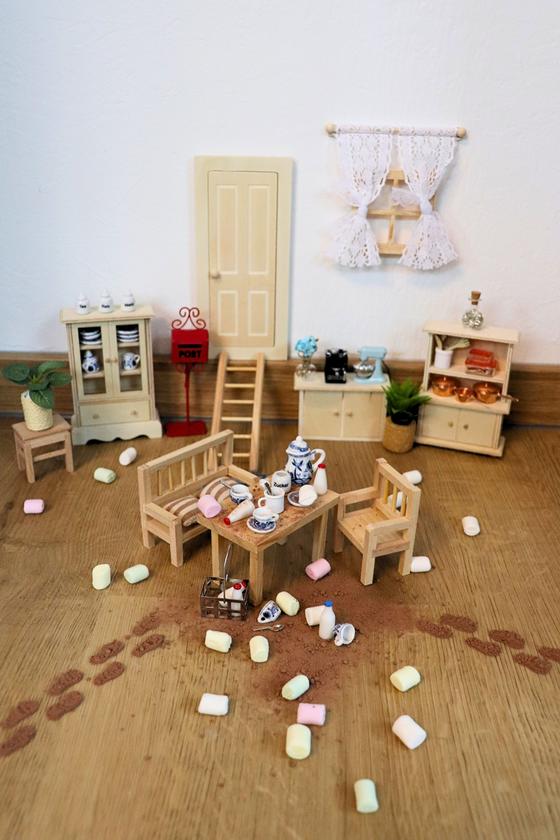
Now set up the basic furniture for your elf kitchen: a small table, two chairs or a bench, and a cabinet will make it look like a complete miniature room. Pay attention to spacing so that everything looks accessible. The table can be placed a little closer to the door—this makes it look as though the elf was in a hurry and “set the table” right there.
Setting Up the Kitchen Area: Countertop and Storage
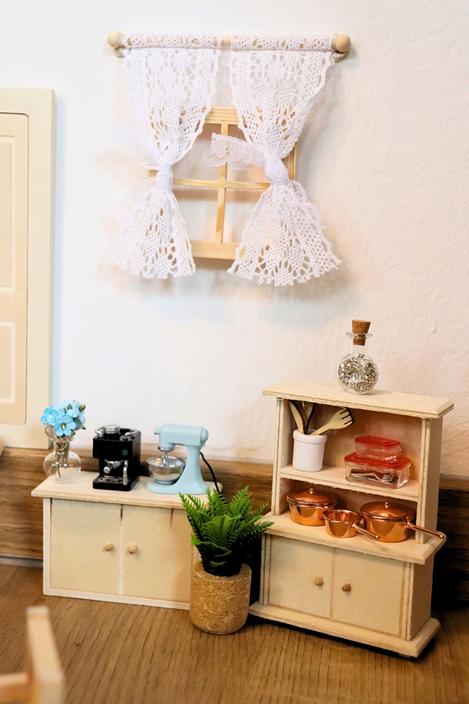
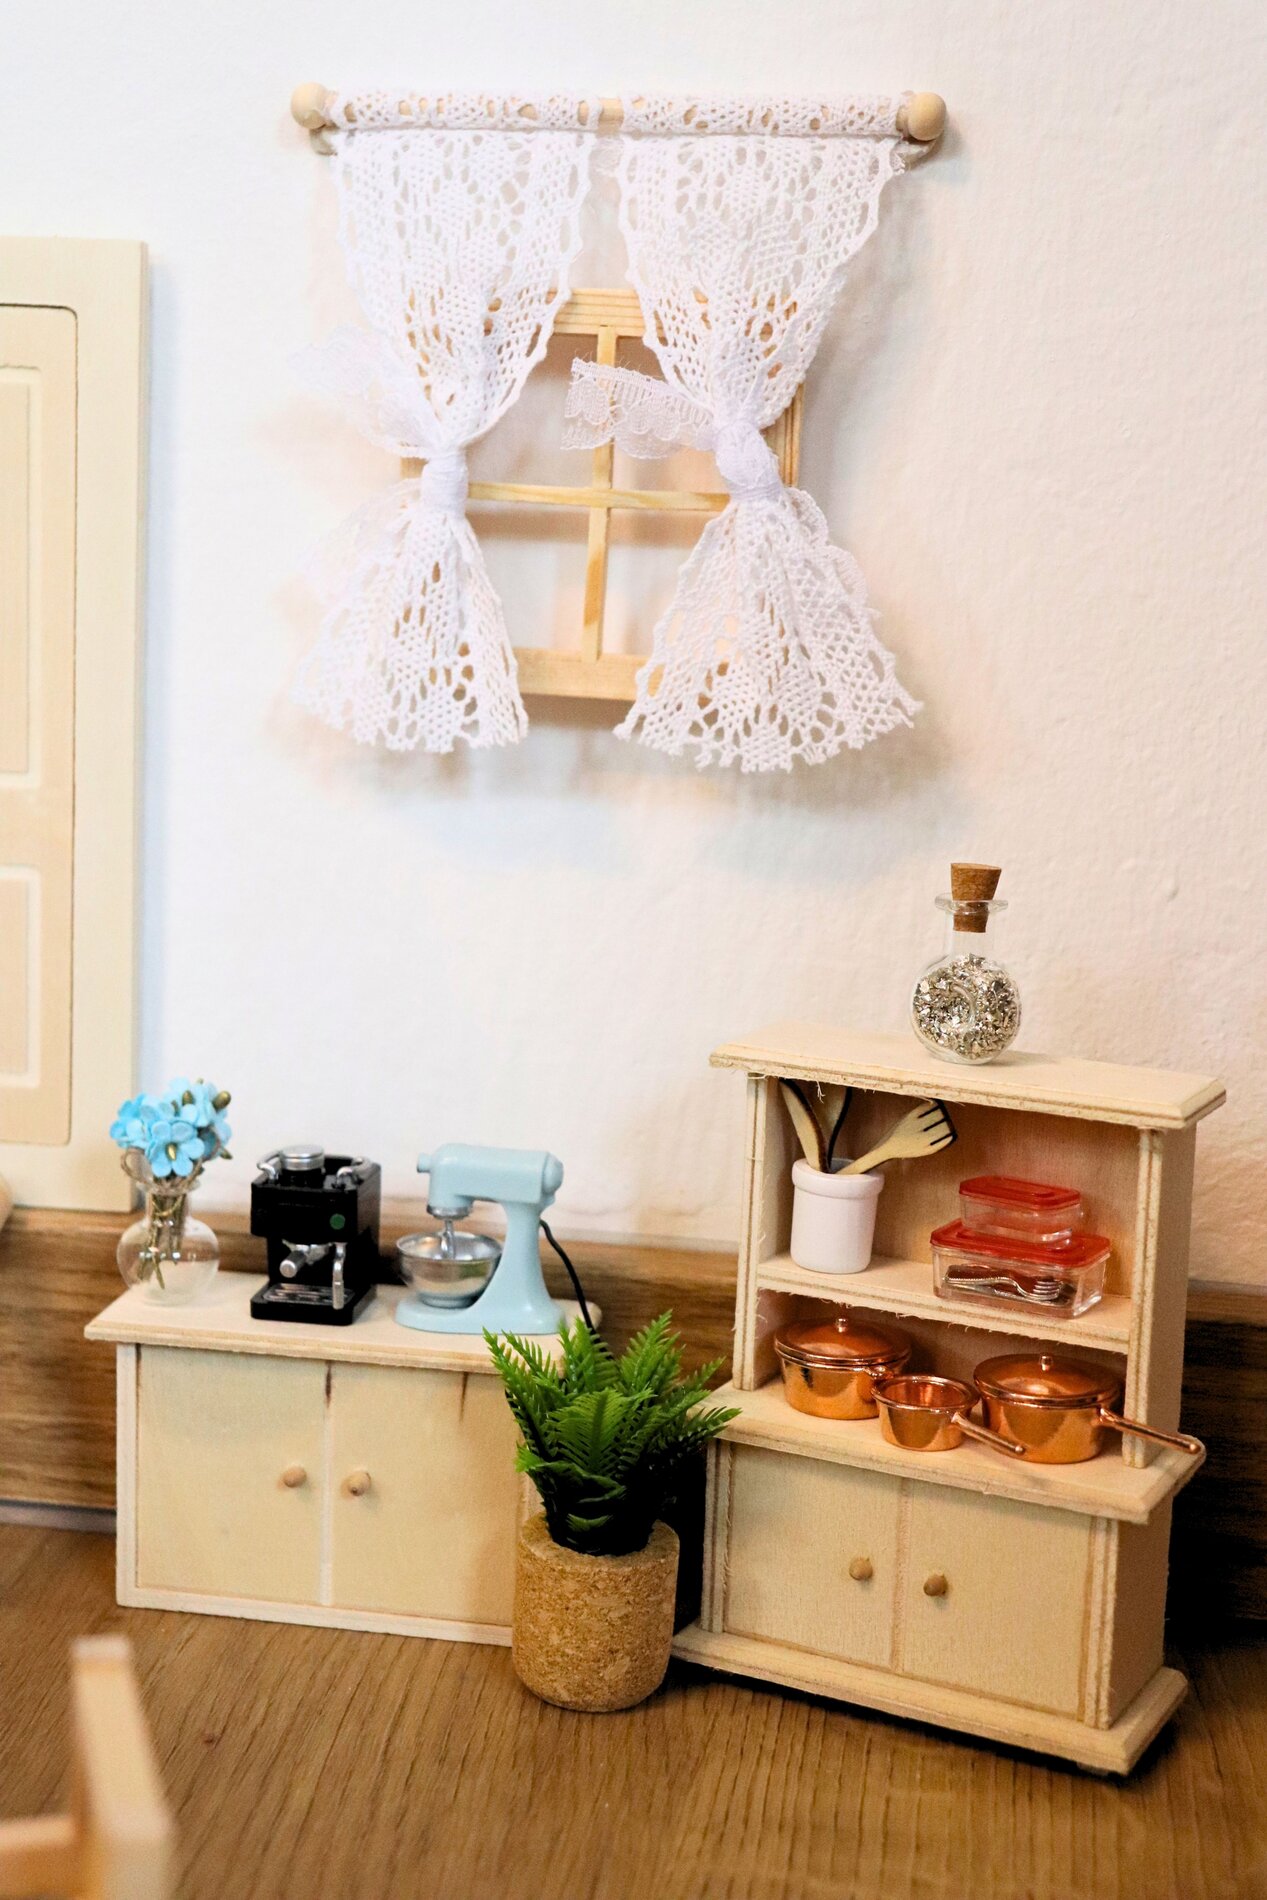
Place a small kitchen unit or a sideboard against the wall. Later, you’ll use it to store items like cups, little pitchers, or small storage containers. Combining different heights automatically creates more depth. The purpose: In miniature worlds, different levels immediately come to life because they function just like real kitchen furniture.
Staging Miniatures for “ cacao ” and Marshmallows
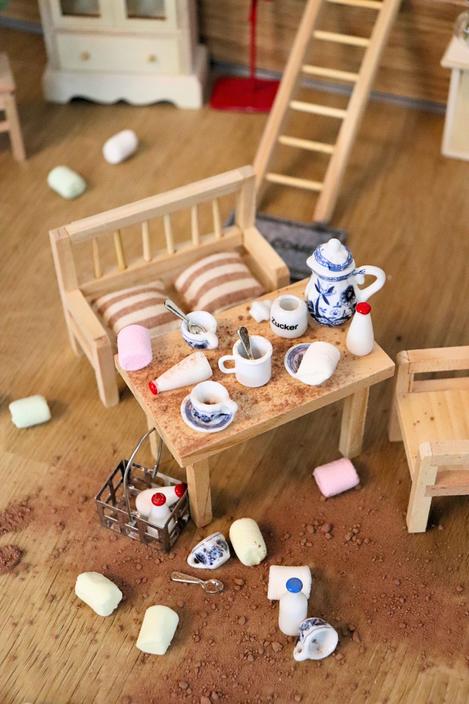
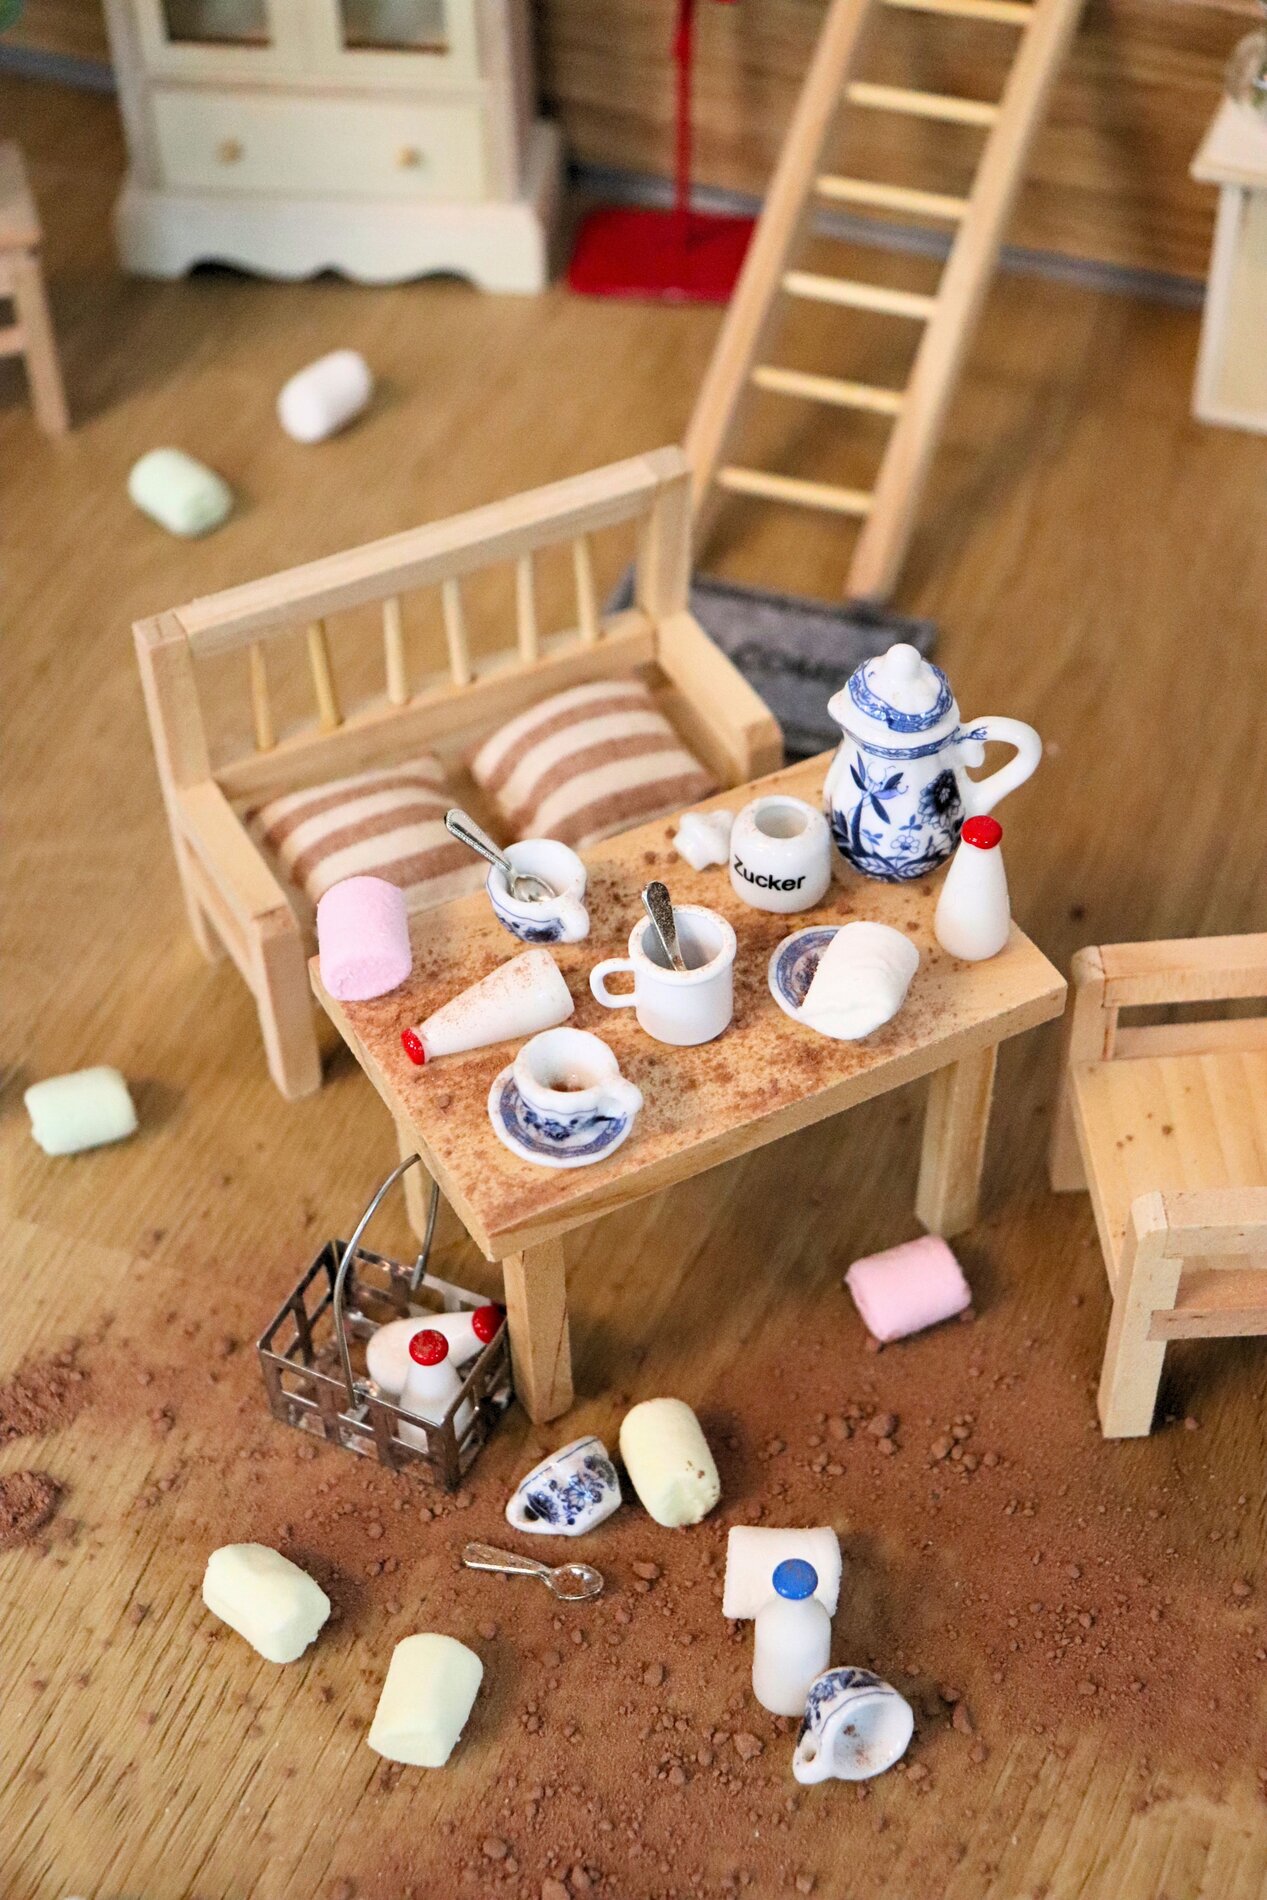
Decorate the table as if after a cozy evening in the kitchen: small mugs, a little pitcher, and a few “ingredients” create a connection to “ cacao , and Marshmallows.” Don’t arrange the items too symmetrically. A slightly offset arrangement looks more natural, as if the elf had actually used what’s there.
Creating Elf Chaos: Crumbs, Traces, and Scattered Details
To make the scene tell a story, deliberately create a little mess. Scatter mini marshmallows or other small, light items around the table as if by chance. Feel free to use cocoa powder and create a few “traces” on the floor with a stencil . Start with small amounts and gradually build up. This keeps the chaos believable and prevents it from looking messy.
window decoration and Mini Accessories for Coziness
Decorate the window with a small curtain or a tiny ornament on the wall. Fabric creates a particularly cozy atmosphere in miniature worlds because it adds softer textures. A single little plant or a small vase next to the kitchenette is often enough to make the gnome kitchen look “lived-in.”
Finishing touches: visual flow and little surprises
Finally, check where your eye is drawn first. It often helps to place the most eye-catching details (such as cups, little pots, and the “cacao ” trail) in a loose line from the miniature door to the table. This makes it look as if the elf has just scurried right through the door into the kitchen. Feel free to incorporate one or two hidden little details that you only discover upon a second glance—that’s what makes elf-door and miniature worlds especially exciting.
Now it’s your turn: If you want to expand your gnome kitchen or create a new miniature scene around the miniature door, you’ll find plenty of craft supplies and miniatures in our online shop to help you build out your gnome door world step by step.