- Secure order
- Easy return shipment
- Service-Hotline +49 4231 668980
Instructions No. 4140
Difficulty: Advanced
Working time: 1 hour 30 Minutes


Step 1: Securely attach the polystyrene ball to the terracotta pot First, glue the polystyrene ball to the center of the terracotta pot. This step forms the foundation for your arrangement: Once the ball is securely in place, you’ll be able to build up the cone-shaped surface neatly later on without anything twisting out of place. Press the ball down briefly and give the glue time to set so the bond becomes truly secure.
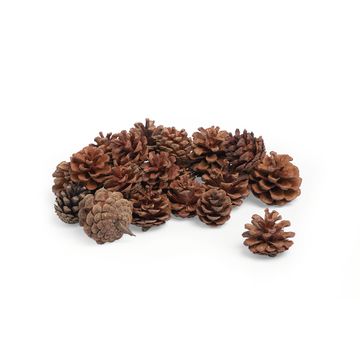
Step 2: Attach the pinecones all around the ball Start at the bottom edge of the ball and glue the pinecones close together. Work your way up row by row. Be sure to align the pinecones carefully: If the open scales point slightly outward, the surface will look especially voluminous and decorative.
Step 3: Fill the gaps with Iceland moss for a natural look Once all the pinecones are in place, look at the ball from different angles. Now glue Iceland moss into the gaps. Tear off small pieces and press them carefully into the gaps.
Step 4: Add berries for a pop of color Next, glue a few berries here and there onto the moss or between the pinecones. The berries break up the brown natural tones and give the arrangement a classic winter look.
Step 5: Wrap the “ chain of light ” around the pinecone ball Wrap the “ chain of light ” evenly around the pinecones. This creates a warm, atmospheric glow.
Step 6: Finish the terracotta pot with a ribbon Finally, tie a ribbon around the terracotta pot. The bow frames your pinecone arrangement and makes the DIY-christmas decoration instantly gift-ready. Place the bow in the center at the front and trim the ends of the ribbon so they hang neatly and don’t get in the way.
Now it’s your turn! If you still need pinecones, moss, berry decorations, ribbon, or a matching chain of light , stop by our online shop and easily put together the materials for your natural christmas decoration .