- Secure order
- Easy return shipment
- Service-Hotline +49 4231 668980
Instructions No. 4115
Difficulty: Beginner
Working time: 2 Hours 30 Minutes
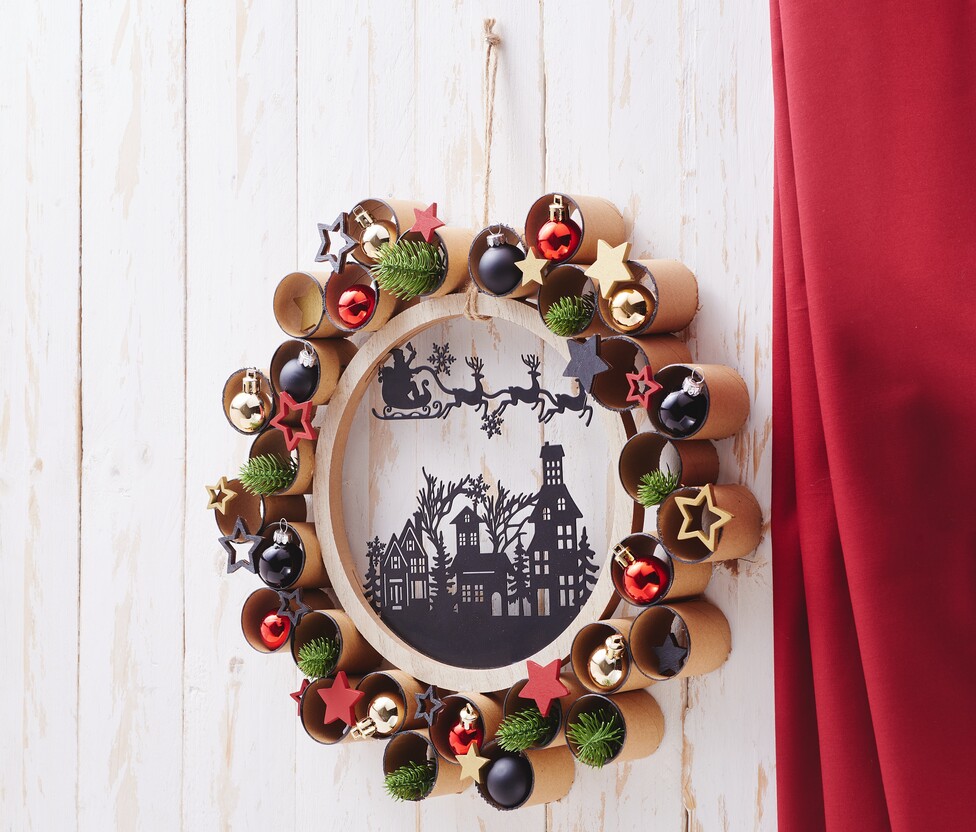
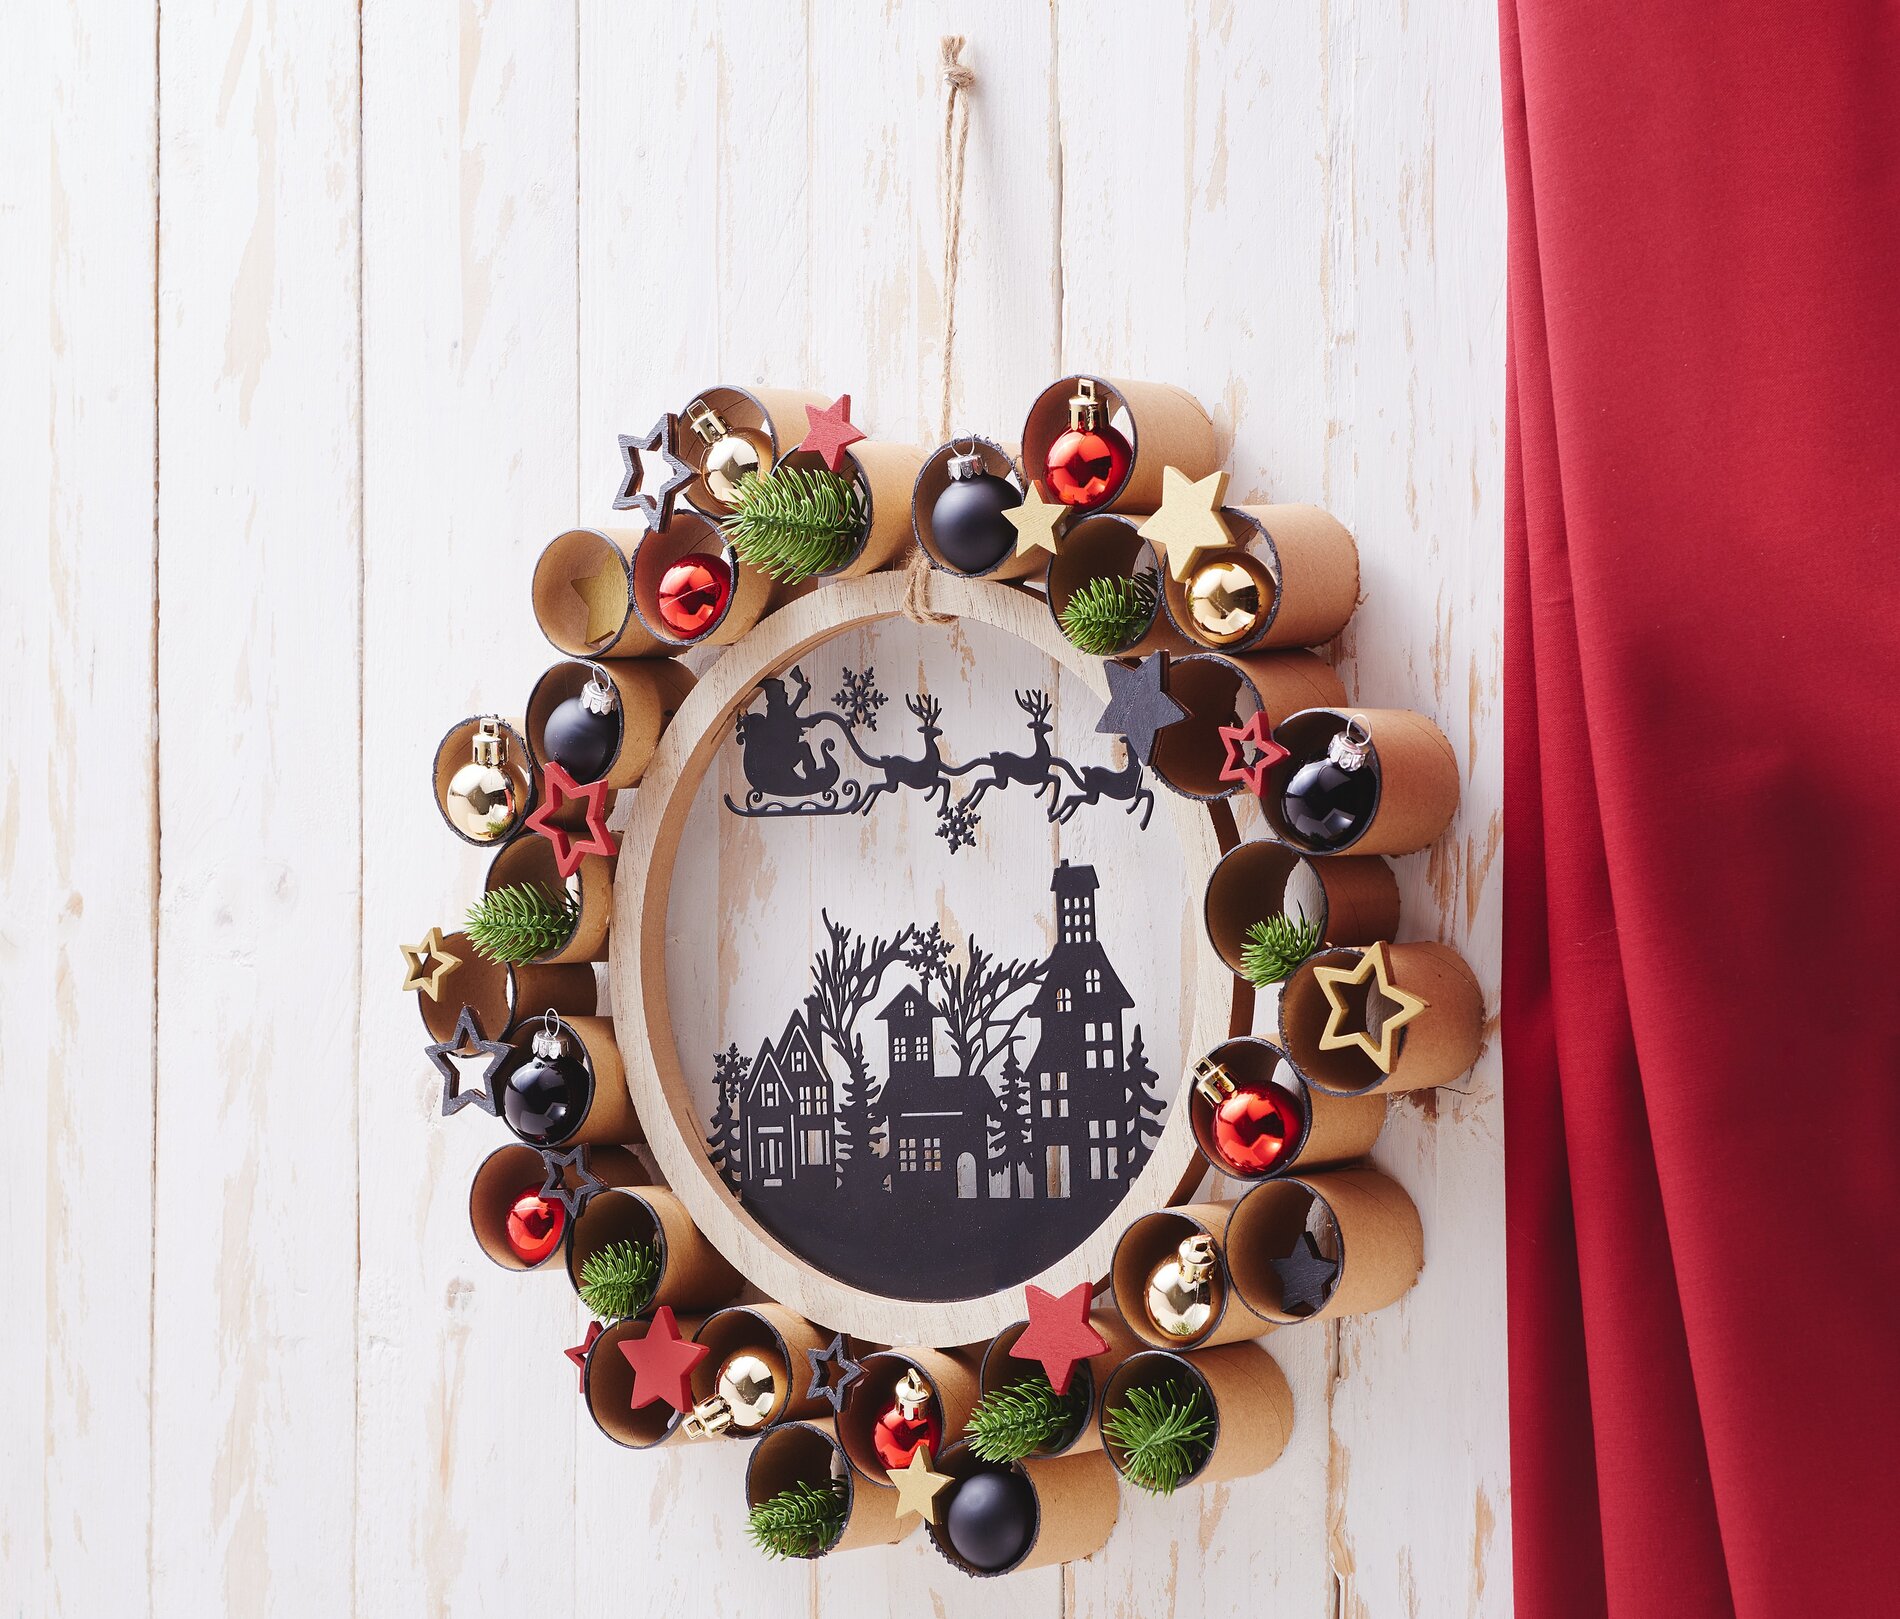
How to Make a Cardboard Tube Wreath on a Wooden Ring: Gather the wooden ring and several cardboard tubes, and quickly plan the design: The wreath looks especially striking if you incorporate small “accent areas” with beads, fir branches, and decorative accents evenly spaced throughout the rolls. This creates a festive door wreath or wall wreath that looks sturdy and high-quality despite its “ paper crafting ” look.
Cut the cardboard tubes to size and prepare them properly Cut or saw the cardboard tubes into pieces about 4 cm long. Remove any loose paper fibers from the cut edges so that the edges are smooth when you paint them and the glue will adhere better later.
Accent the edges with metallic-acrylic Paint the cut edges of the cardboard rolls with a metallic-acrylic paint. The purpose of this is to make the cardboard edges visually disappear and give the rolls a festive shimmer that reflects beautifully, especially in candlelight or chains of lights . Use just a little paint on your brush so that none runs into the tubes and the opening stays clean. In this step, also paint a few scatter decoration, so that the metallic-look is repeated throughout the entire Christmas wreath and everything appears as if it were made from a single mold.
Glue the cardboard rolls around the wooden ring. Position the cardboard rolls around the wooden ring to test the layout before gluing them. This allows you to adjust the spacing and determine the direction of the design. Then apply handicraft glue to the contact surface of each roll and glue them one by one around the wooden ring. Press each tube briefly so that it bonds with the wood. Make sure the openings face forward and the ring remains clearly visible throughout—this gives the paper wreath a clean, modern shape.
Time to dry: Plan Ahead for a Sturdy Wreath Let the glue dry completely before decorating. This step is important to ensure nothing comes loose when you fill the wreath and that it remains stable even when hung. If you rush ahead, the rolls will quickly shift out of place—allowing enough drying time ensures your Advent wreath design stays neat and symmetrical.
Fill the Cardboard Tubes Decoratively and Add Details Fill the cardboard tubes as you like with decorative sprinkles, small fir twigs, and christmas balls. For a balanced look, alternate between shiny balls and matte elements, and place fir greenery in between as little “points of rest.” You can either place small scatter decoration inside the tubes or glue them to the front edge to create depth. If you want a particularly elegant look, stick to two to three main colors per section and repeat them around the wreath.
Hang It Up and Showcase It Attach a sturdy cord or a ribbon to the top of the wooden ring and hang your Christmas wreath on a door, window, or wall. Quickly check that the decoration is secure so nothing falls out when you move it. If you’d like to mix things up, you can refill individual tubes with seasonal decorations—that way, the wreath stays fresh every year.
Now it’s your turn! Browse our online shop for matching embellishments, christmas balls, ribbons, and colors to design your paper wreath exactly in your style and get crafting right away.