- Secure order
- Easy return shipment
- Service-Hotline +49 4231 668980
Instructions No. 4066
Difficulty: Beginner
Working time: 3 Hours
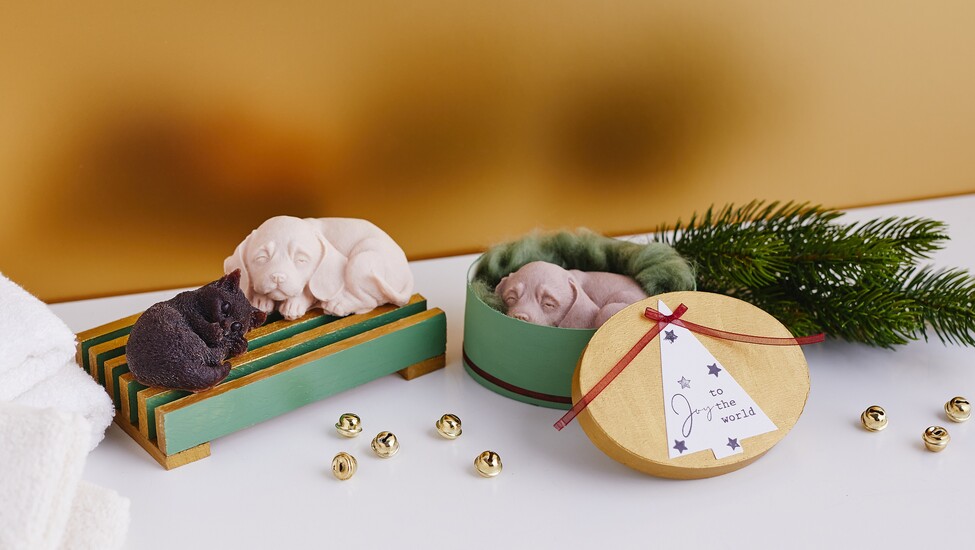
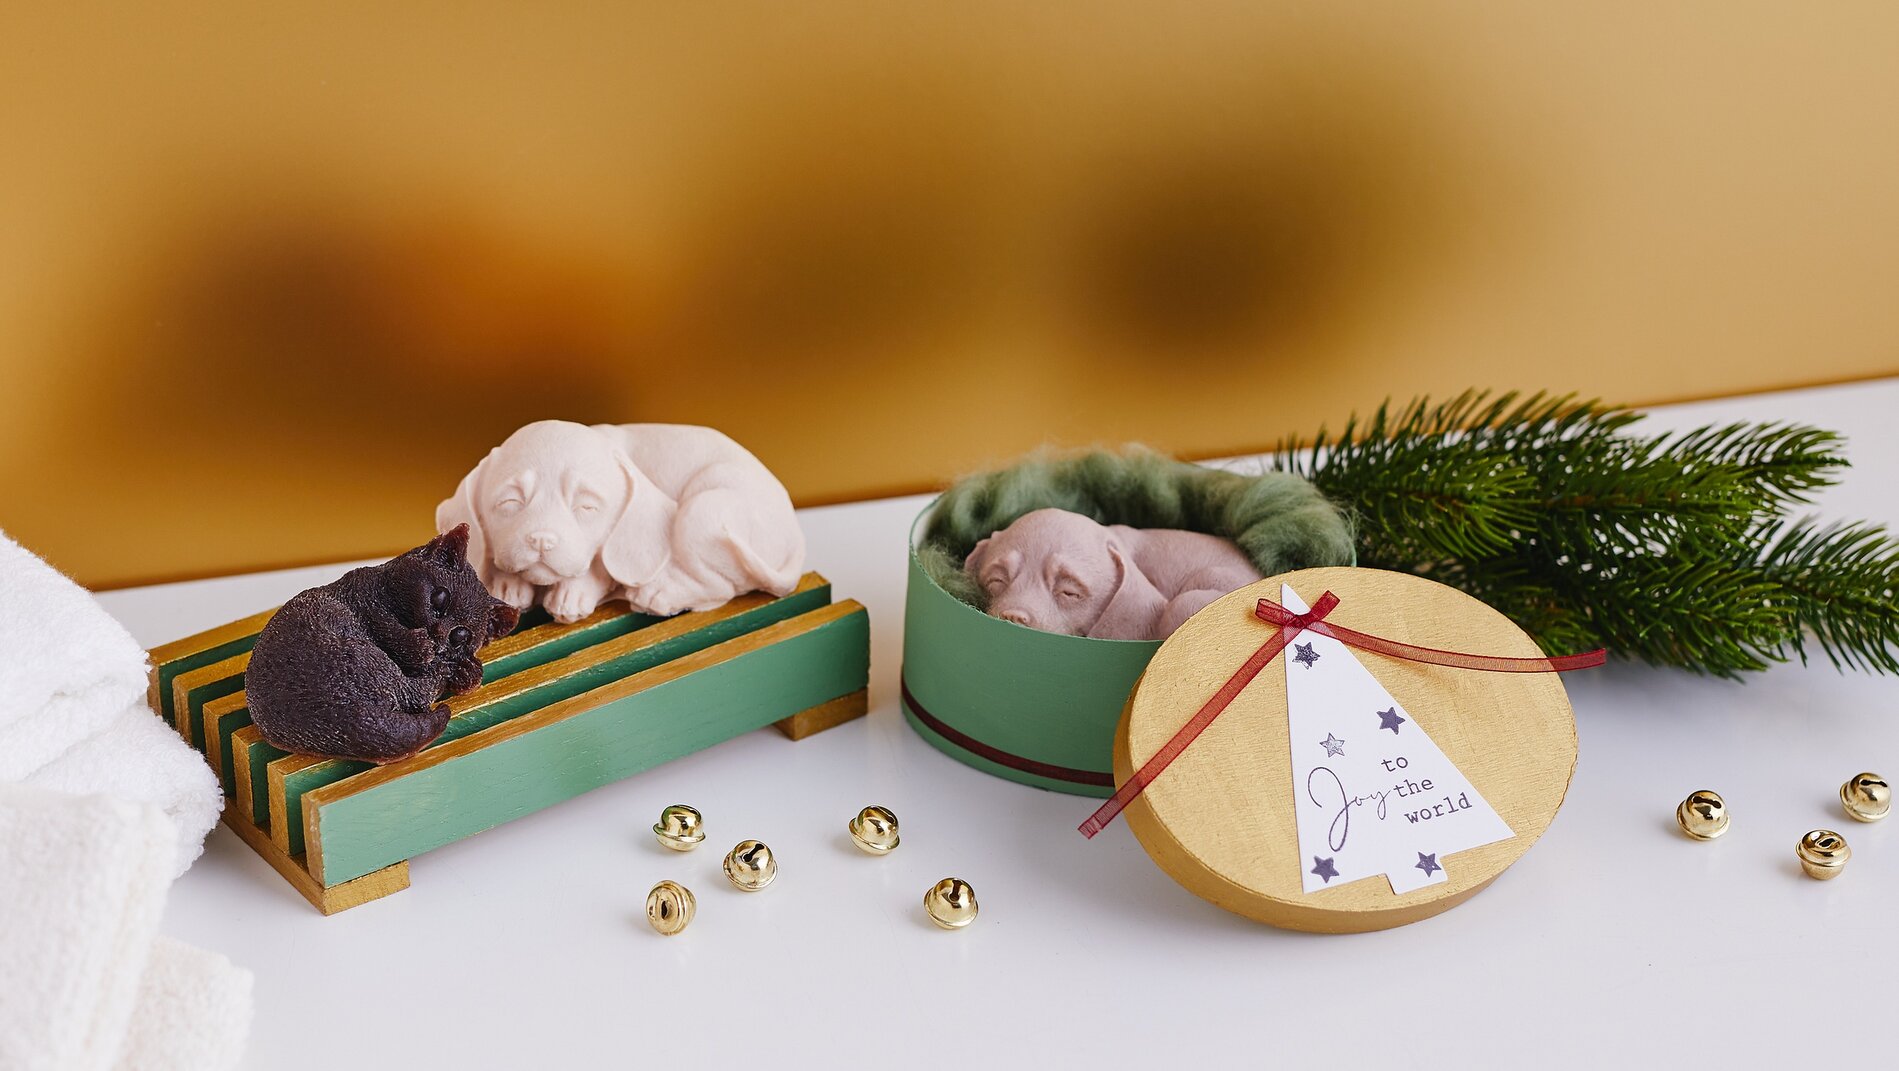
Making Soap with " silicone mould " (Dog & Cat)
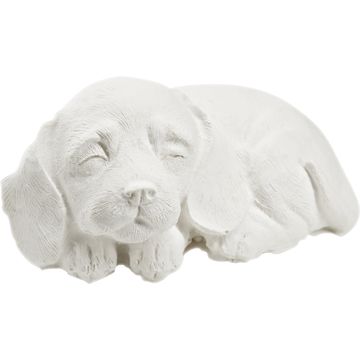
Set up your workspace so you can work quickly: have the “ silicone mould ” ready, choose a heat-resistant bowl for melting, and cover the surface below. Timing is crucial when pouring soap so that the liquid mixture flows neatly into the mold and fills in fine details like fur texture or paws.
Gently Melt the Soap (Double Boiler)
Carefully heat the soap in a melting pot or melting ladle in a double boiler. A double boiler means: The container with the soap is placed in a pot of hot, but not boiling, water. This ensures the soap melts evenly and doesn’t get too hot—which is crucial so that it hardens clear later and the fragrance oils don’t “boil off.”
Stir in color, fragrance, and skin care additives
Once the soap is completely liquid, add soap colour, and any other skin care additives and fragrance oil as desired. Stir thoroughly but gently. This achieves two things: the “ soap colour ” disperses without streaks, and the scent remains evenly distributed. If you want to pour different colors, divide the soap mixture and color each portion separately.
Pour into the “ silicone mould ” and let it cure
Slowly pour the soap mixture into the “ silicone mould. ” mold. Pouring slowly reduces air bubbles and ensures a smooth surface. Then let the soap cure undisturbed. After about 4–5 hours, you can carefully remove the solid soap from the mold by gently bending the mold and gently pressing the figure out. This ensures that the edges and small details on the dog or cat remain intact.
Build a Soap Dish from Craft Blocks
For the tray, you’ll need a total of eight craft blocks. Cut two blocks to a length of 9 cm; these will form the sturdy base so the tray stands firmly later. Glue the remaining blocks in place so that gaps are created. These air vents are important because they allow the poured soap to dry faster and prevent it from softening as much.
Paint the blocks and seal them with a waterproof finish
Paint the craft blocks to your liking using handicraft paint. For a serene fall-winter look, matte shades of green with natural-colored edges look particularly harmonious. Once dry, coat all sides completely with acrylic varnish. This coating protects the wood from moisture and ensures that the soap dish stays beautiful for a long time.
Glue the pieces together and let them dry thoroughly
Once the varnish is dry, glue the blocks together using handicraft glue . Make sure the contact surfaces are clean so the soap dish doesn’t wobble. Then let the glue cure completely before placing the soap on it—this ensures everything stays stable, even if the soap dish comes into regular contact with water.
gift idea: Pack the soap in a chipboard box
If you want to give your hand-poured soap as a gift, a chipboard box is ideal. Paint the box with handicraft paint and let it dry thoroughly. Create a gift tag with a short message using silicone stamps and attach it with a ribbon. You can also wrap the ribbon around the box or glue it on as a subtle decoration—this gives the gift a high-quality, thoughtful look without being overdone.
Now it’s your turn
Plan to spend DIY-project (excluding Time to dry:) and combine soap making, a soap dish, and gift wrapping to create a cohesive set. You’ll find everything you need—from molds and colors to packaging and decorating supplies—in the online shop.