- Doprava zdarma od 1860 Kč v Česká republika
- Snadné vrácení


 Doprava zdarma od 1860 Kč*
 Přeprava s Česká pošta
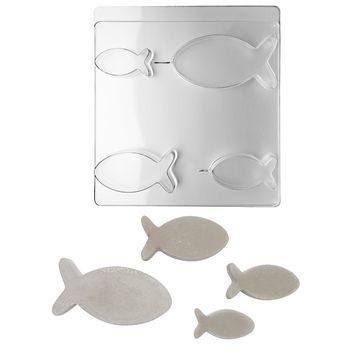
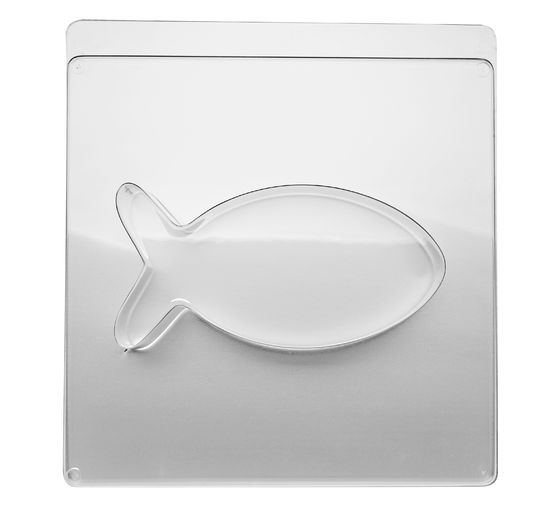
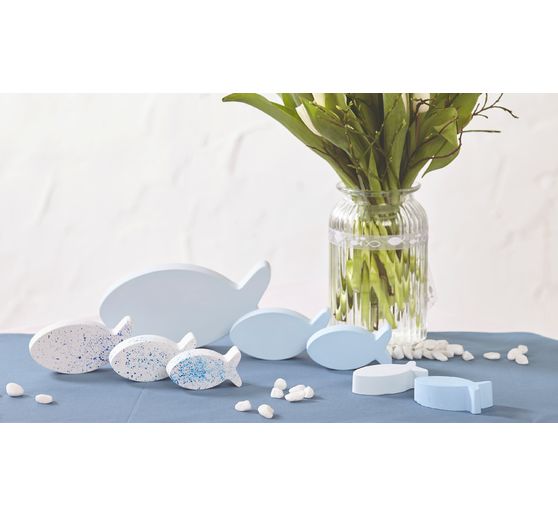
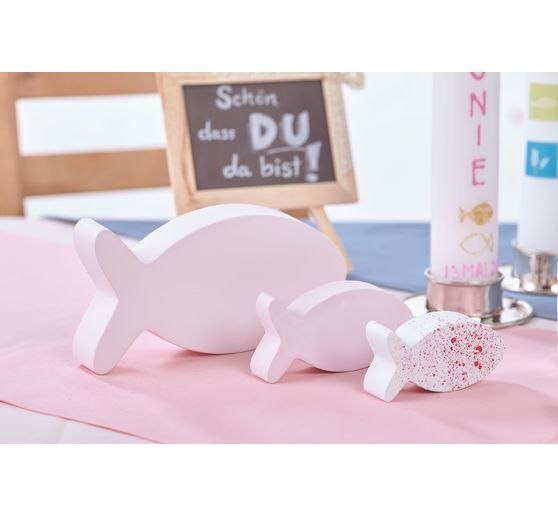
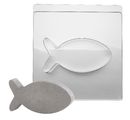
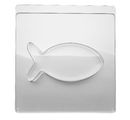
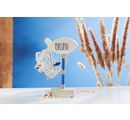
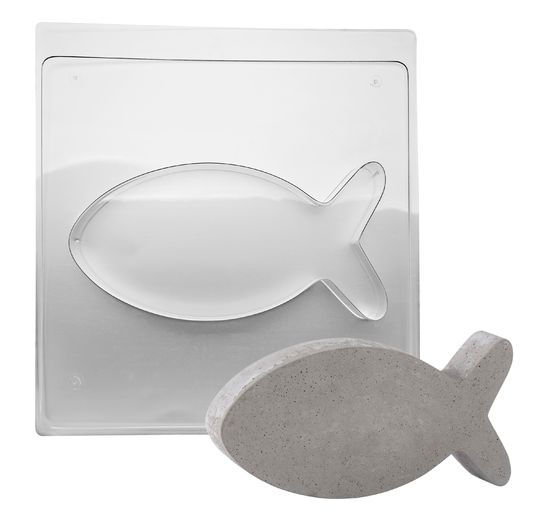
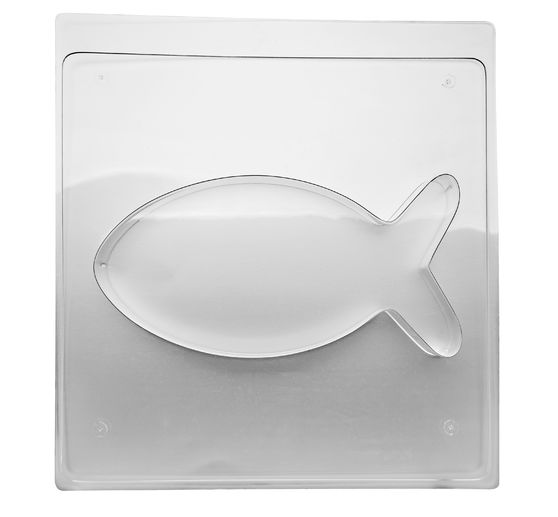
S ddlévací formou " Fish" můžete vykouzlit jedinečné dekorace ! Žáruvzdorná (do cca 60 °C) a vysoce průhledná ddlévací forma z PET je stabilní a lze ji opakovaně používat. Ať už s betonem nebo odlévacími hmotami, můžete si během několika málo kroků vytvarovat vlastní rybu.
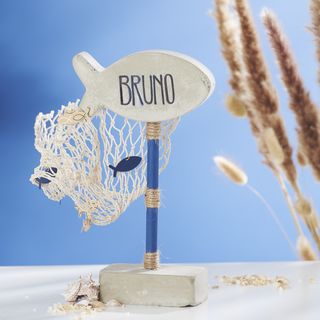
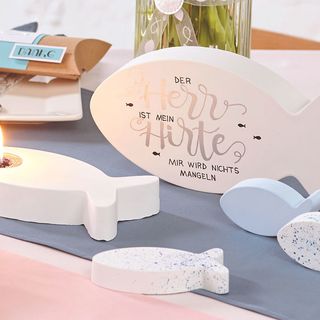
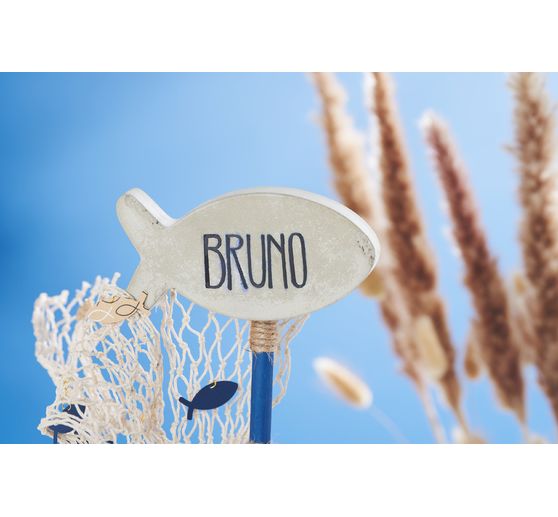
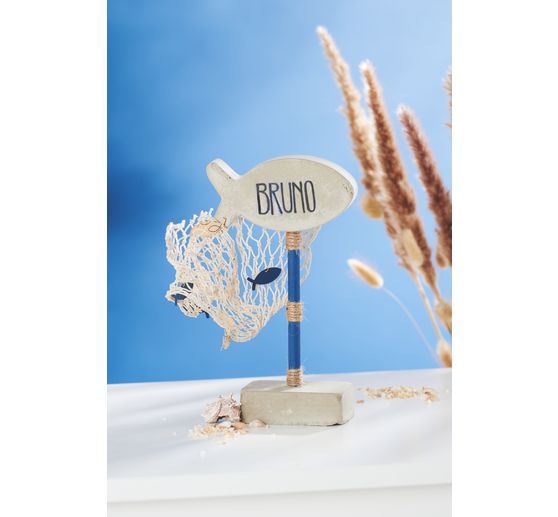
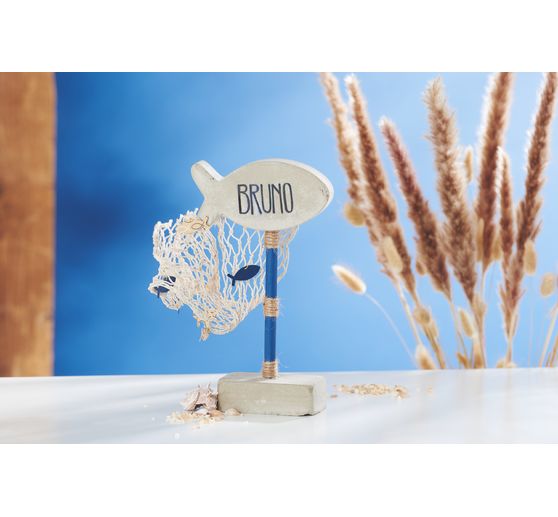
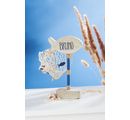
Odlité předměty jsou nejen poutavé, ale také všestranně použitelné. Proměňte je v námořní stolní dekoraci nebo je použijte k ozdobení stolu na terase. Rybičky vnesou do vašeho obytného prostoru pocit pláže a moře. Zejména v kombinaci s rybářskou sítí a dalšími předměty z moře vytvoří útulnou atmosféru.
Skvělým způsobem, jak si rybičky personalizovat, je jejich design s inkoustovým zlatem. Tato barva je k dispozici v různých odstínech a dodá vašim rybičkám zvláštní nádech. Vzniknou tak jedinečné kousky, které se skvěle hodí i jako dárky nebo suvenýry.
Přesvědčte se sami, jak všestranná je ddlévací forma" Rybka". Vytvořte si vlastní dekorace na moři. Objednejte si ještě dnes a vneste do svého domova atmosféru moře!
Tips to use:
Preparations:
Mix the desired casting compound according to the instructions. If you wish, you can color it with color pigment powder.
Application:
Slowly pour the mixed casting compound into the casting mould. Leave a rim of at least 2 mm free to make it easier to demould your casting later.
Gently tap the casting mould so that the mixture is evenly distributed and any air bubbles come to the surface. You can then prick these with a lace object.
Time to dry:
Allow the casting compound to harden well. Follow the drying times specified in the instructions for the casting compound.
Work to finish:
You can now demould your casting. If the casting does not come off simply by dropping it, you can carefully loosen the mould all around with your fingers and tap it against the mould.
Good to know:
For detailed moulds, we recommend using a mould release agent or release wax to protect the mould.