- Doprava zdarma od 1860 Kč v Česká republika
- Snadné vrácení


 Doprava zdarma od 1860 Kč*
 Přeprava s Česká pošta
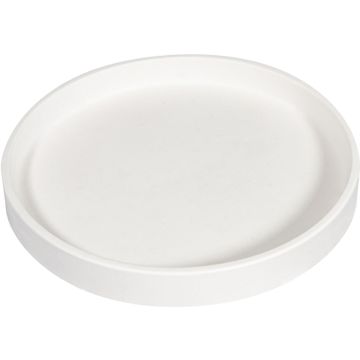
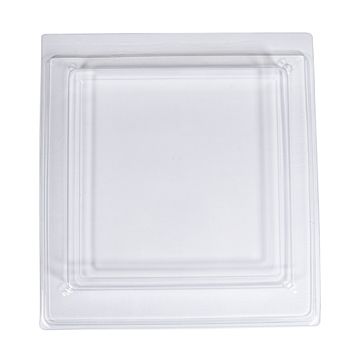
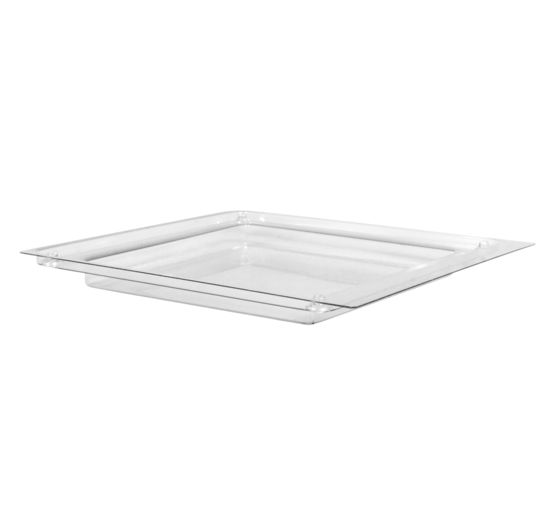
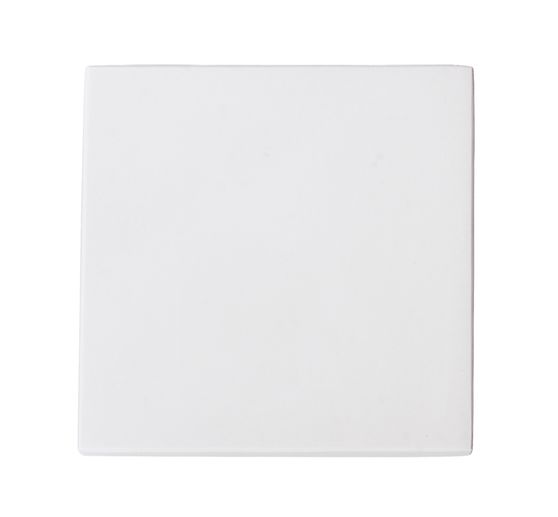
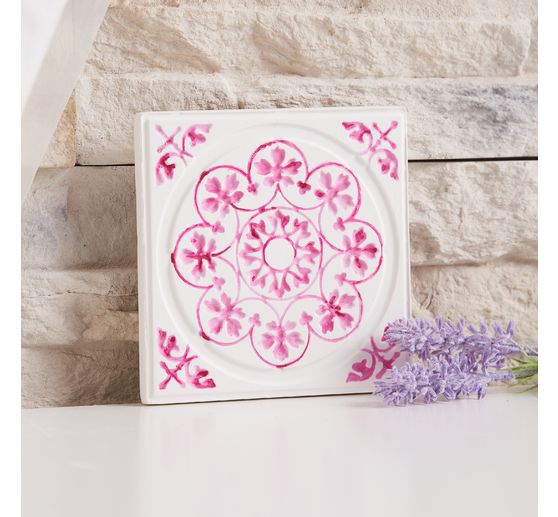
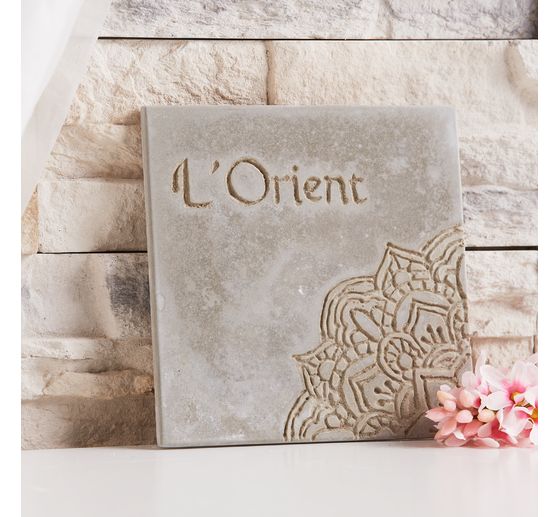
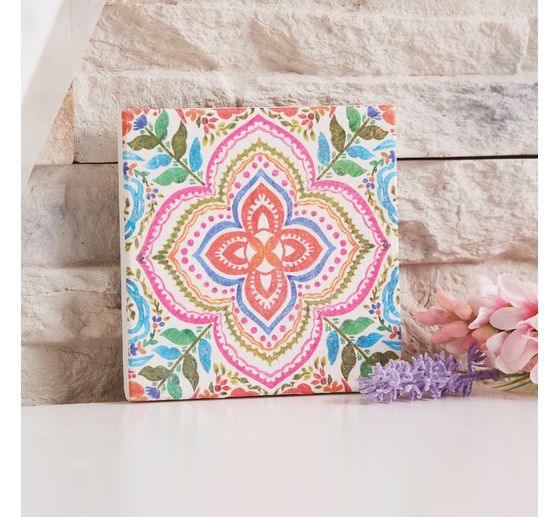
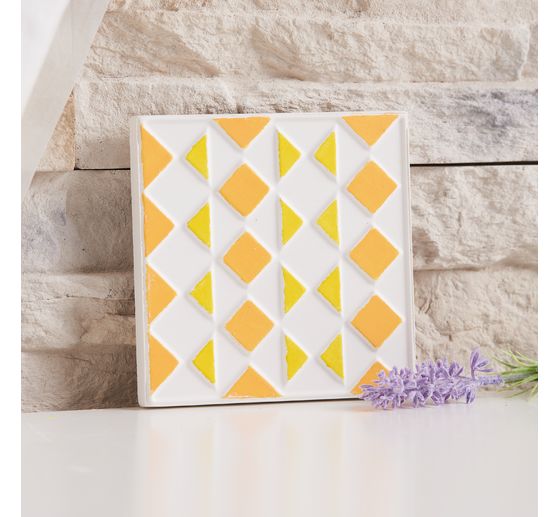
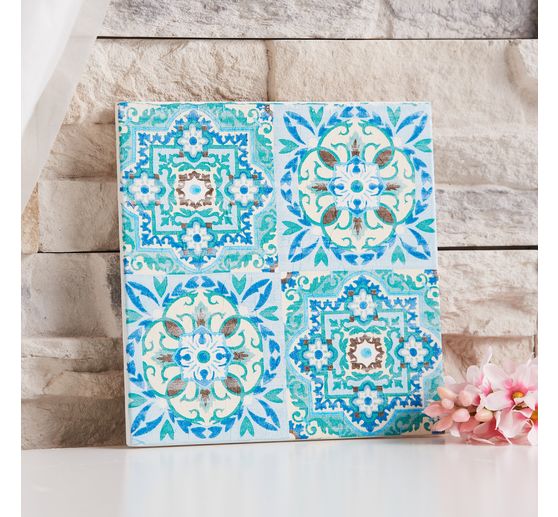
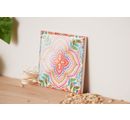
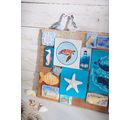
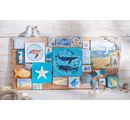
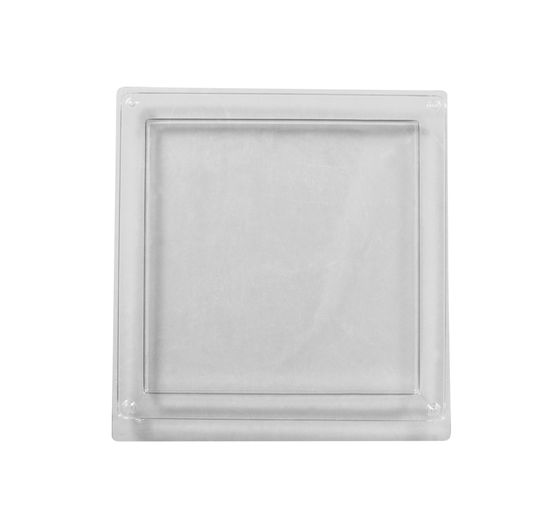
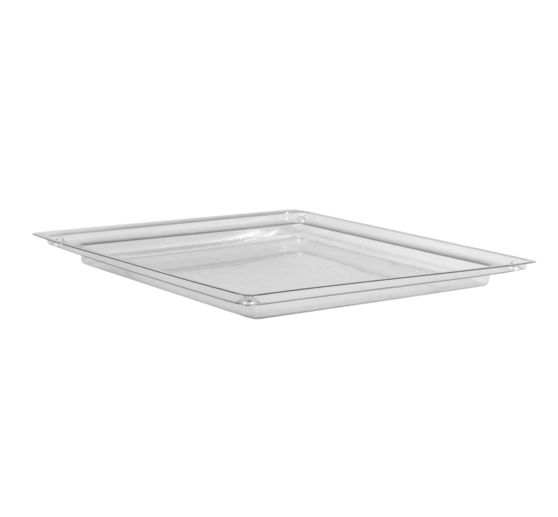
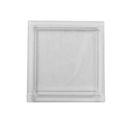
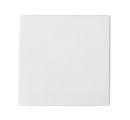
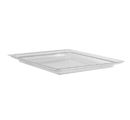
Přizpůsobte si svůj obývací prostor pomocí ddlévací formy" Tile". S touto odlévací formou, kterou lze použít opakovaně, si můžete snadno vyrobit vlastní dlaždice, ať už jako podtácek nebo na ozdobu podnosů apod . Forma má tloušťku 1 cm, takže je ideální pro betonové a kreativní odlévací hmoty. Speciální reliéfní vložka zajistí skvělé vzory na vašich dlaždicích.
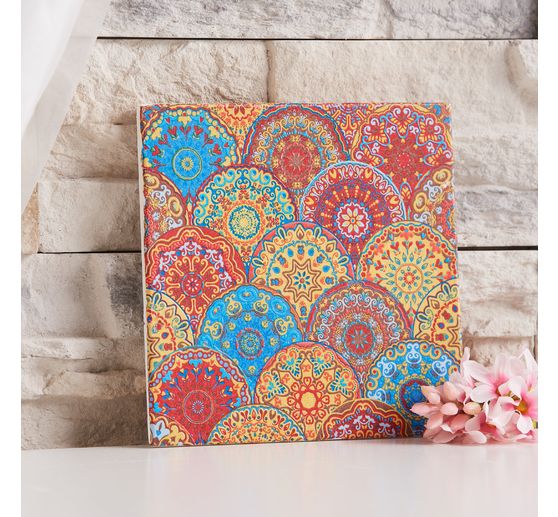
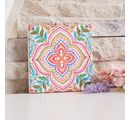
Výhody ddlévací formy " Tile" jsou zřejmé : snadno se používá, málo váží a díky robustnímu plastu je odolná. Nejdůležitější však je, že pomocí této formy můžete ve svém domě vytvořit jedinečné akcenty. Ať už s jasnými barvami, jednoduchými tóny nebo různými vzory - možnosti designu jsou úžasné.
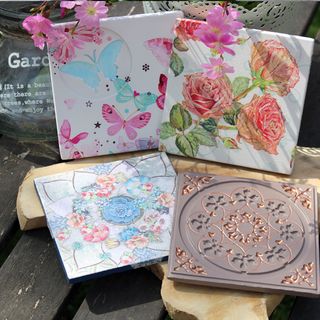
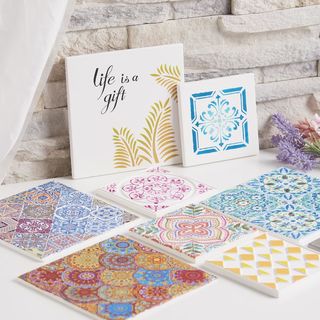
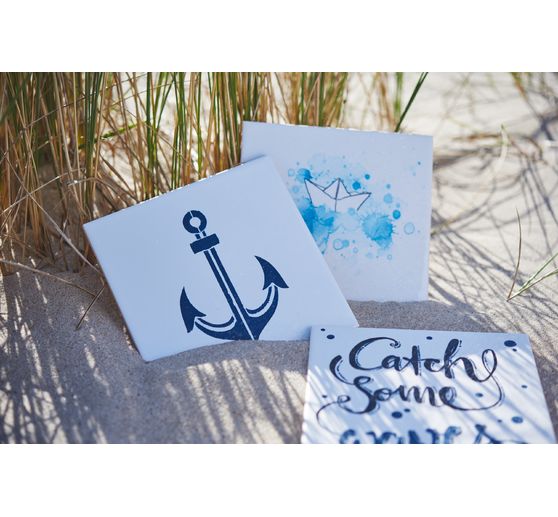
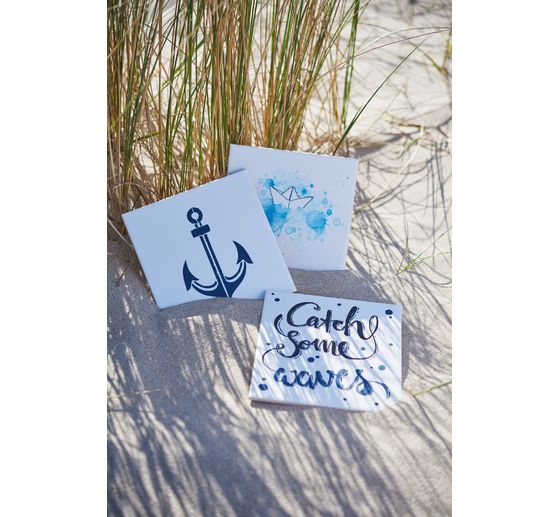
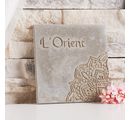
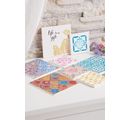
S ddlévací formou " Tile" můžete vylepšit nejen svůj obývací prostor, ale i další části svého domova. Co například vlastnoručně vyrobené podtácky na jídelní stůl nebo jako osobní dárek pro vaše blízké? Nebo co takhle nalepit si malé kachličky na zeď jako dekoraci?
Objednejte si nyní ddlévací formu " dlaždice" a proměňte své kreativní nápady ve skutečnost. Pořiďte si tento jedinečný doplněk na tvoření a staňte se mistrem designu dlaždic!
Tips to use:
Preparations:
Mix the desired casting compound according to the instructions. If you wish, you can color it with color pigment powder.
Application:
Slowly pour the mixed casting compound into the casting mould. Leave a rim of at least 2 mm free to make it easier to demould your casting later.
Gently tap the casting mould so that the mixture is evenly distributed and any air bubbles come to the surface. You can then prick these with a lace object.
Time to dry:
Allow the casting compound to harden well. Follow the drying times specified in the instructions for the casting compound.
Work to finish:
You can now demould your casting. If the casting does not come off simply by dropping it, you can carefully loosen the mould all around with your fingers and tap it against the mould.
Good to know:
For detailed moulds, we recommend using a mould release agent or release wax to protect the mould.